I recently taught a polymer clay course to11 students, over 5 days, at the TAFTA live-in textile art retreat at Geelong (Australia). I was one of 10 tutors – students choose one course which they do for the full week. I haven’t taught anything like this before, so this involved a lot of planning.
I have attended the TAFTA retreat annually as a student for many years, but polymer clay has not often been taught (most recently in 2017 when Tory Hughes was the tutor, shortly before she died).
My students ranged from full time artists (in other media) and art teachers to those with little experience. None had much experience – if any – with polymer clay.

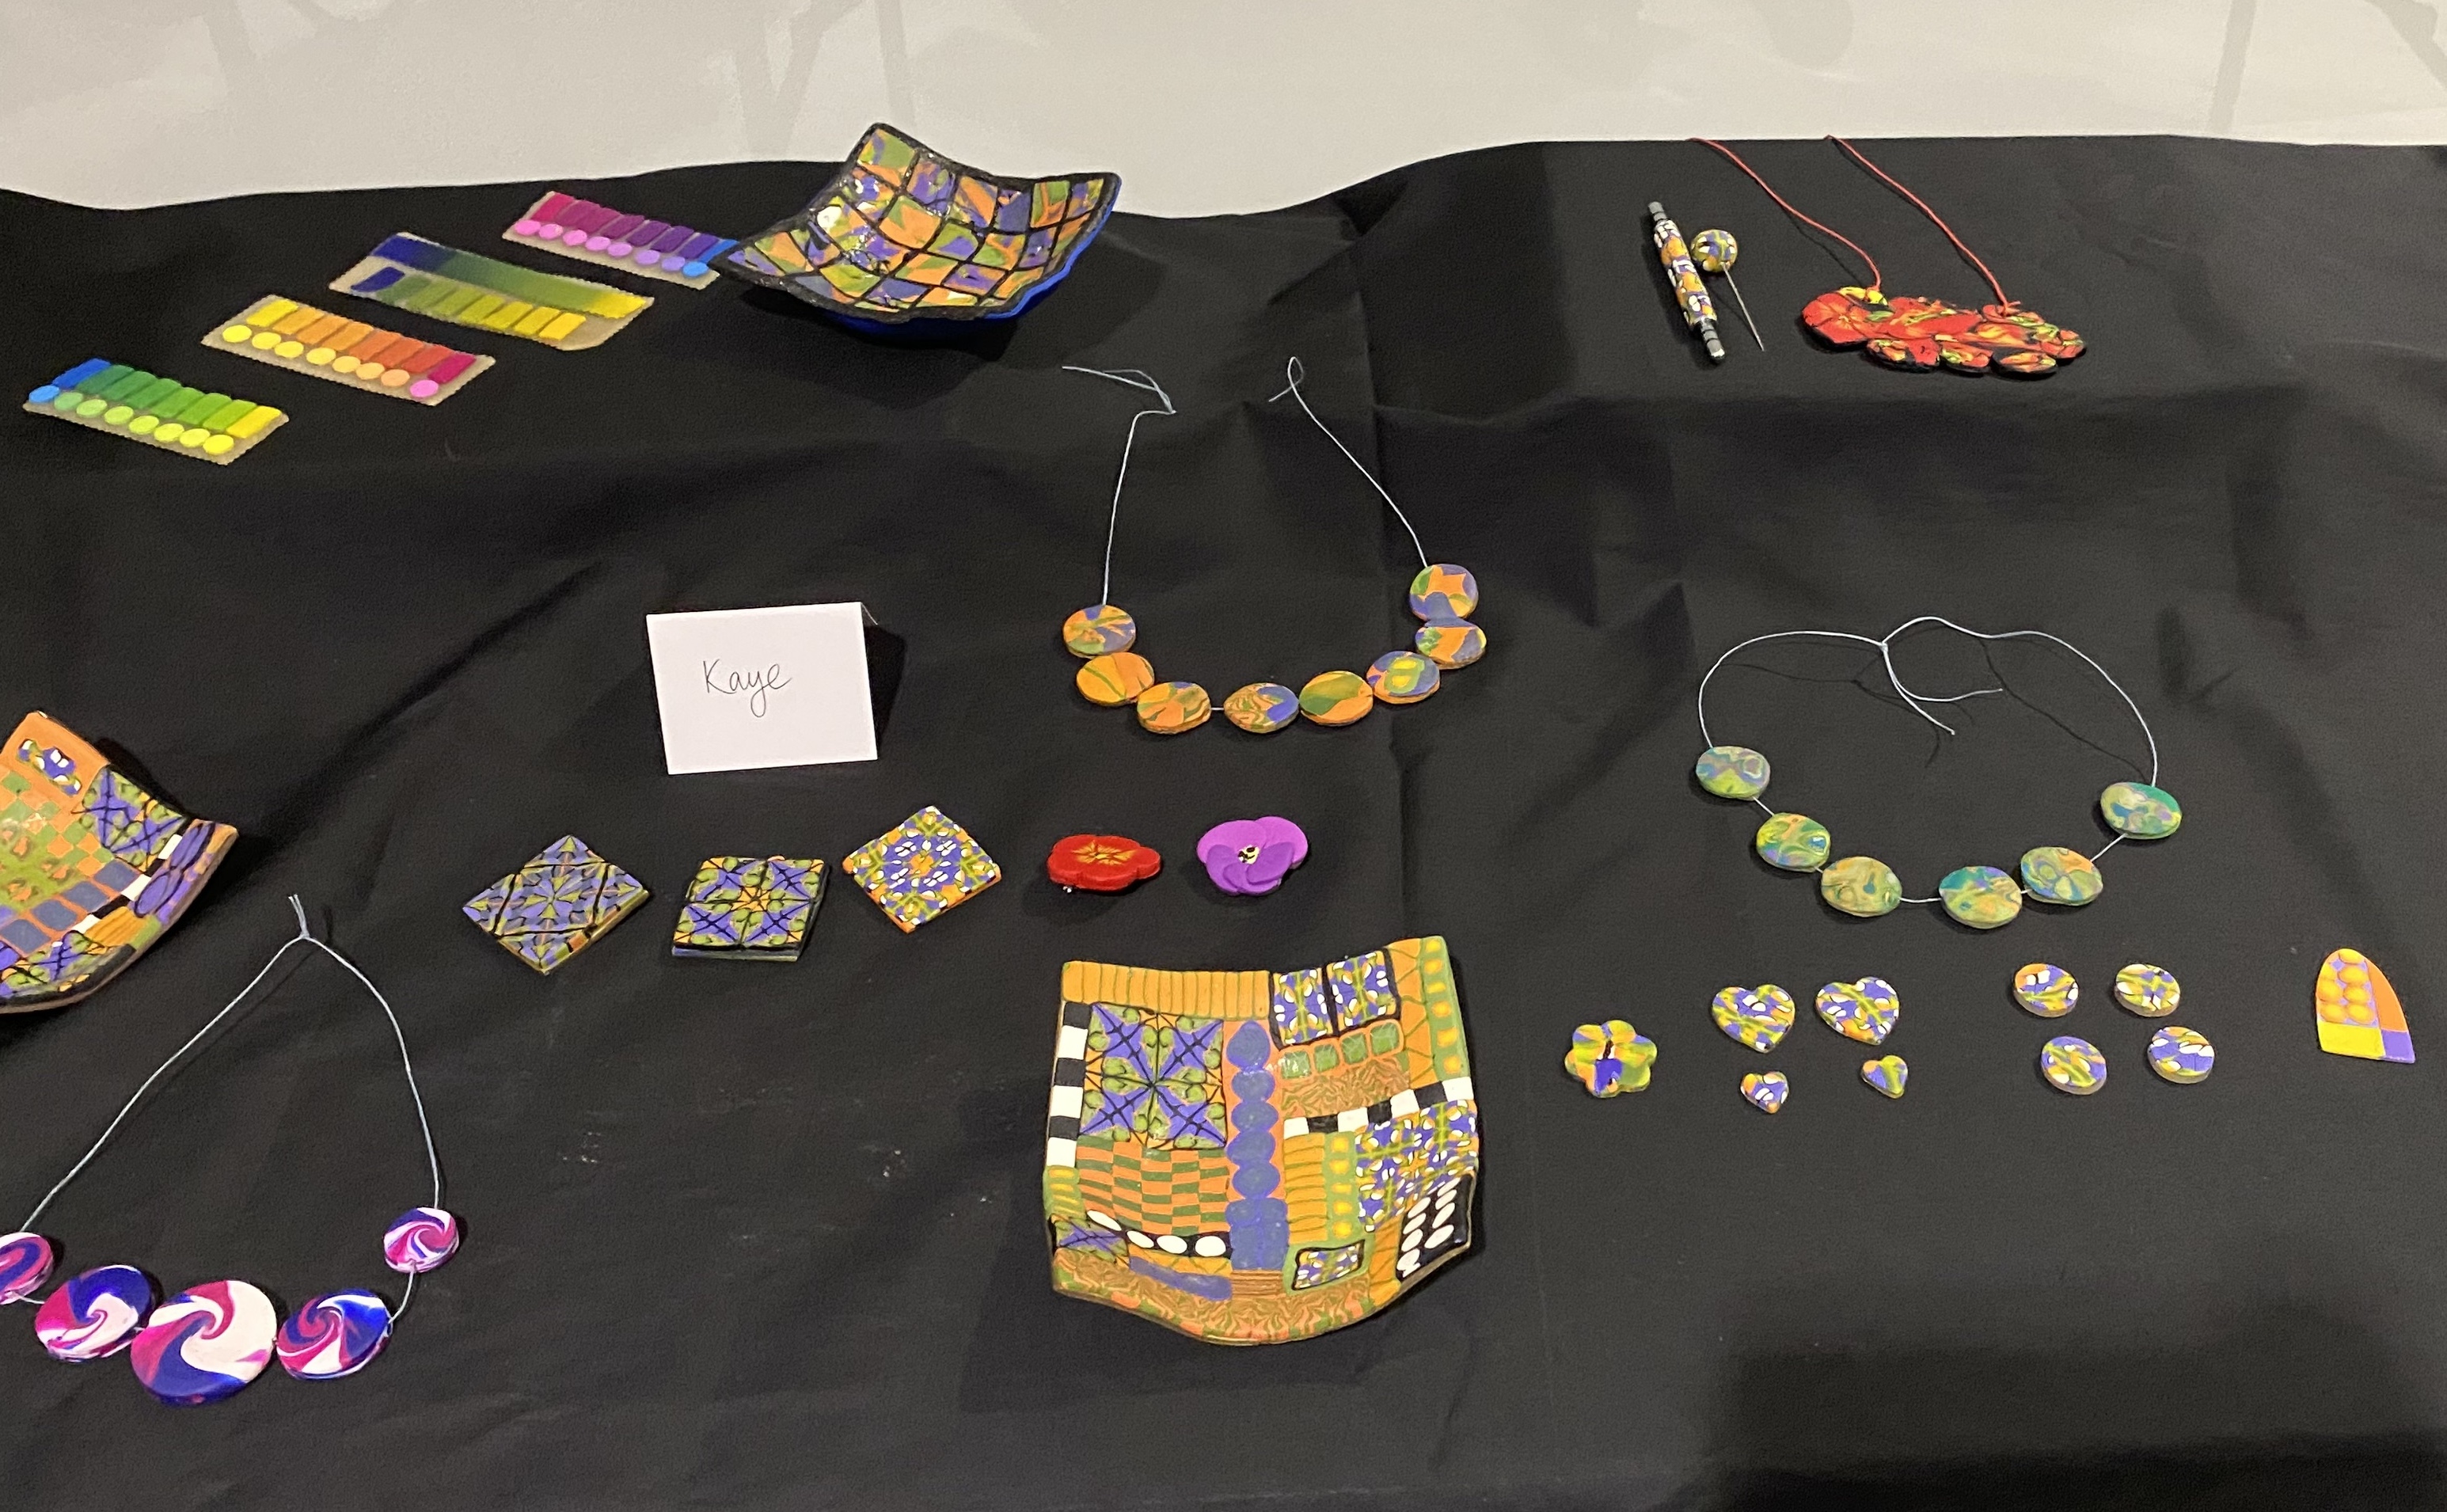
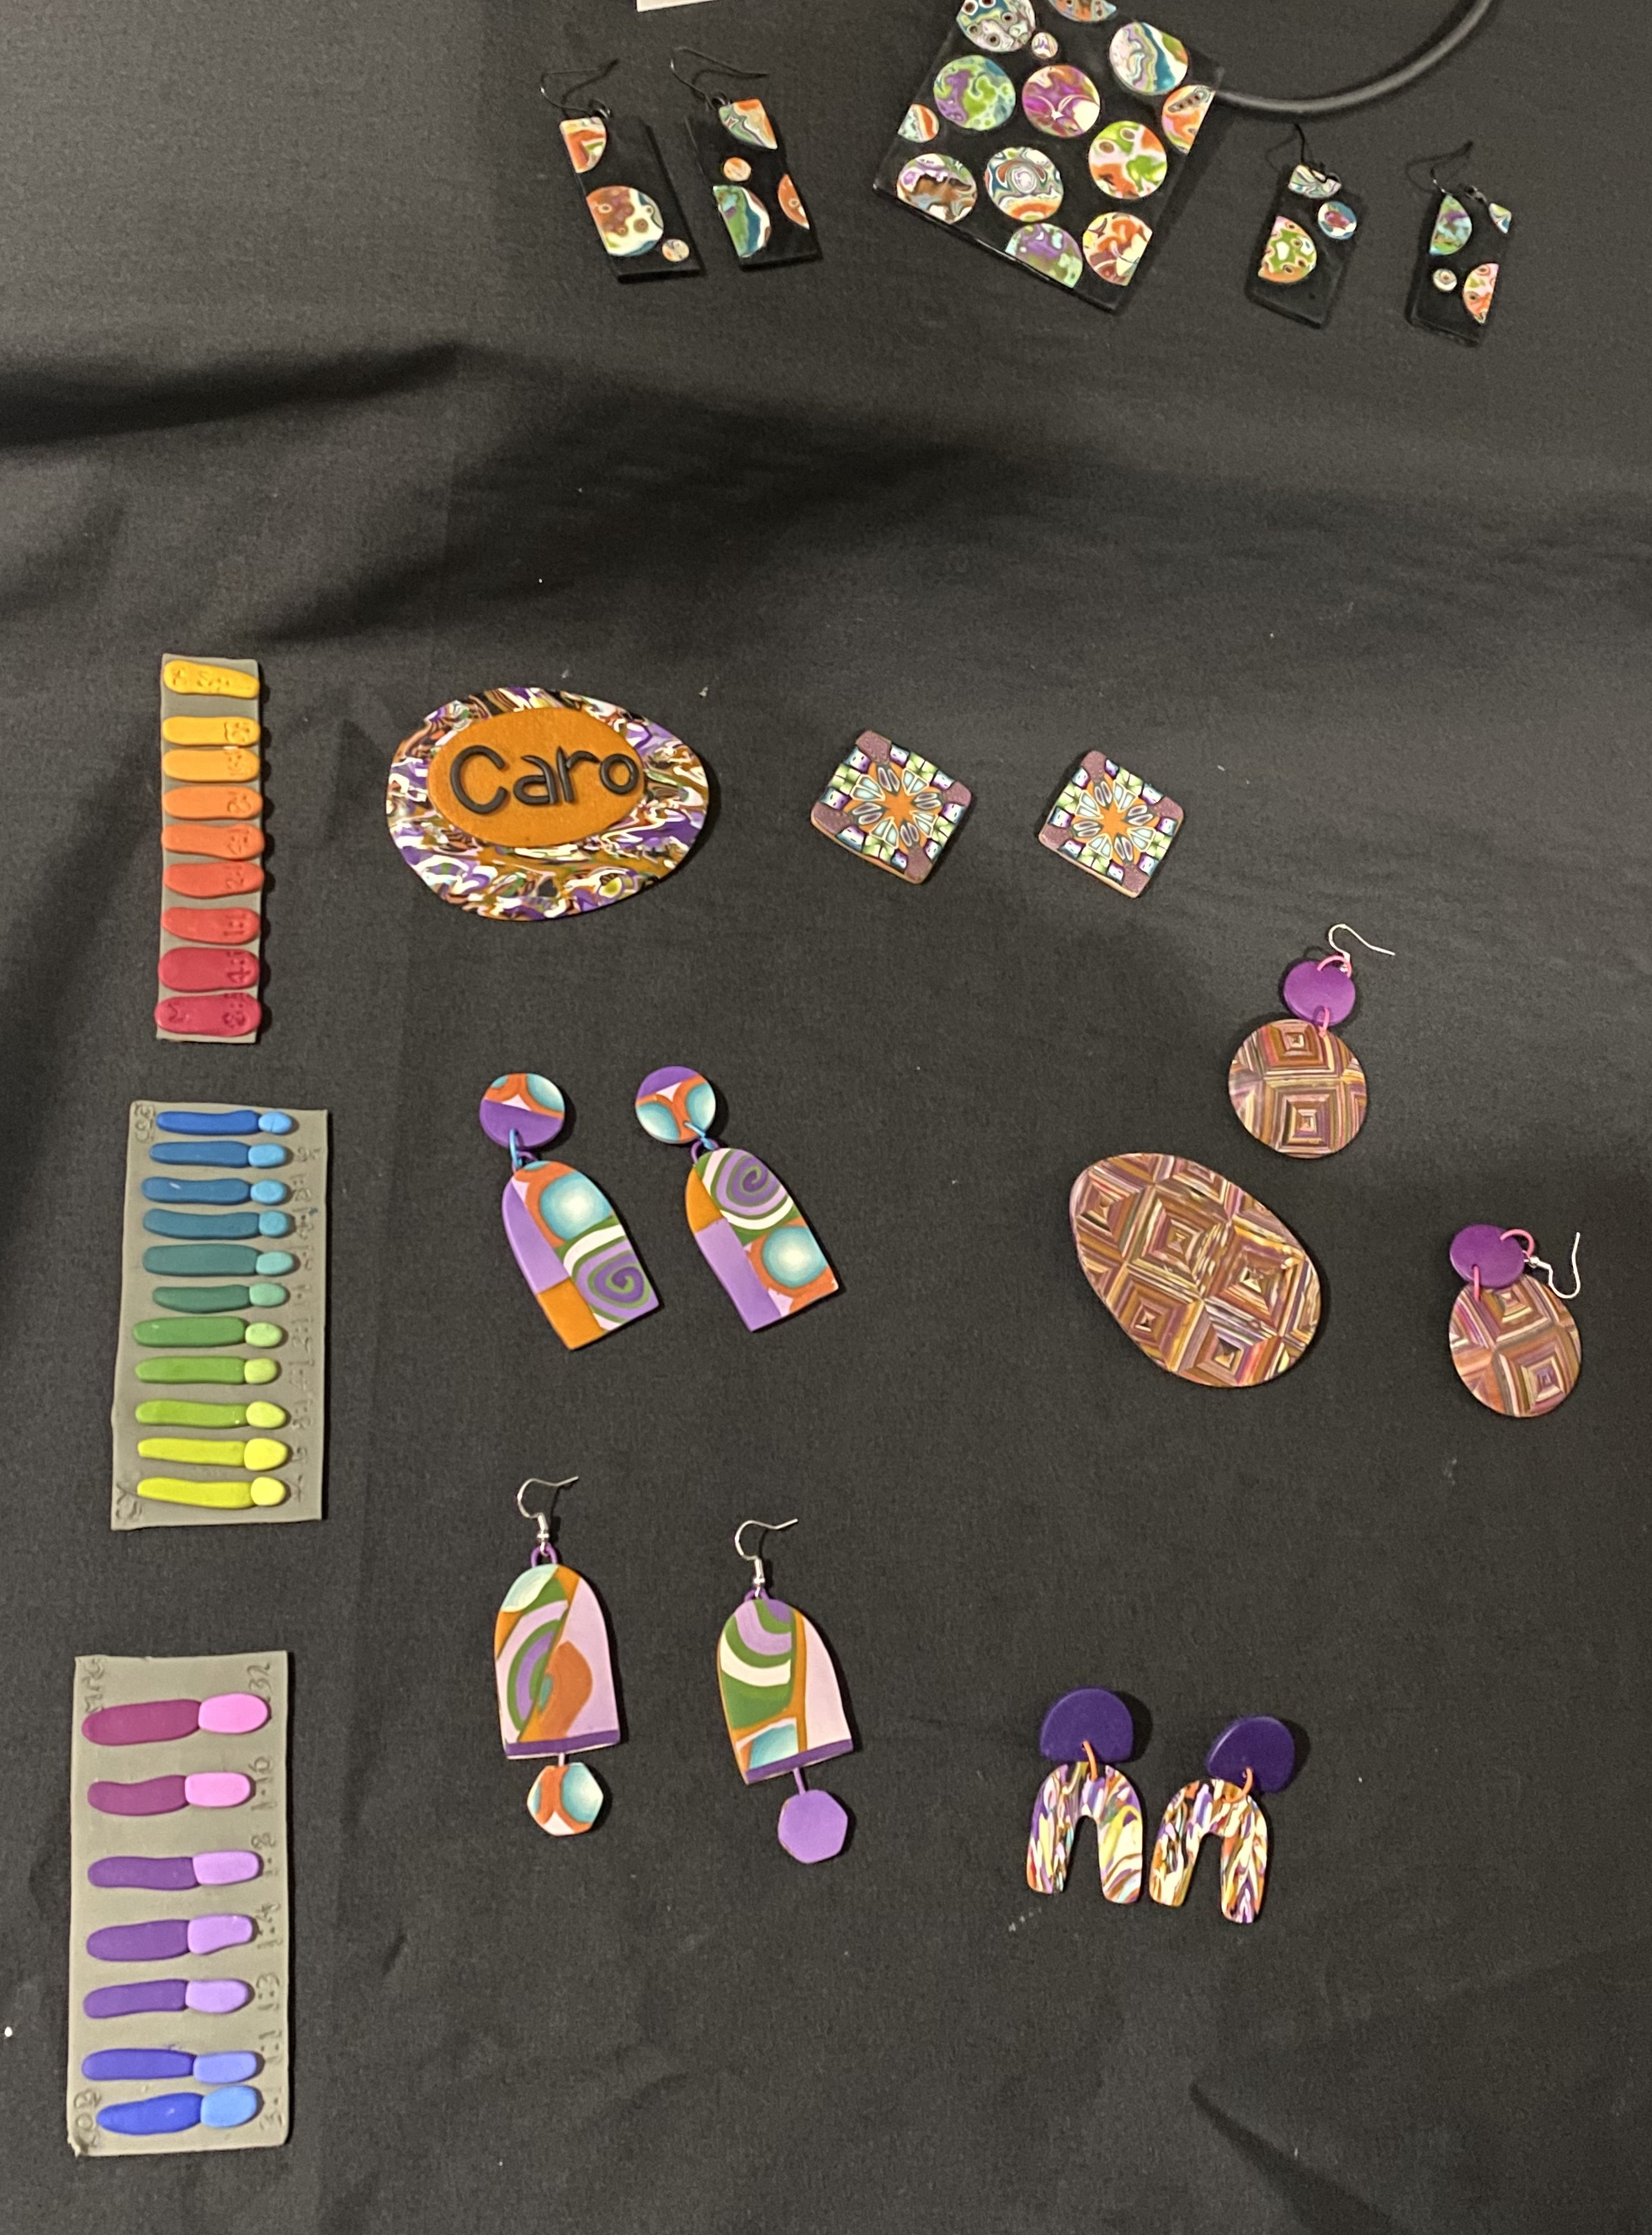
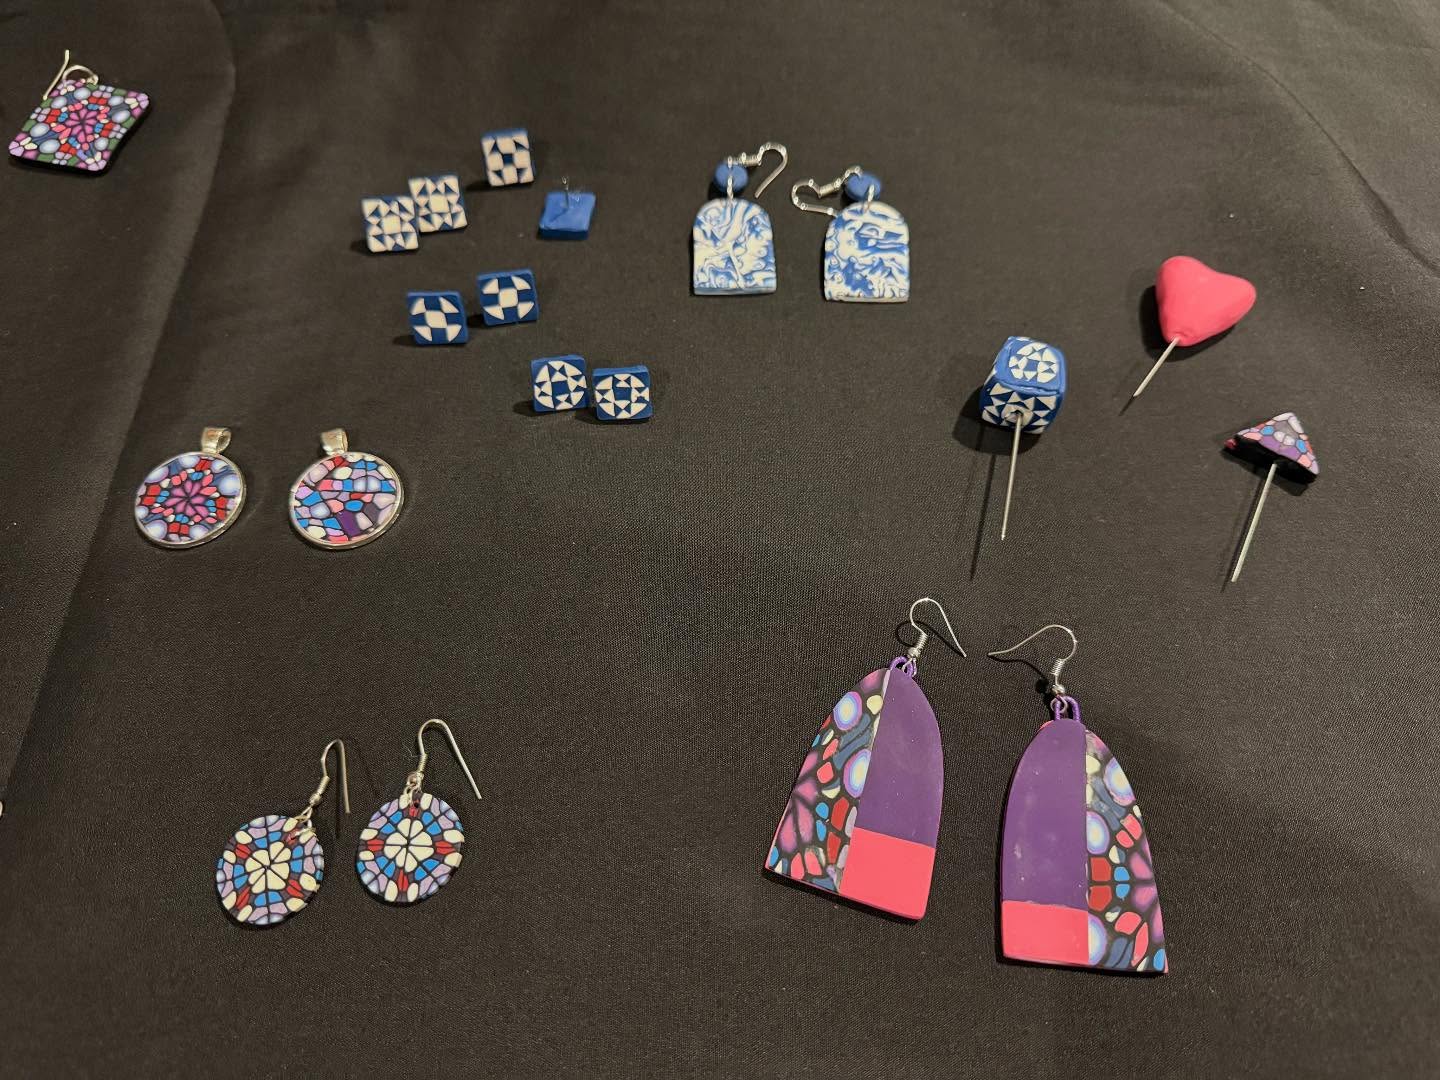
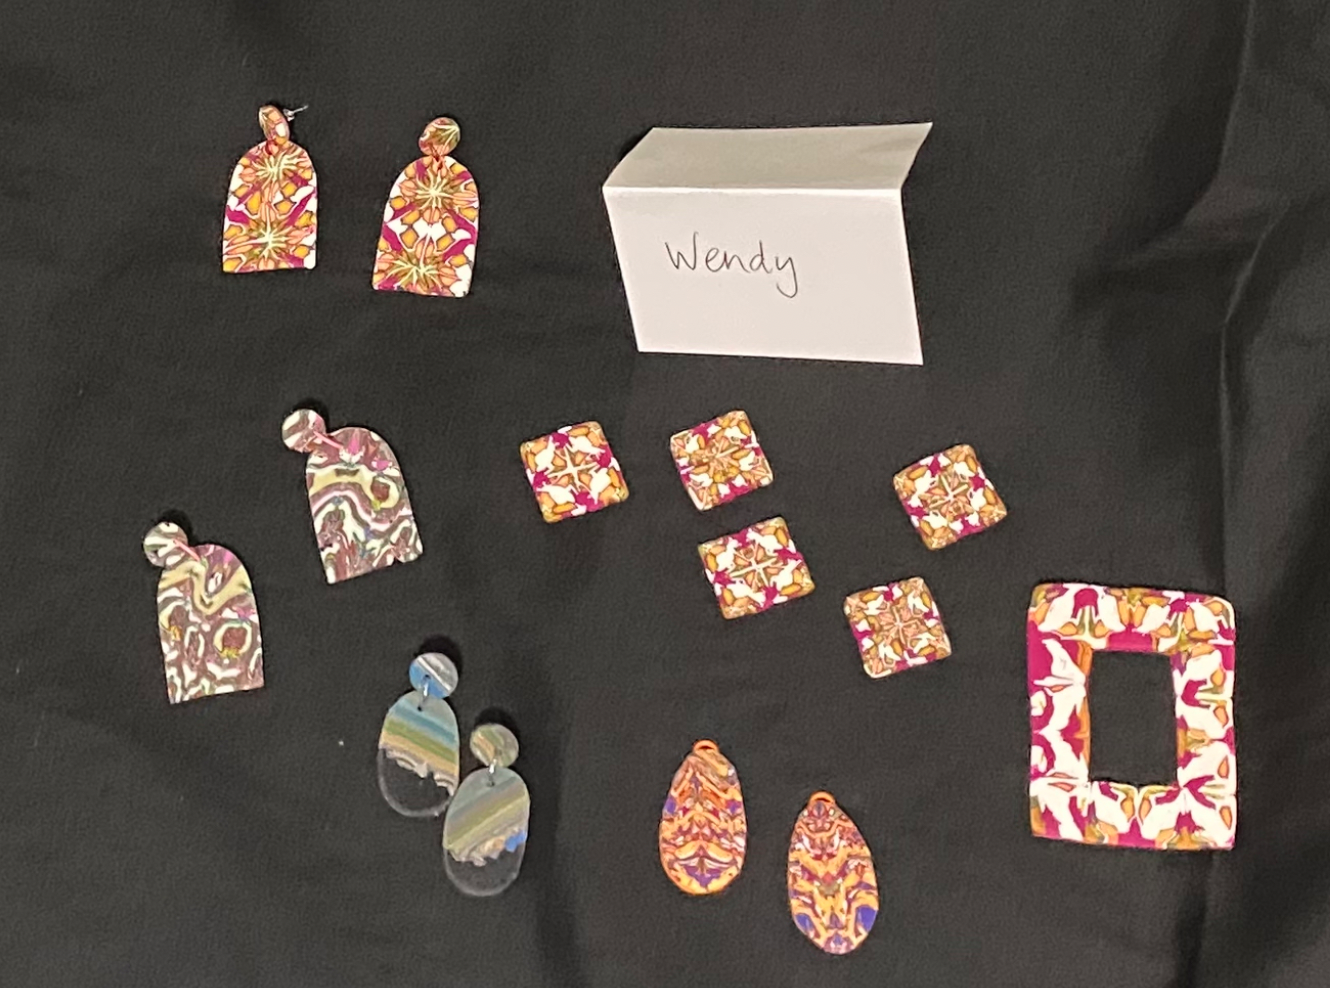
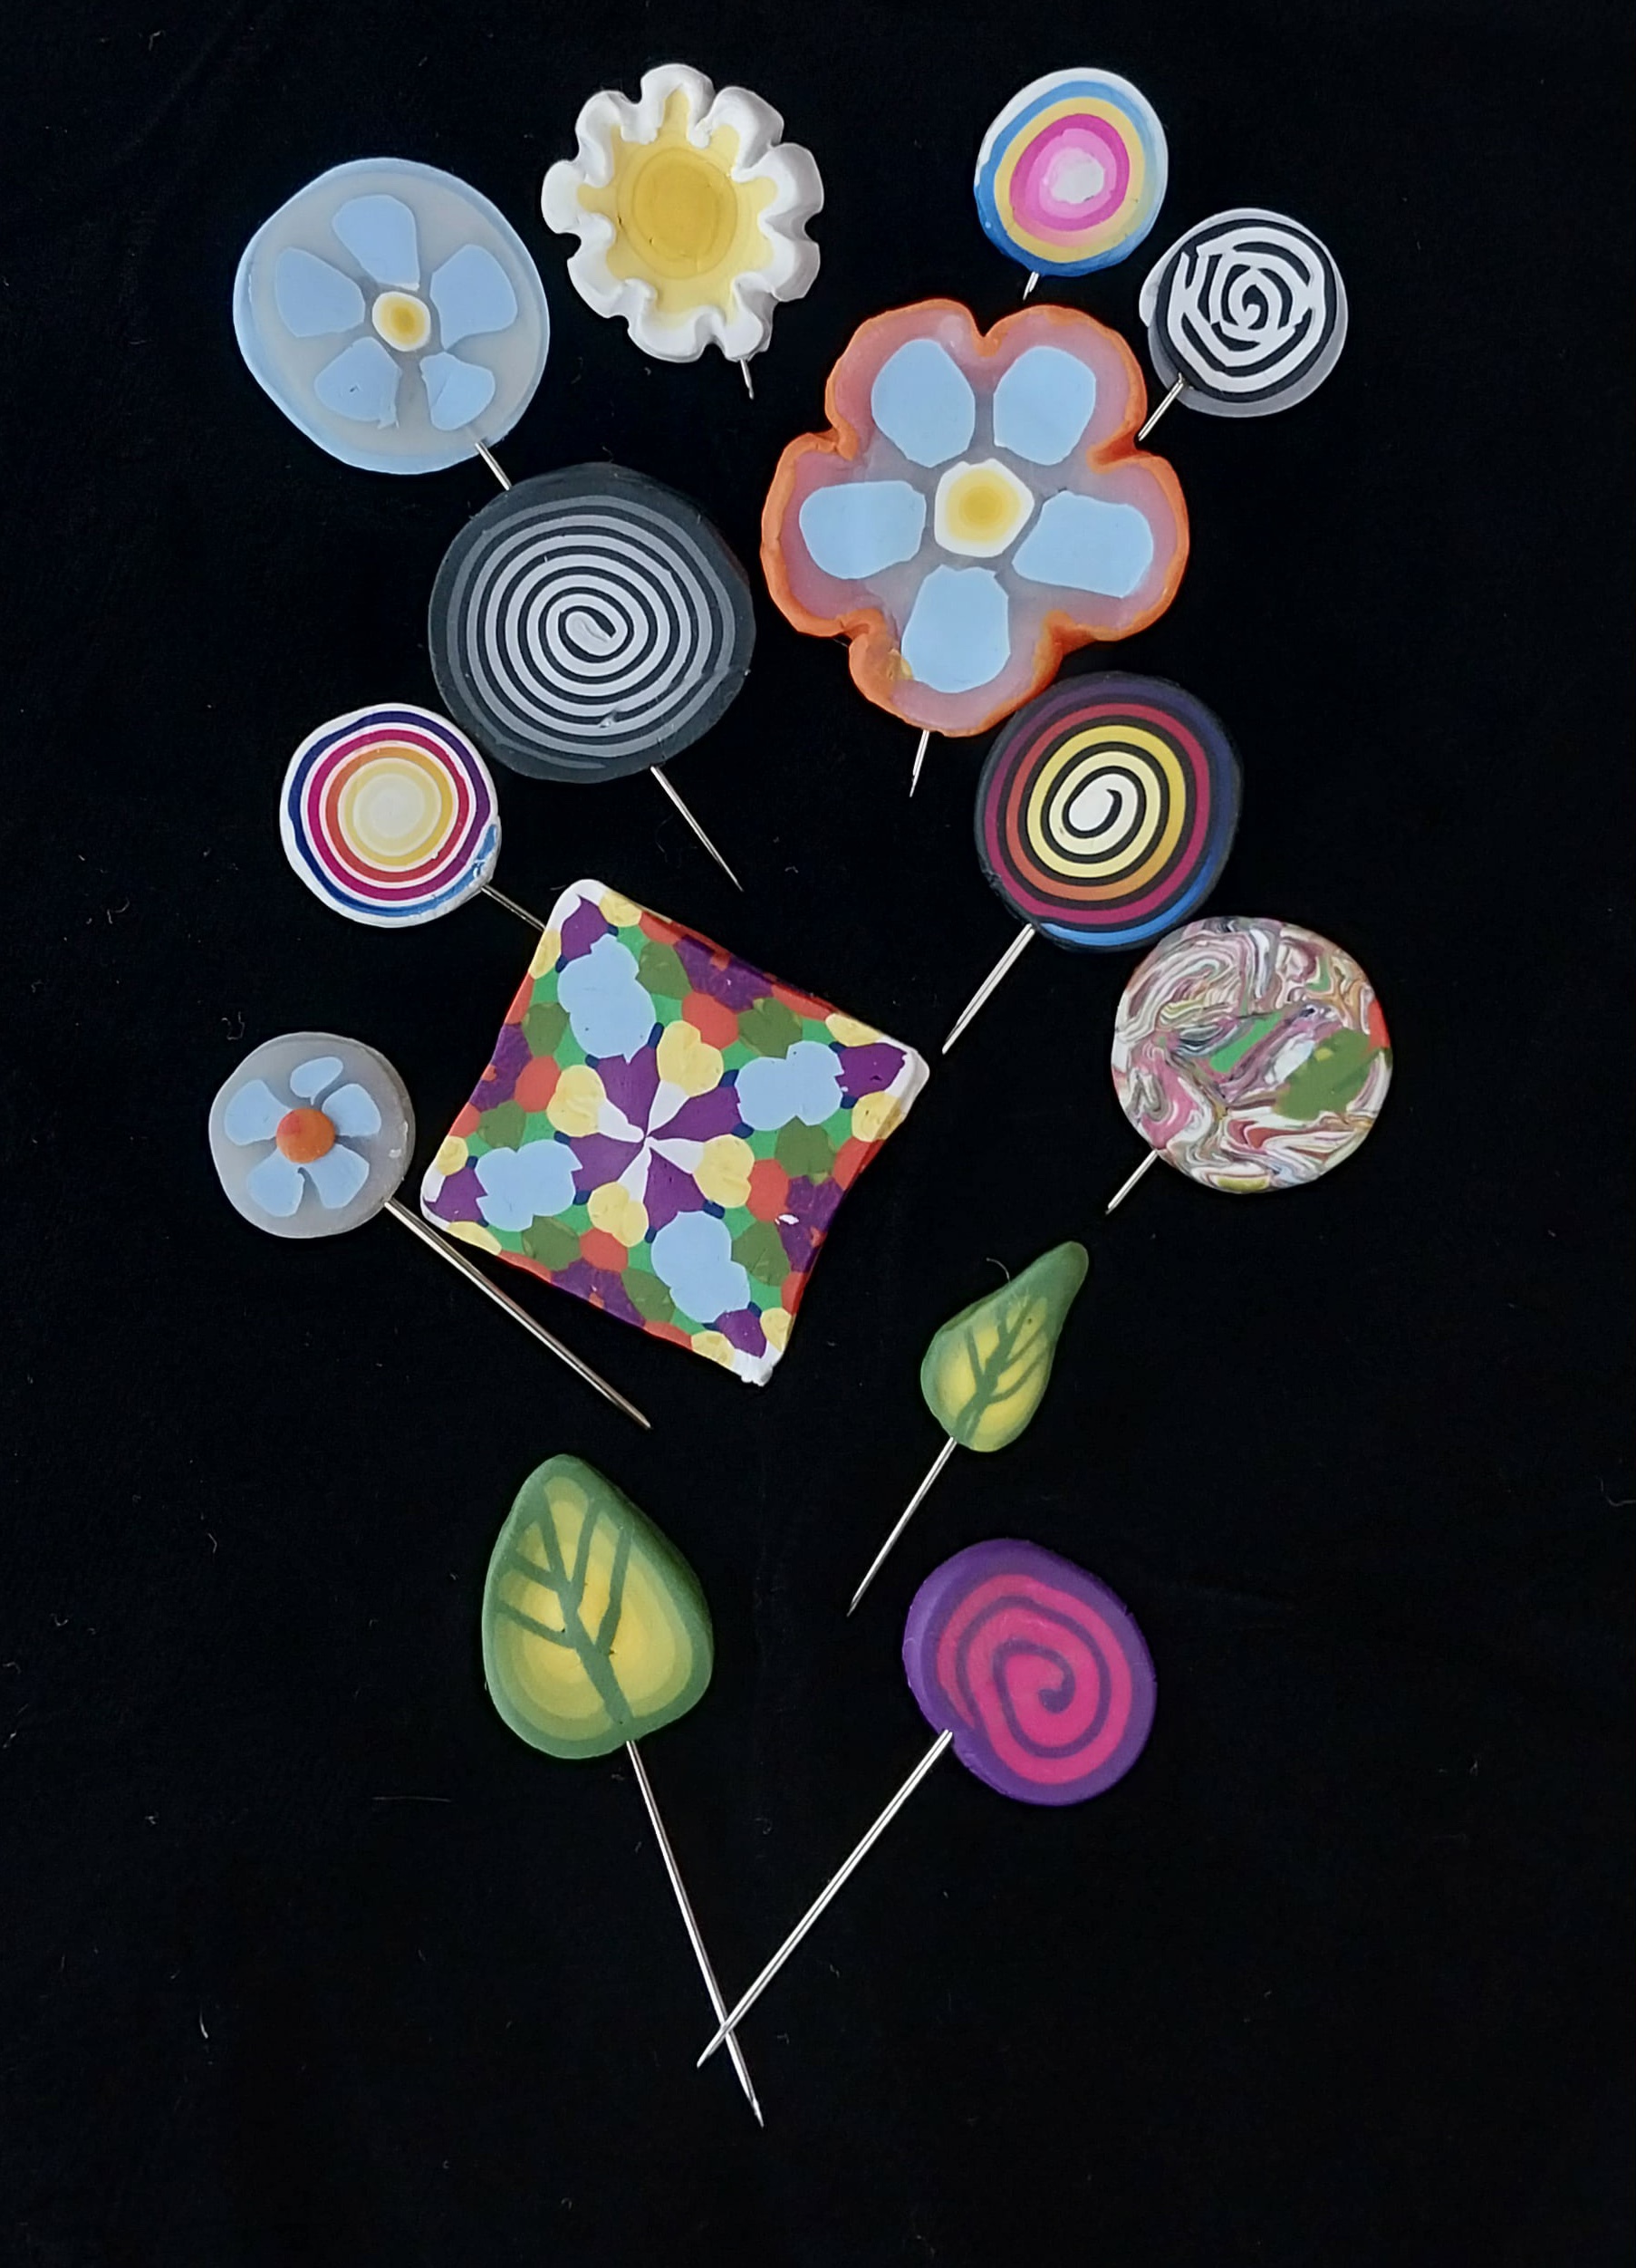
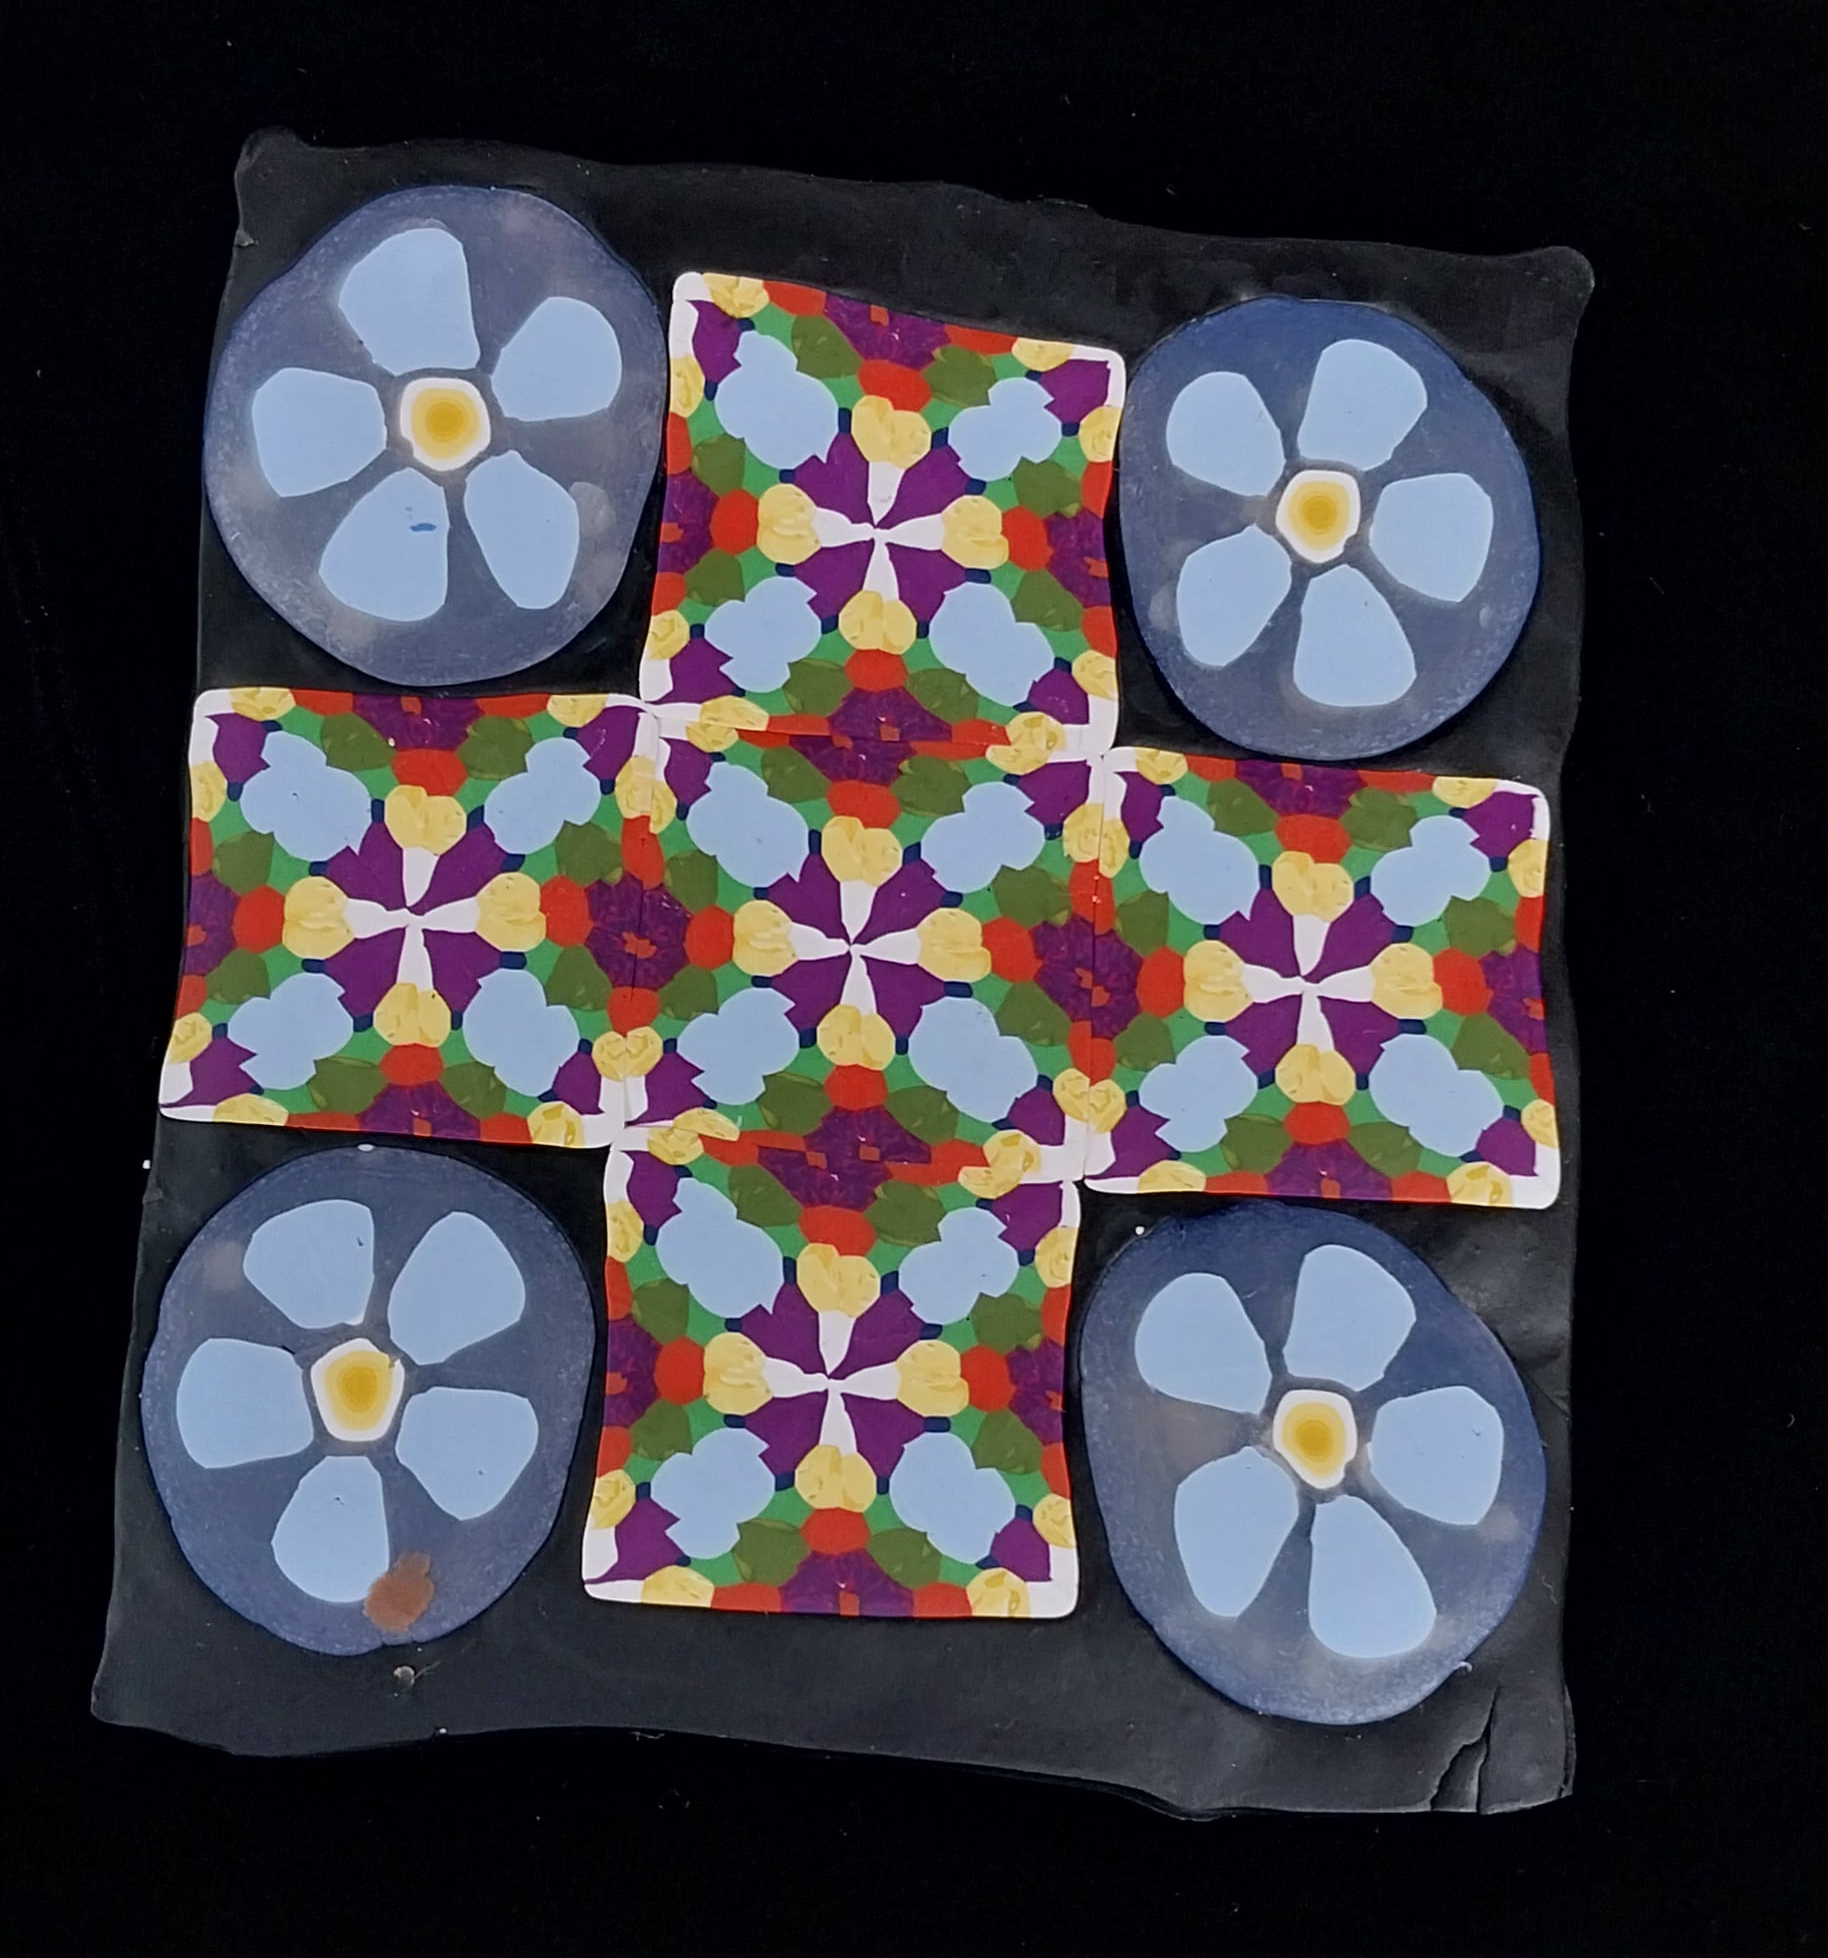

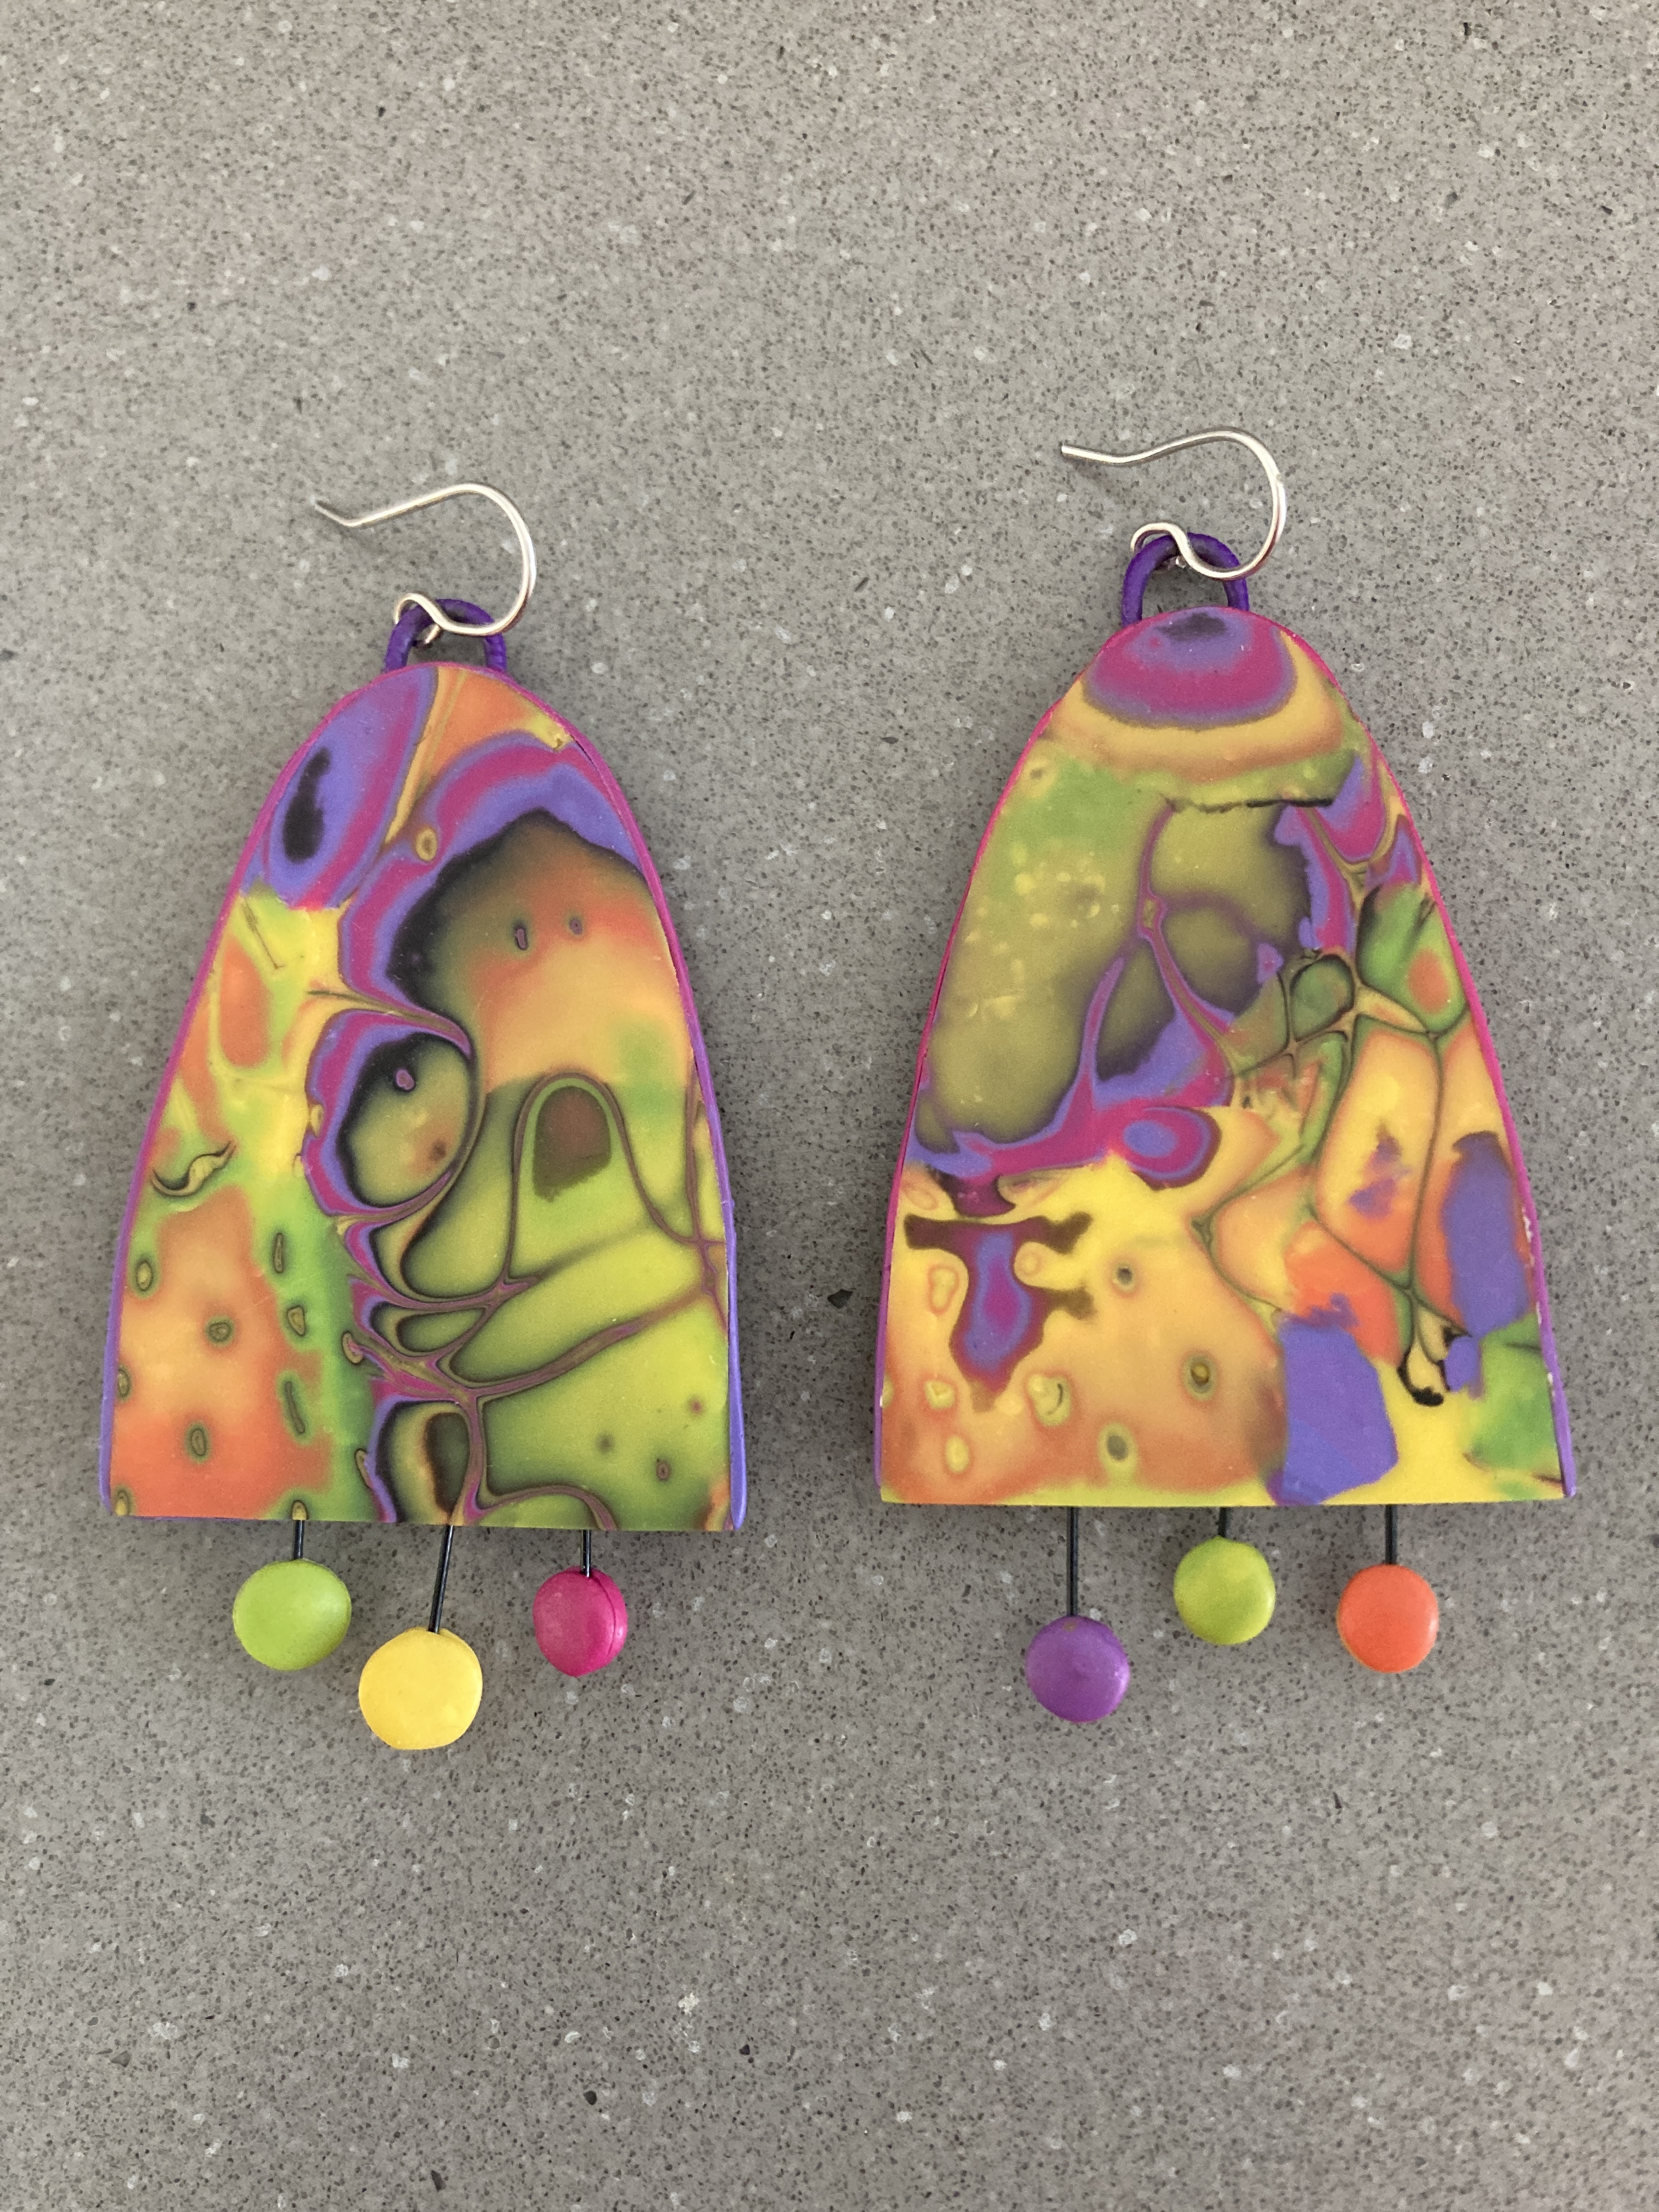
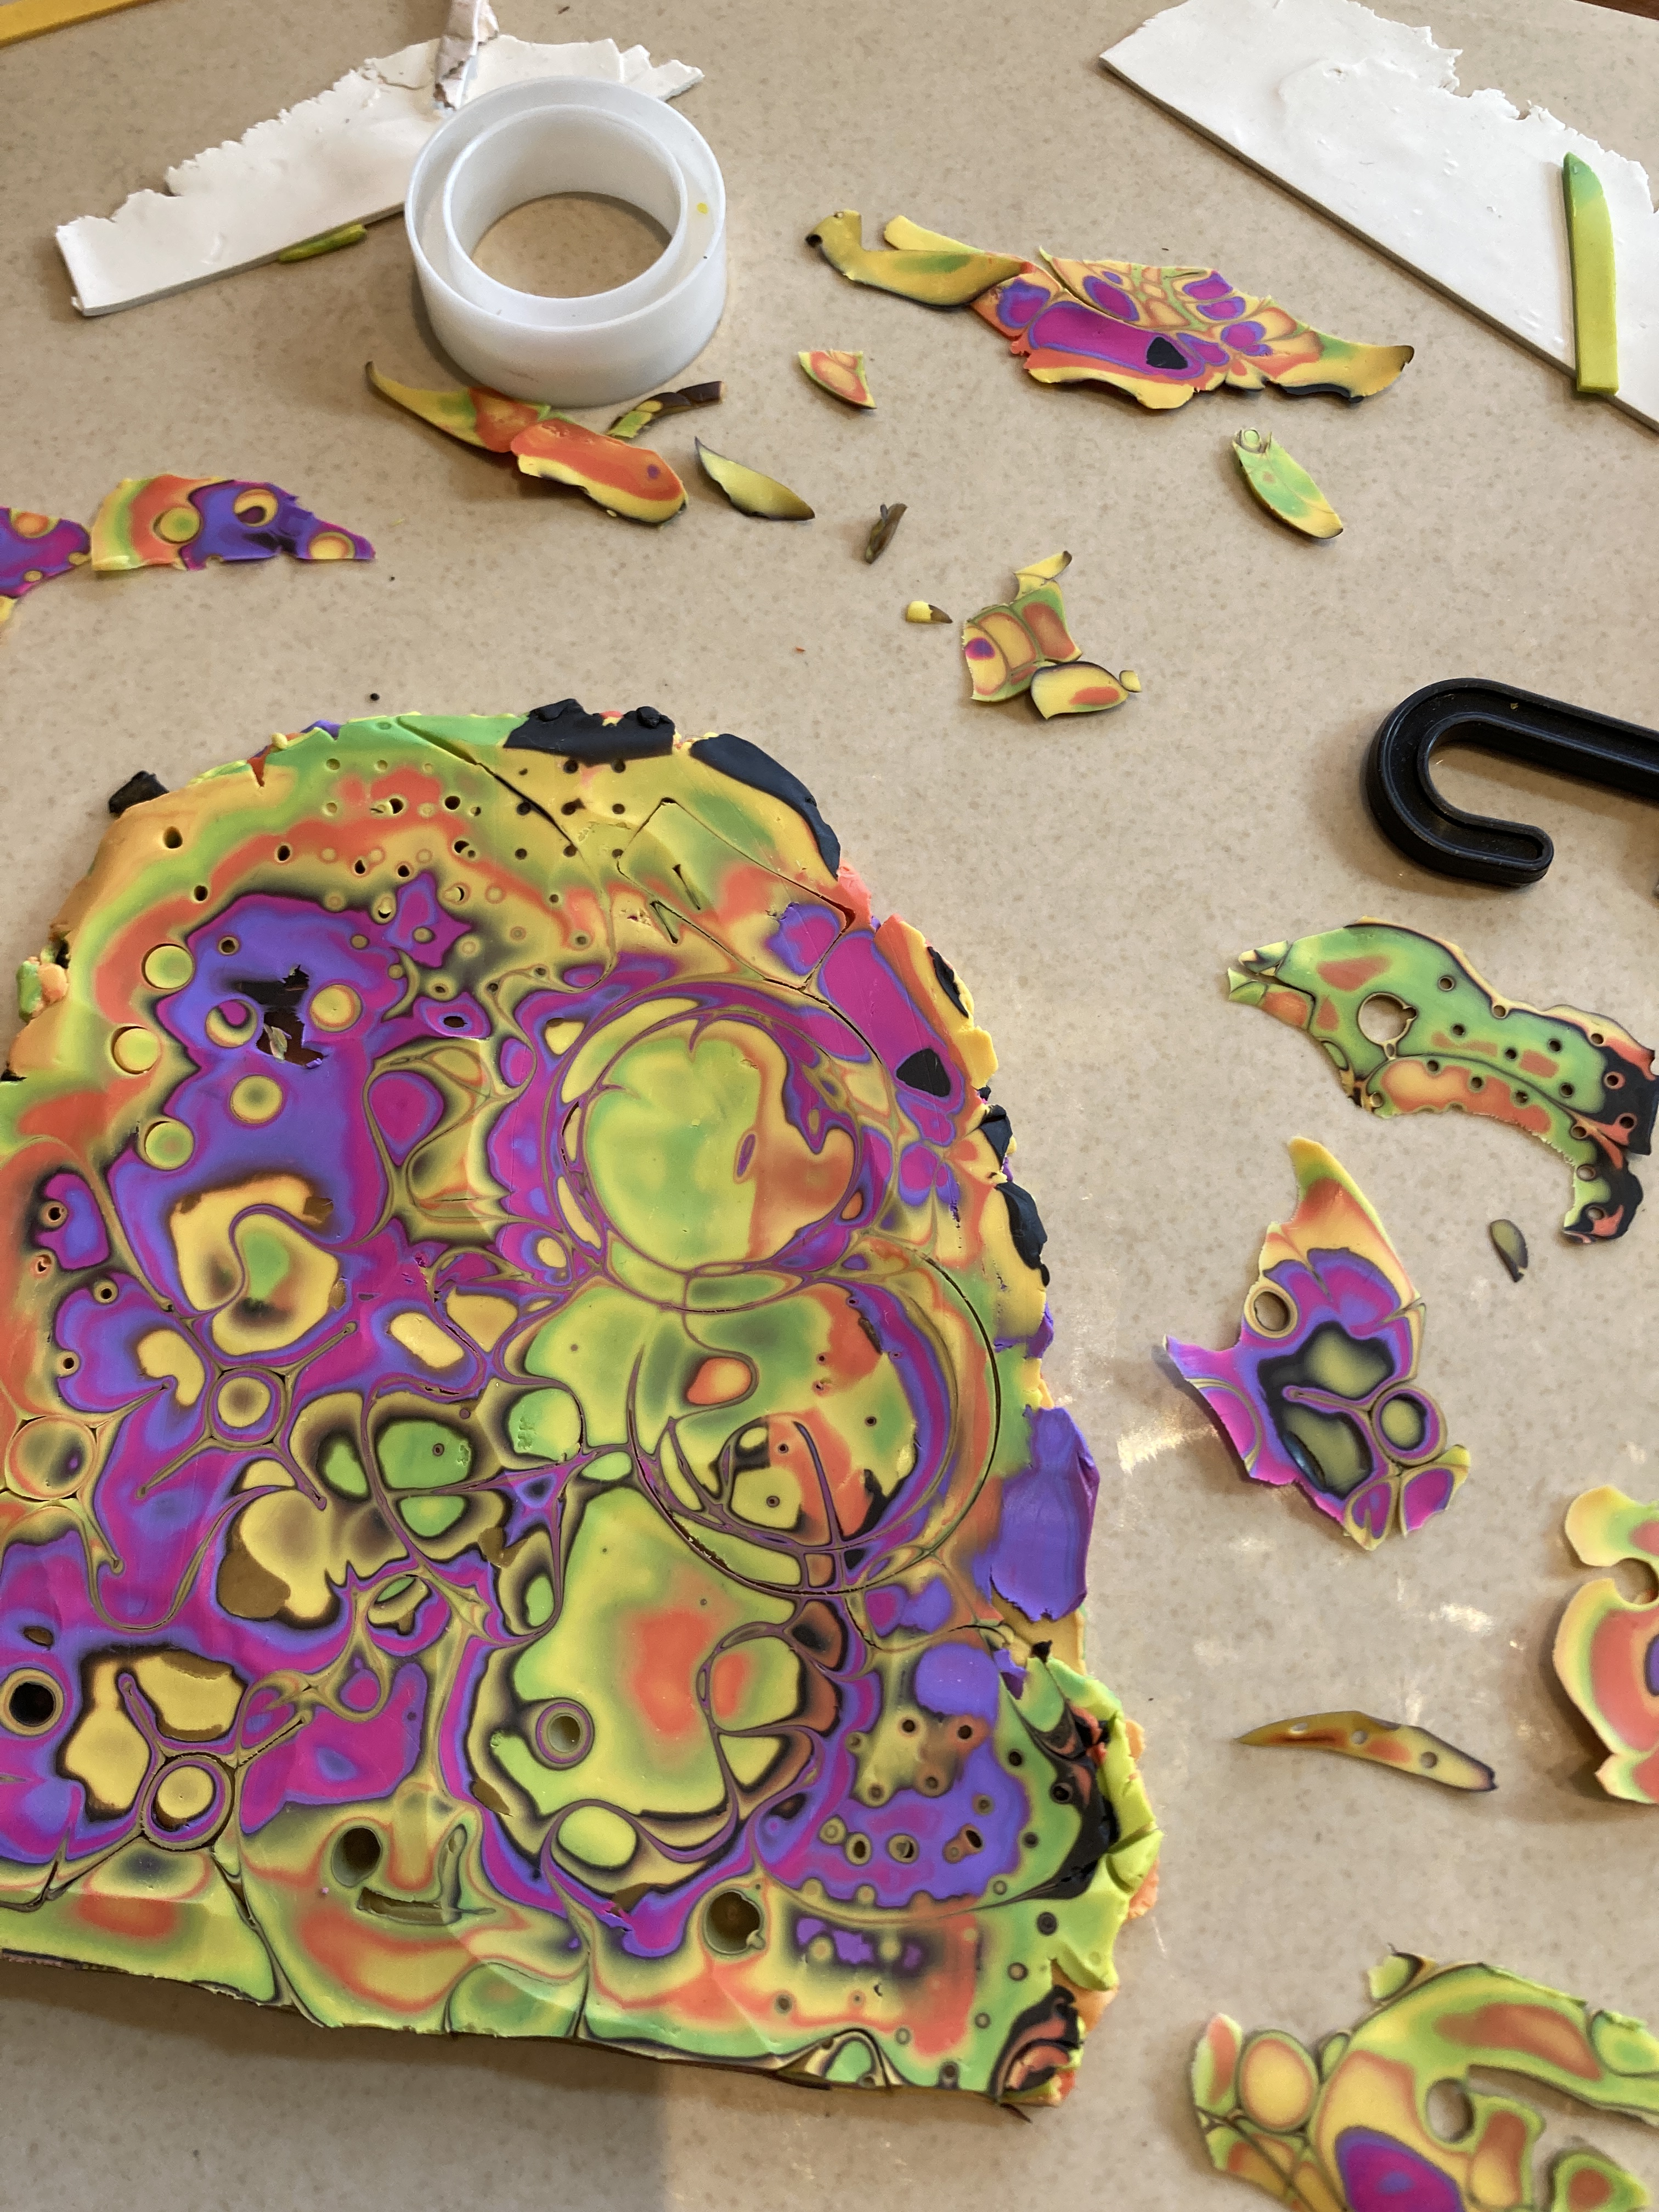
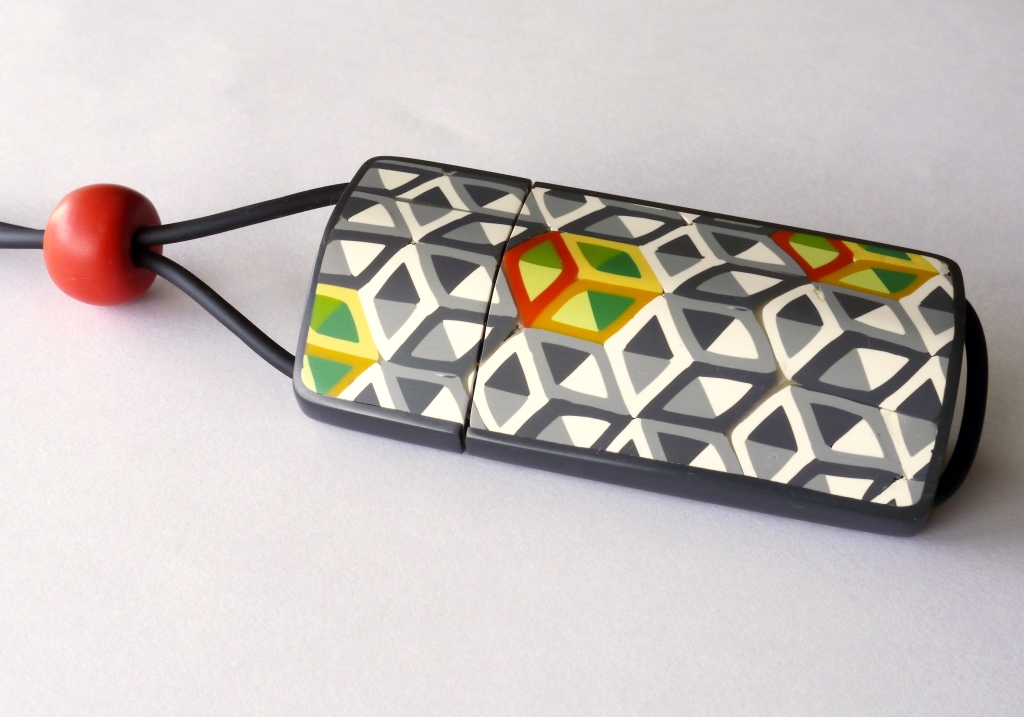
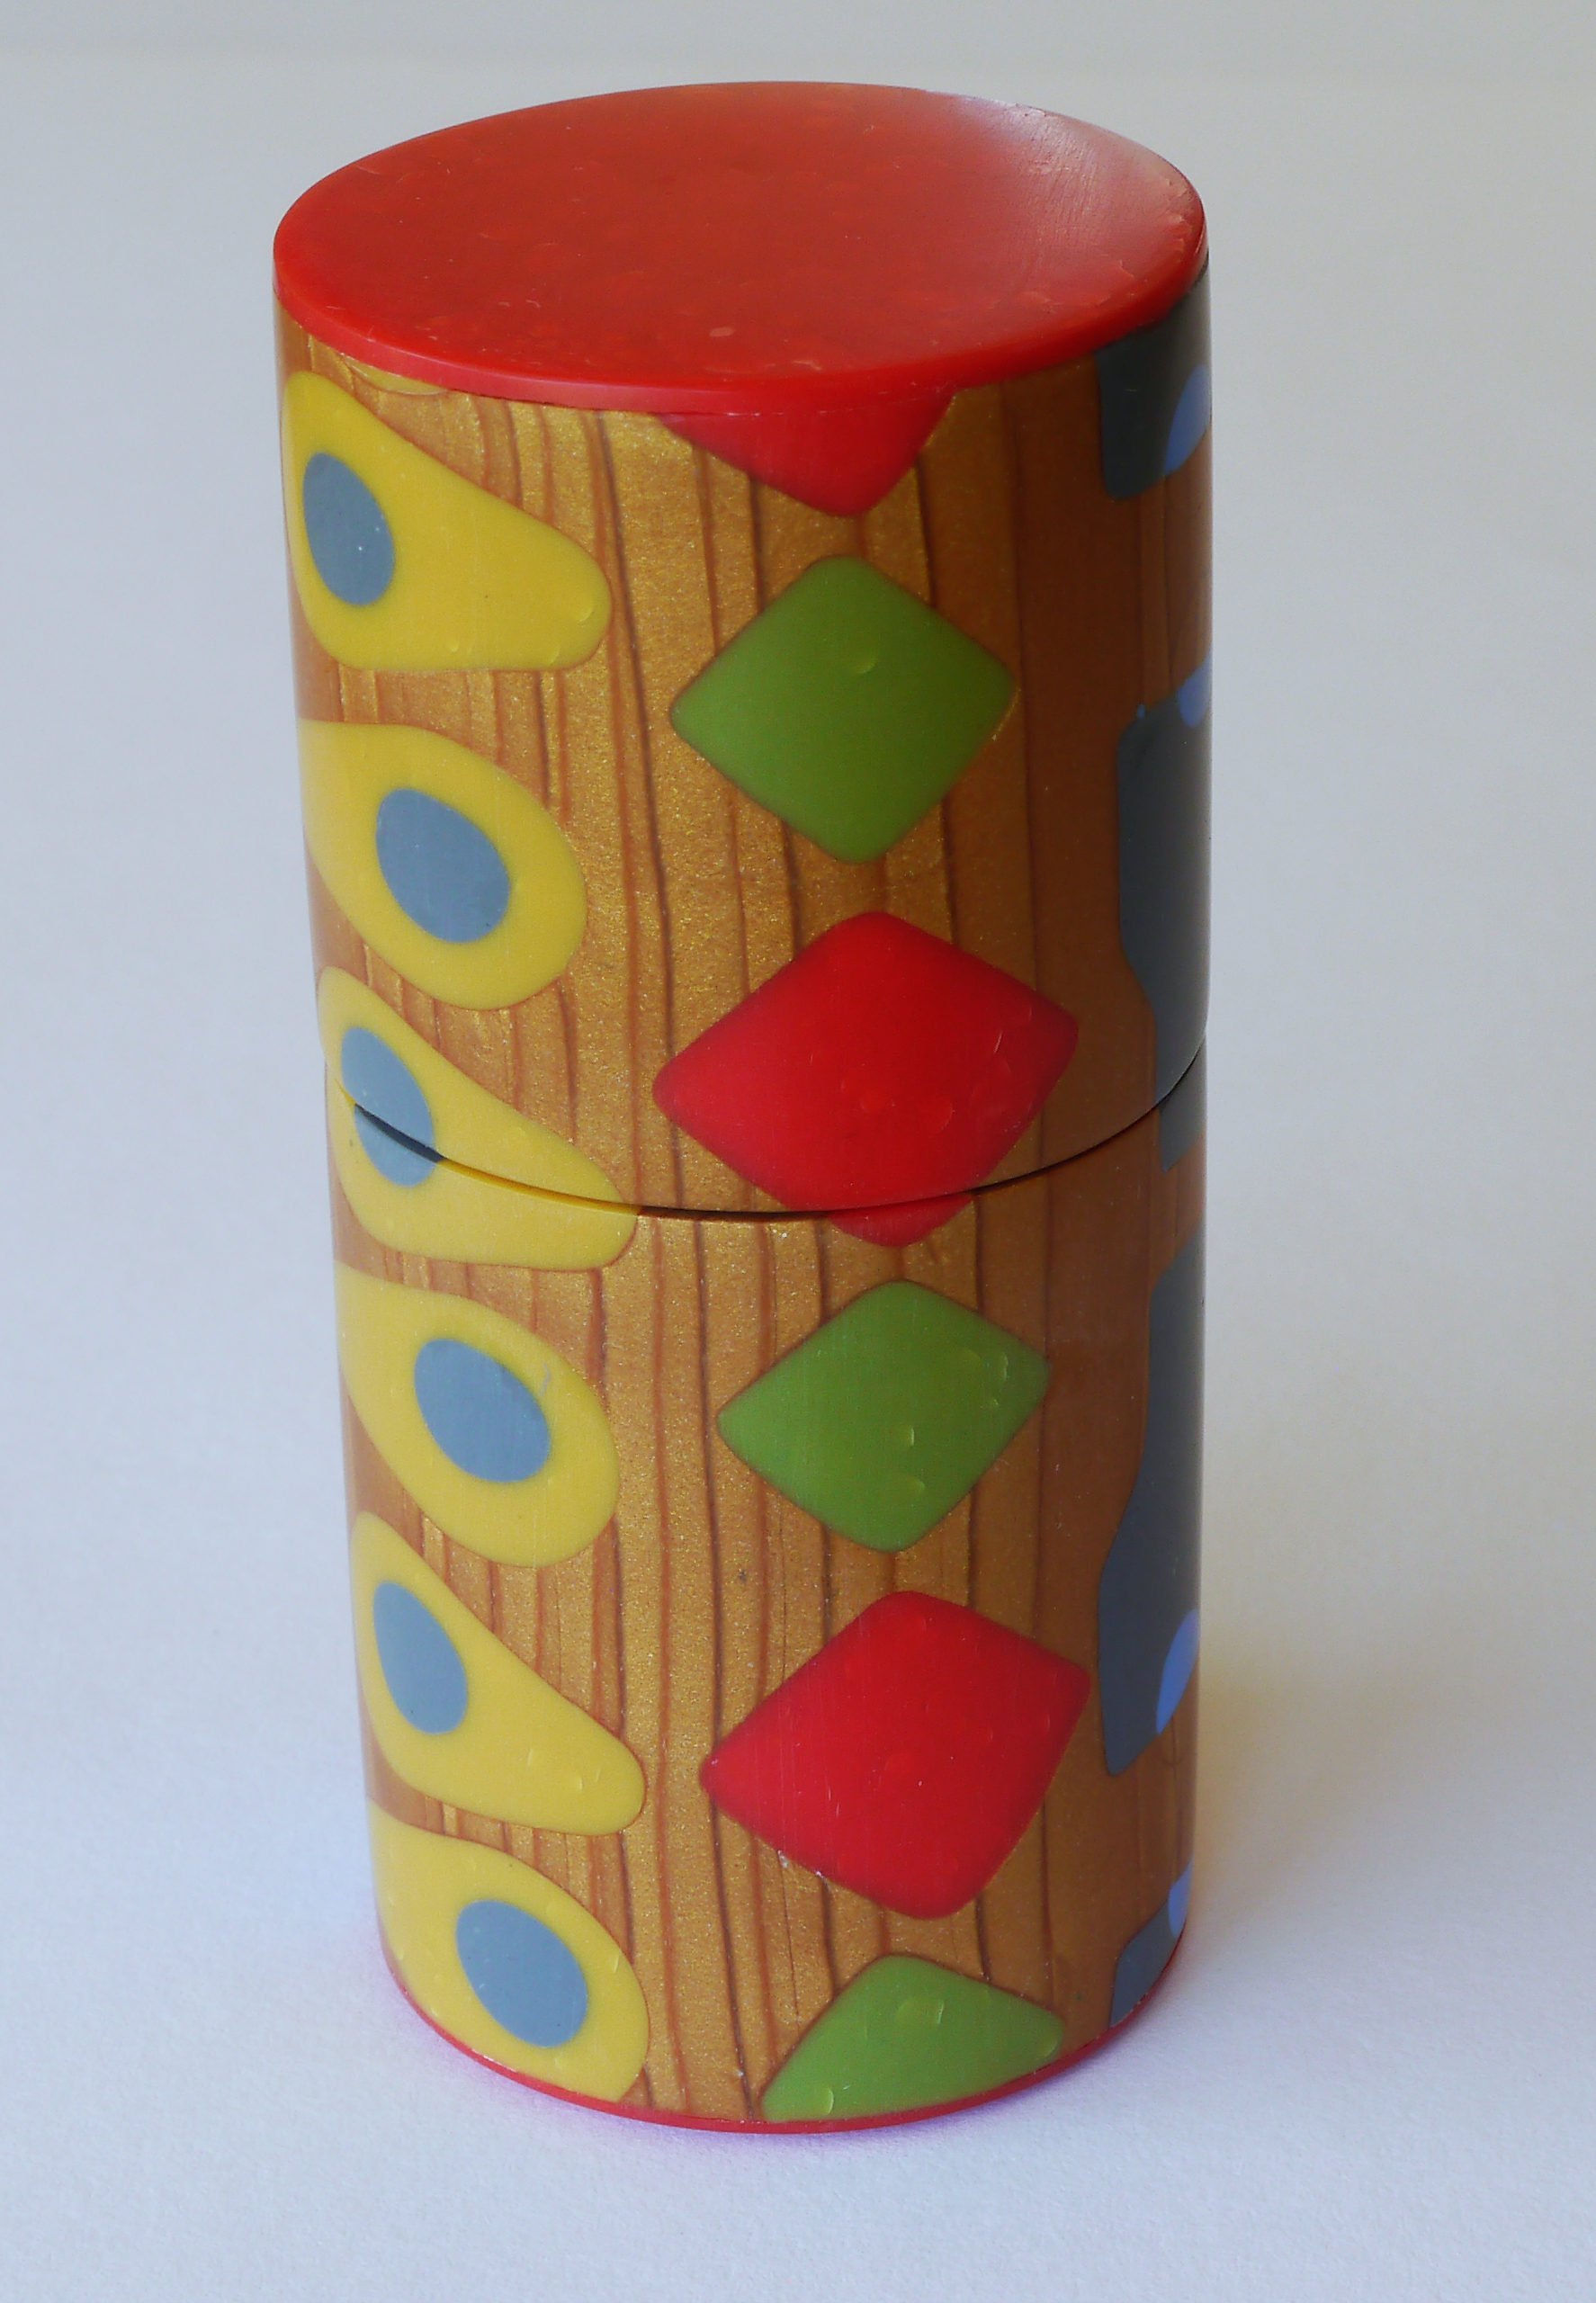
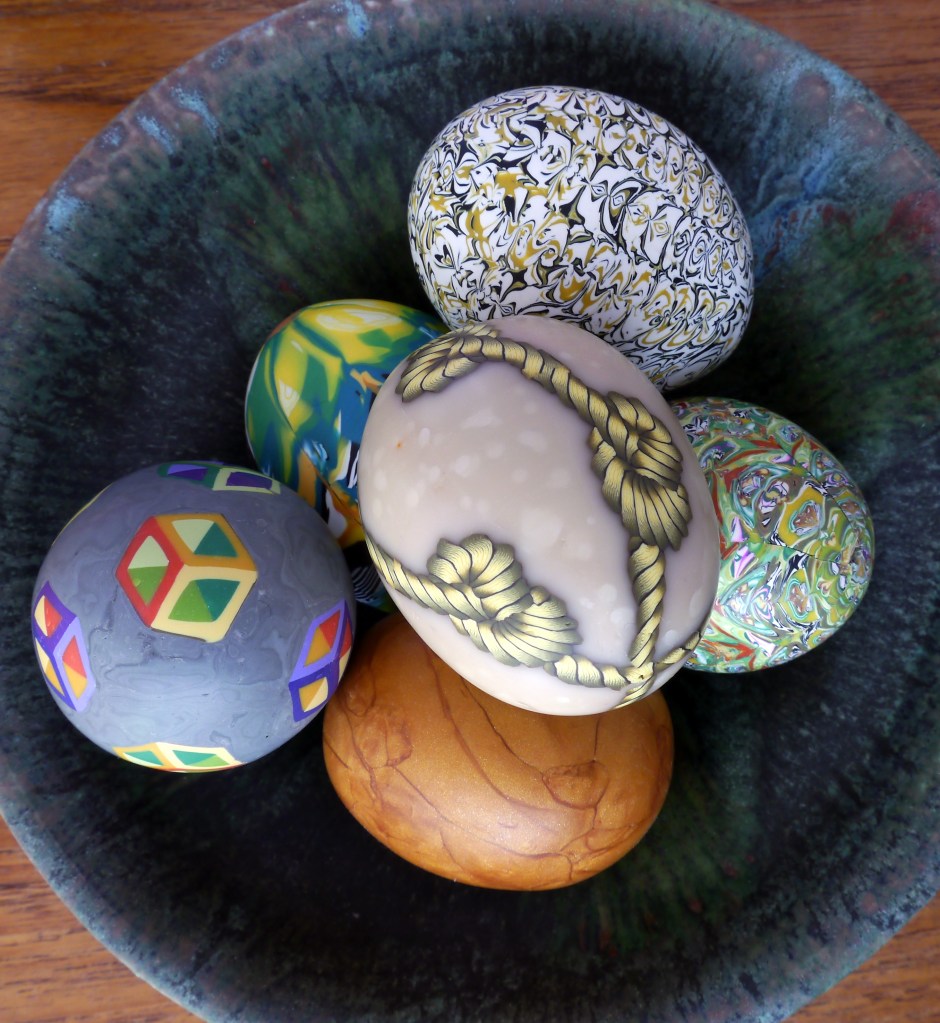
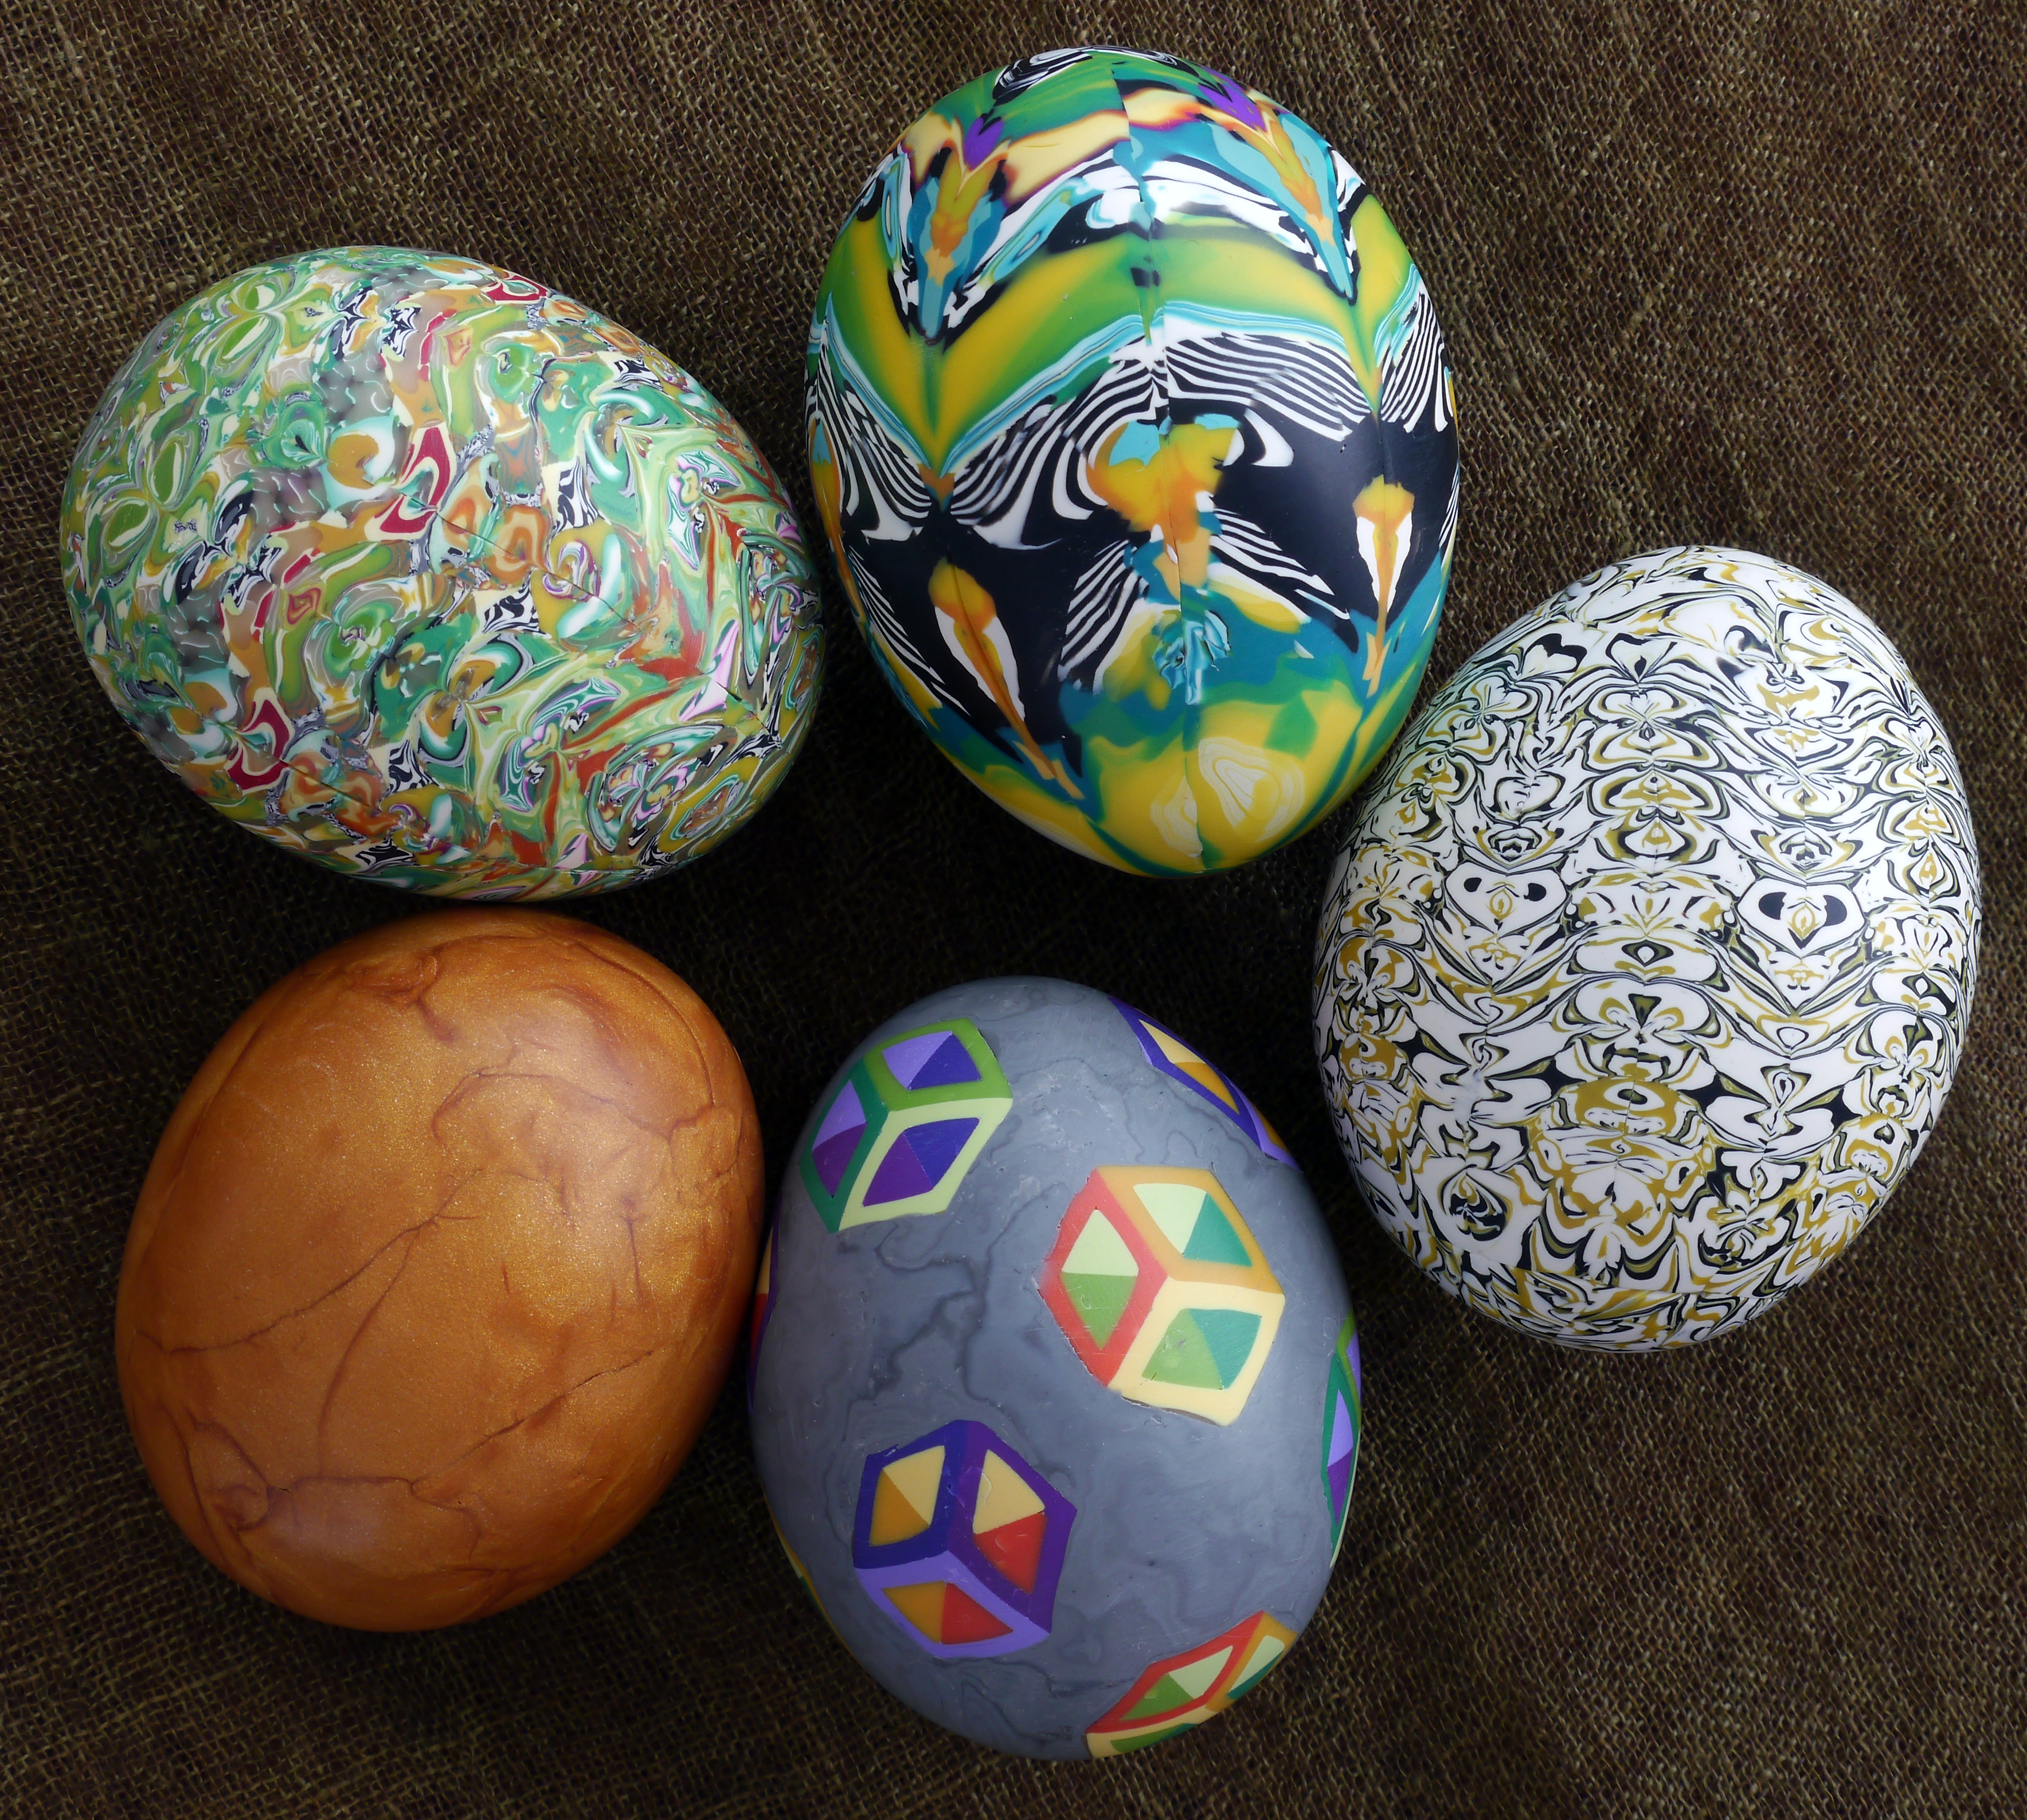
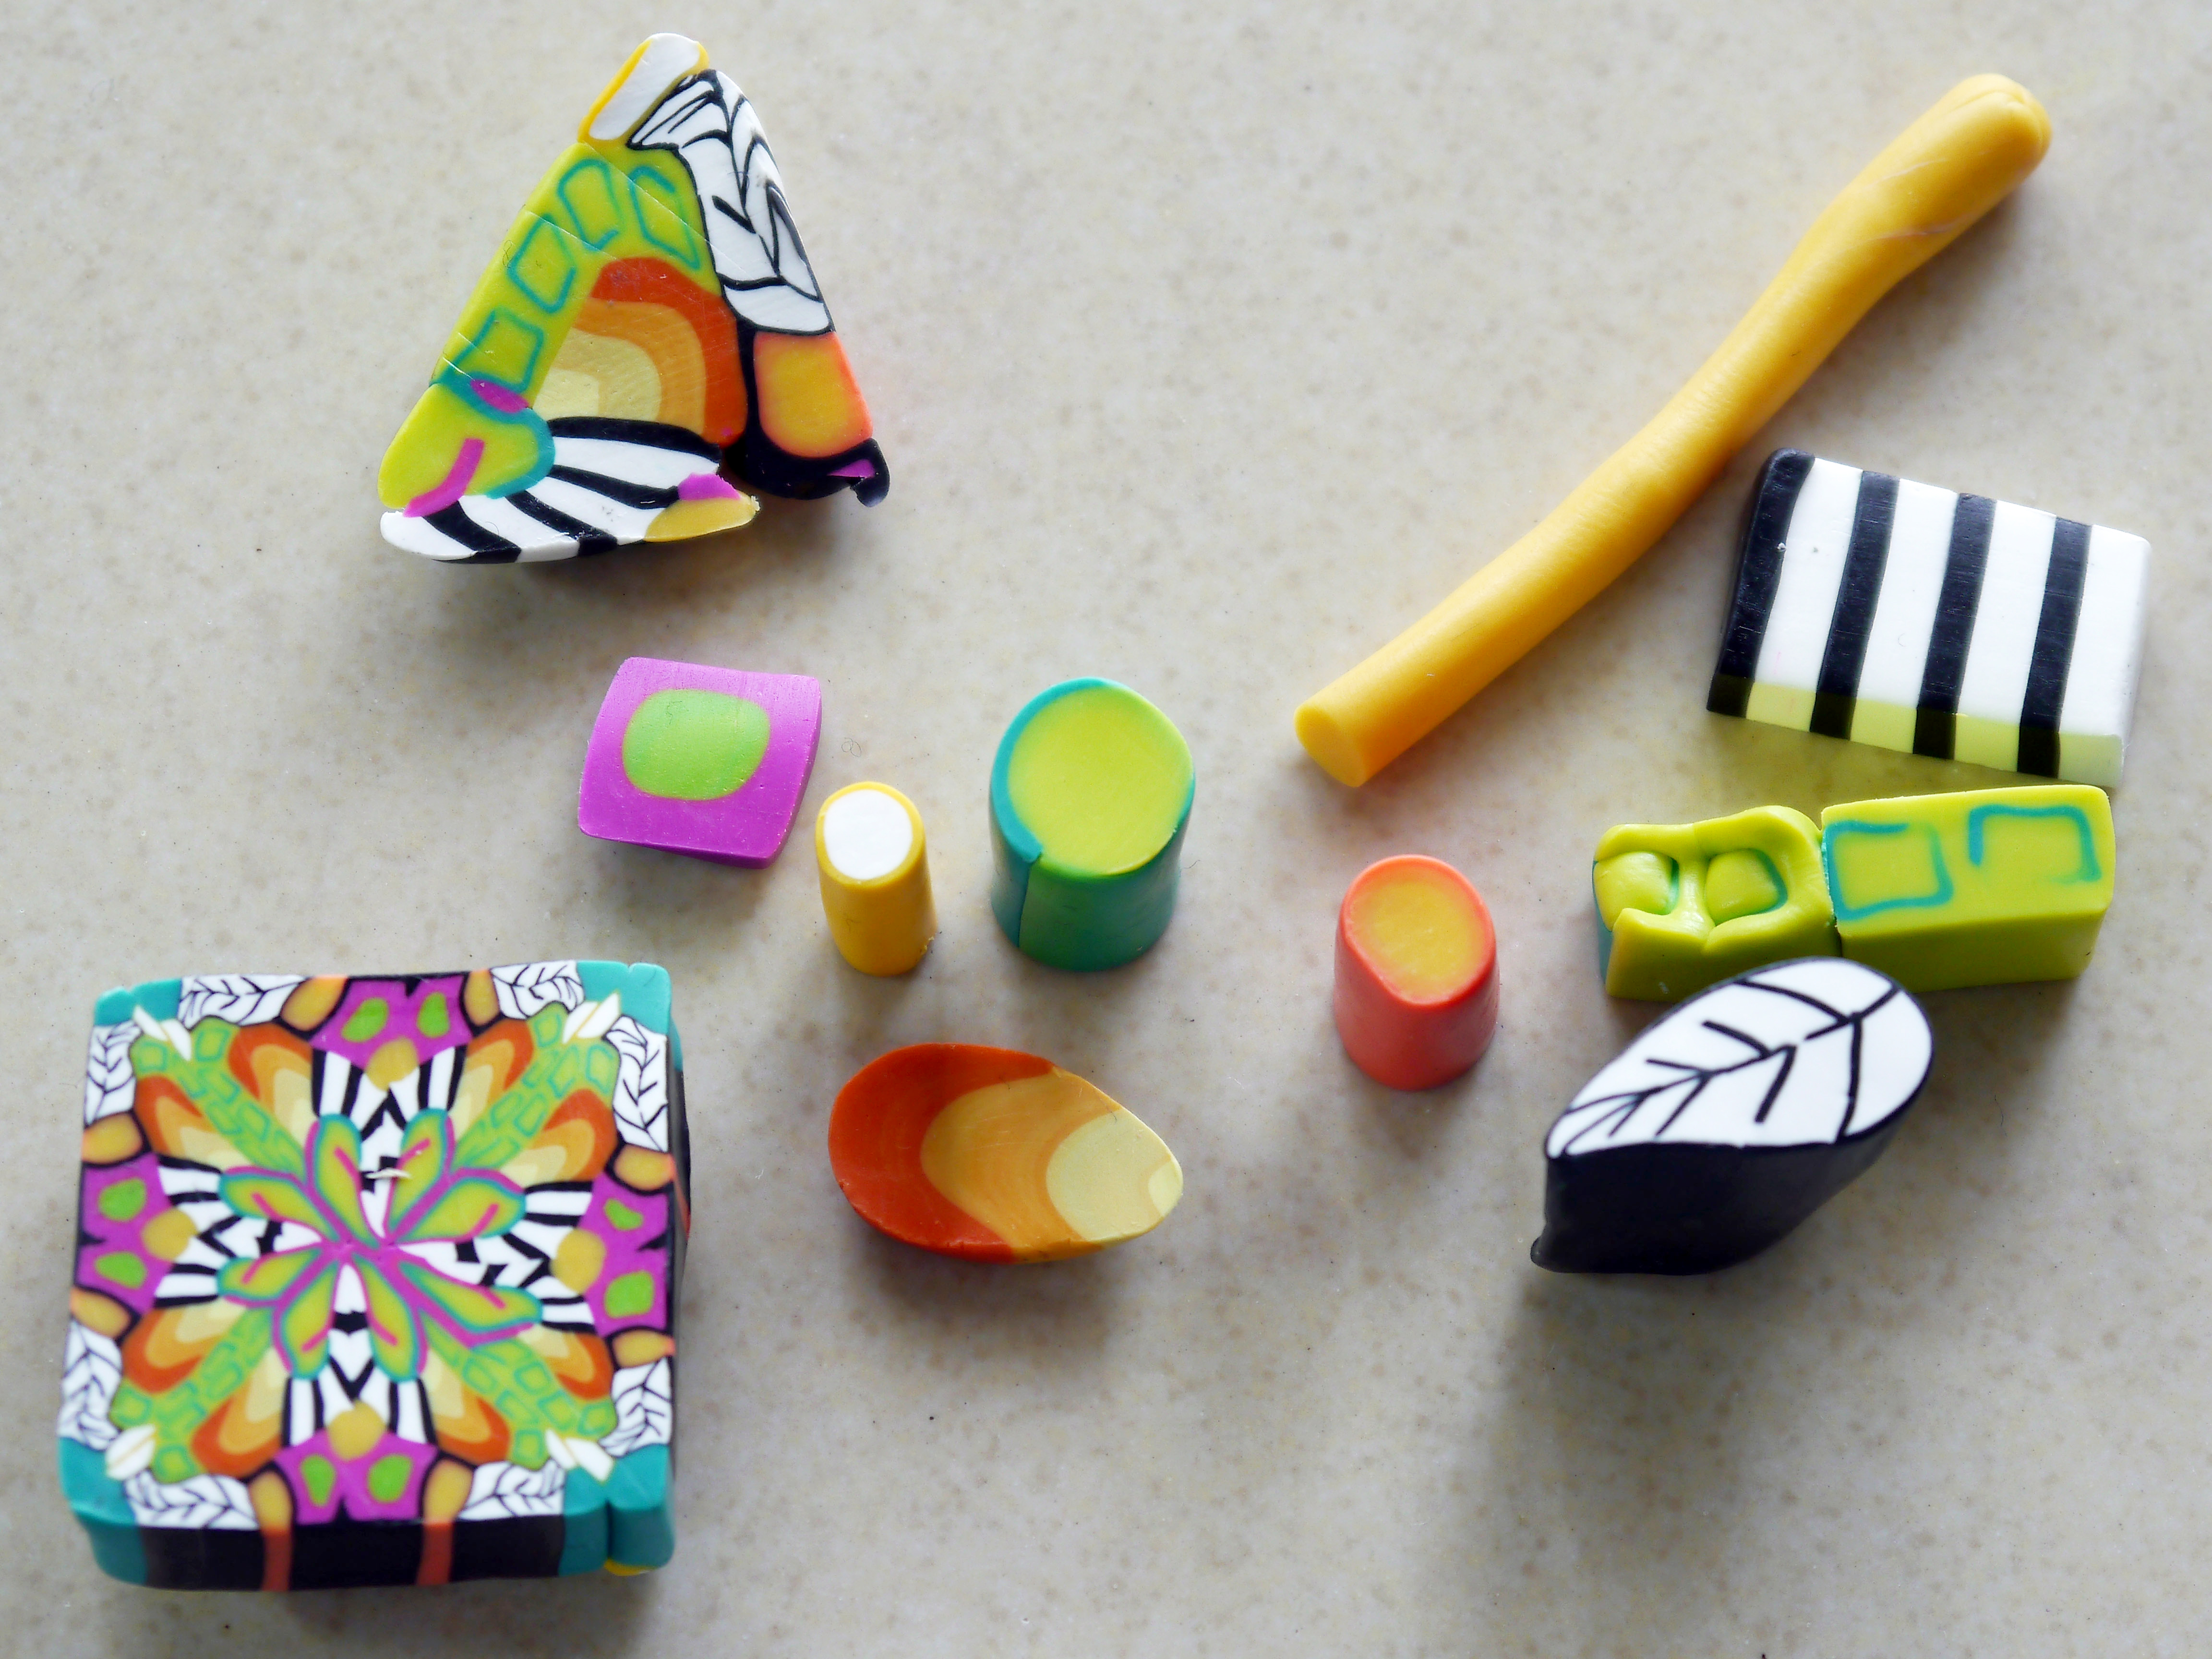
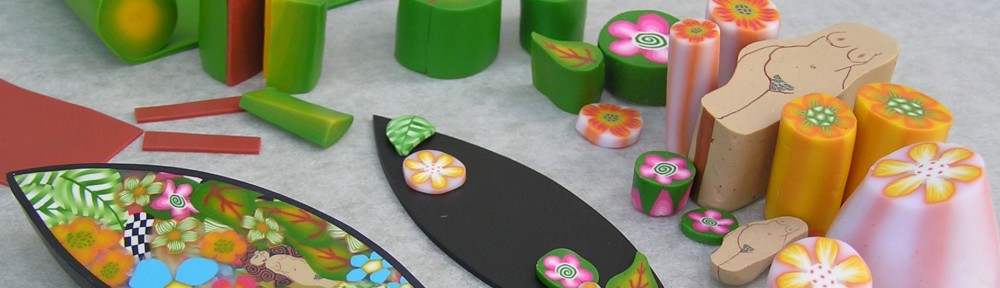
The classes at this retreat traditionally teach students various techniques, and while some design guidance is provided, students are encouraged to take the techniques in any direction they choose. You can see by the photos above how wide-ranging the student work was.
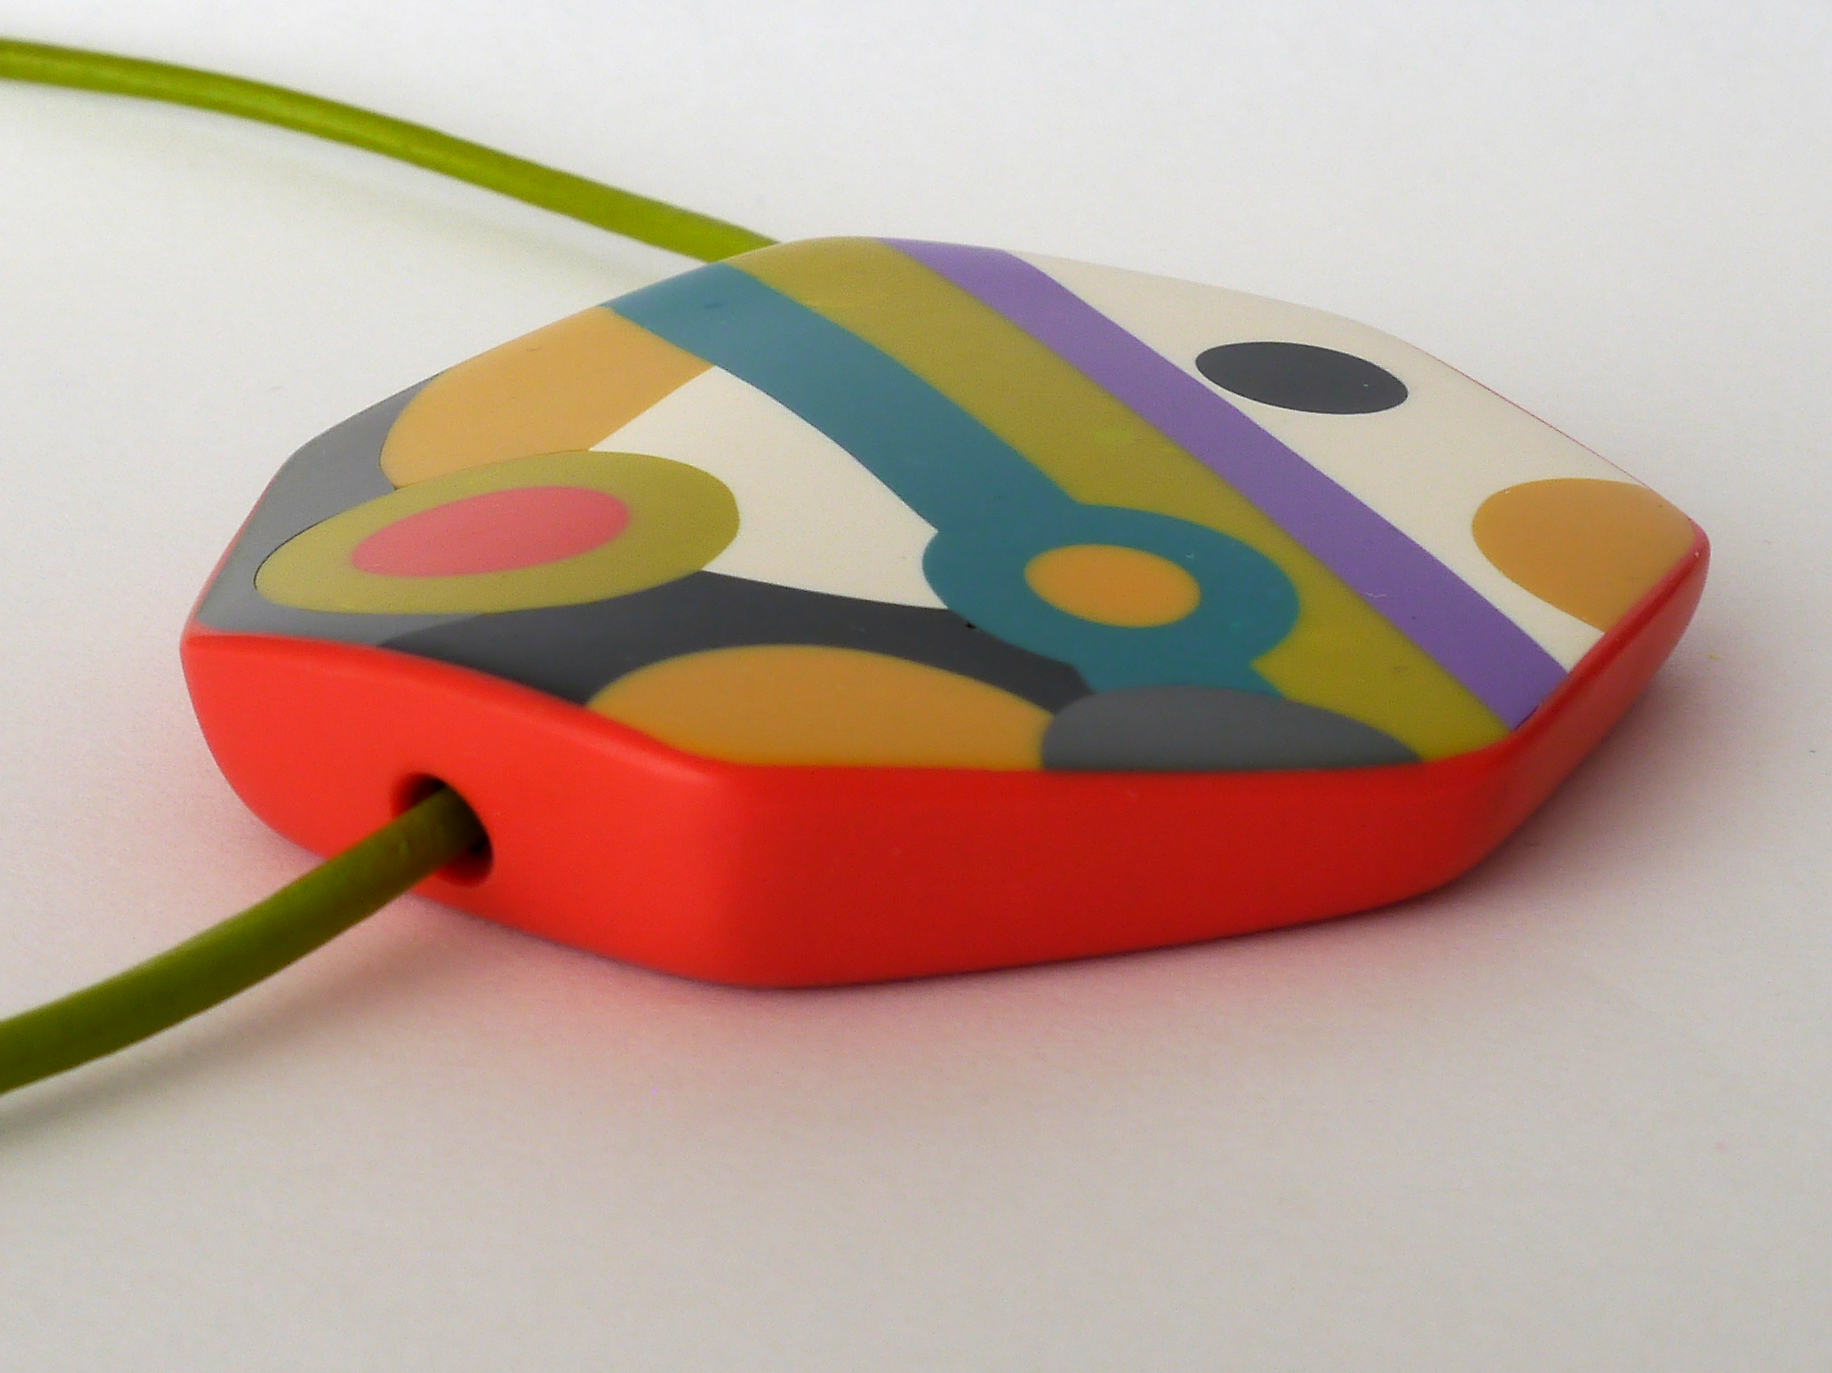
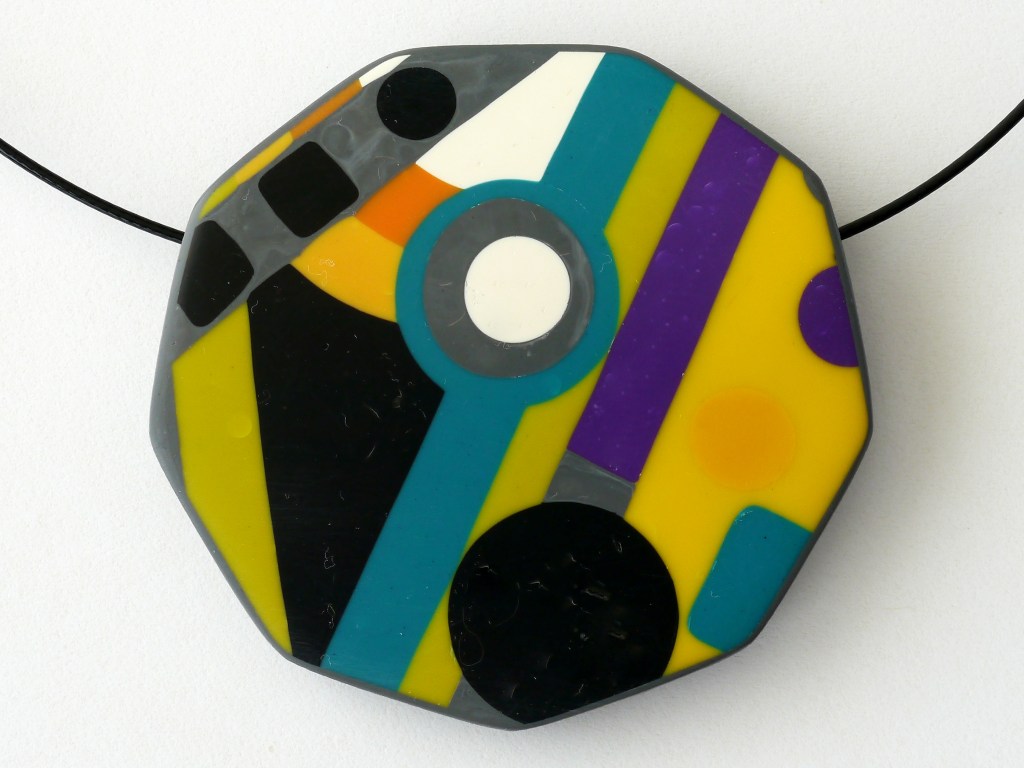
A key theme of my class was recognising, and using, the colour properties of the polymer itself, rather than using surface treatments.
Students only brought Premo in black, white and three primary colours. We spent a full day planning an individual colour scheme, mixing colours and making blends.
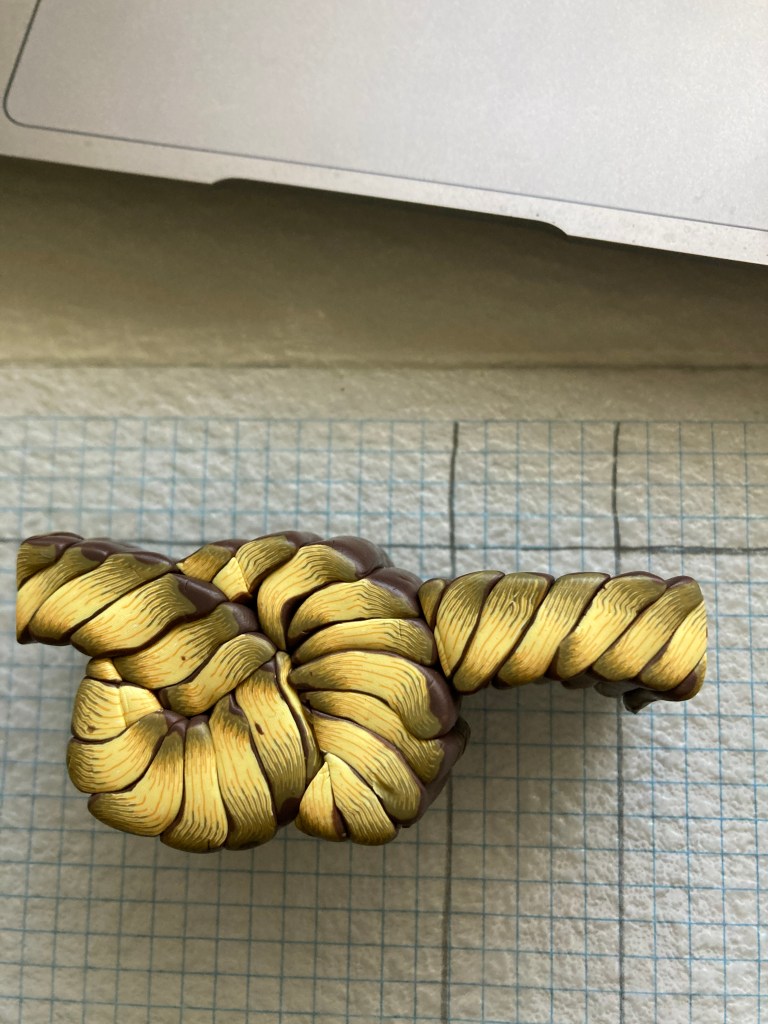
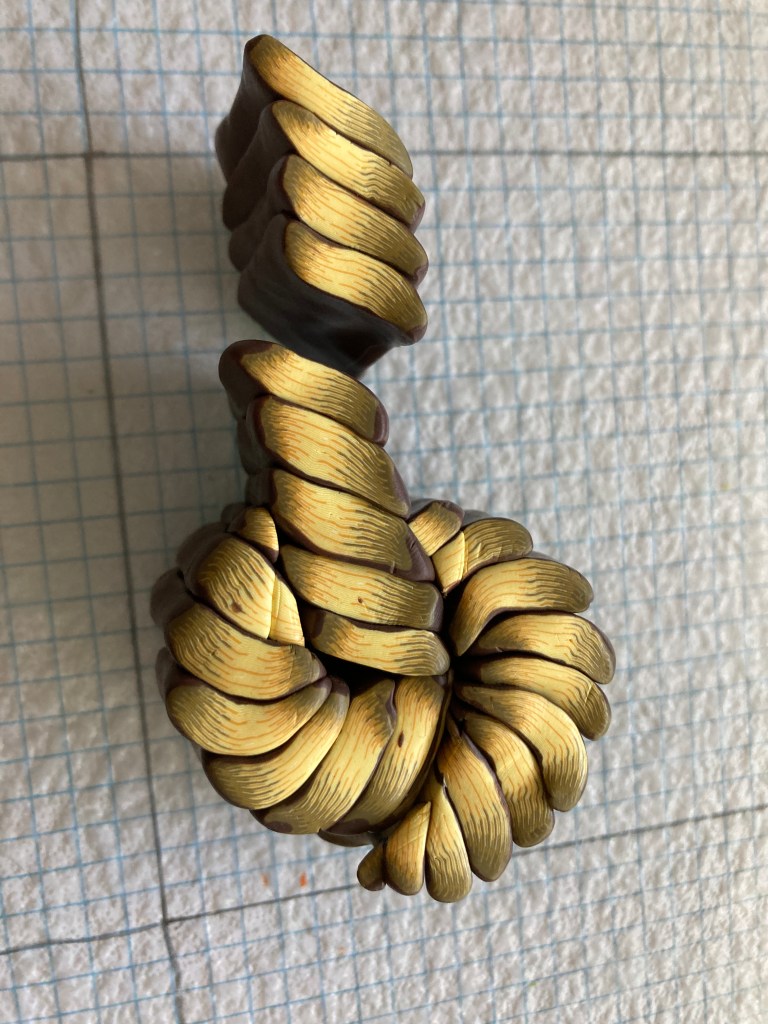
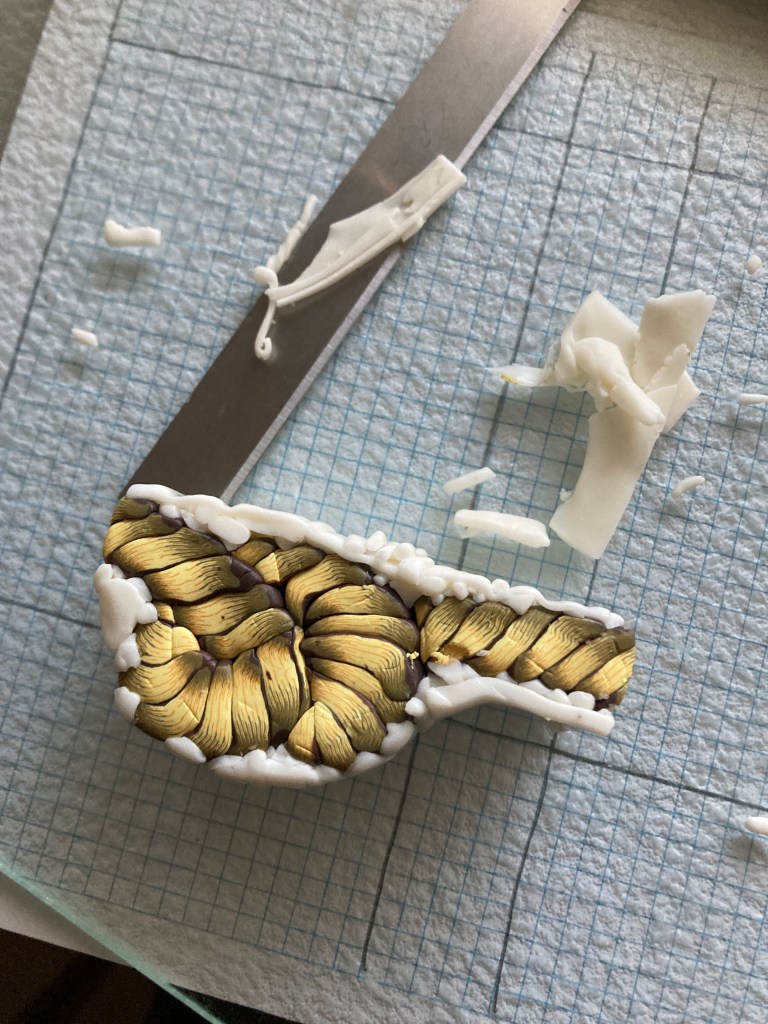
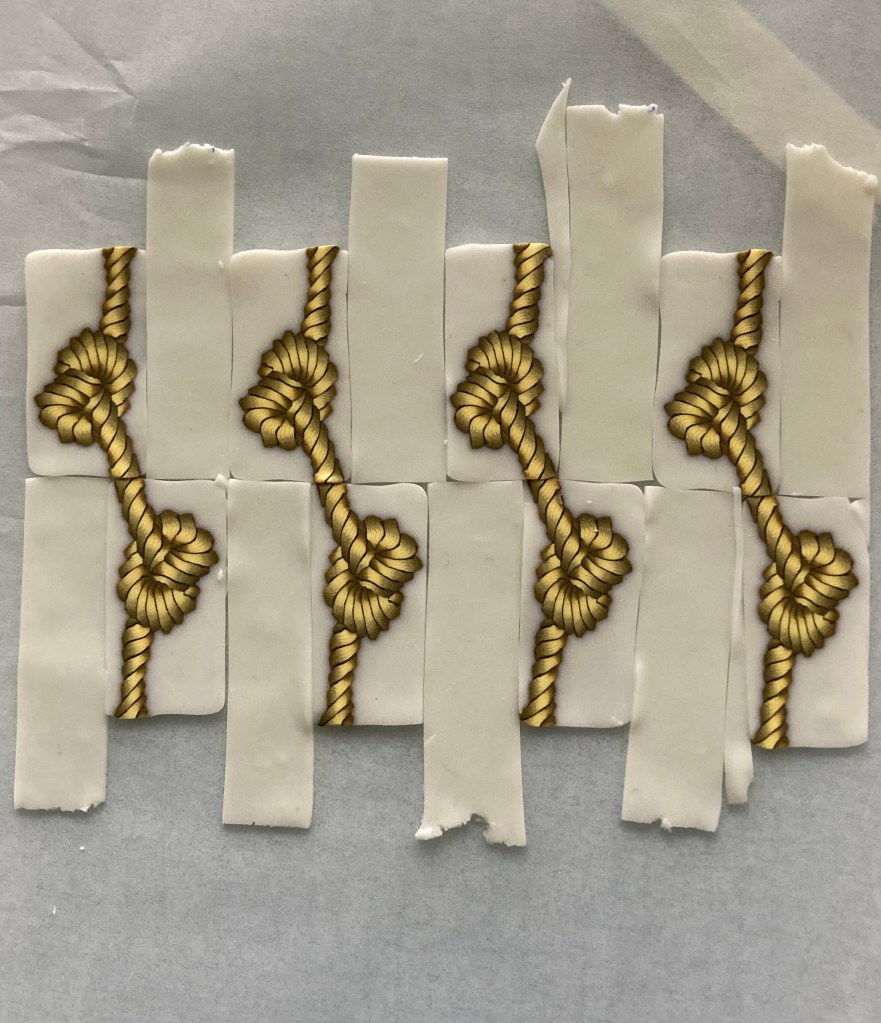
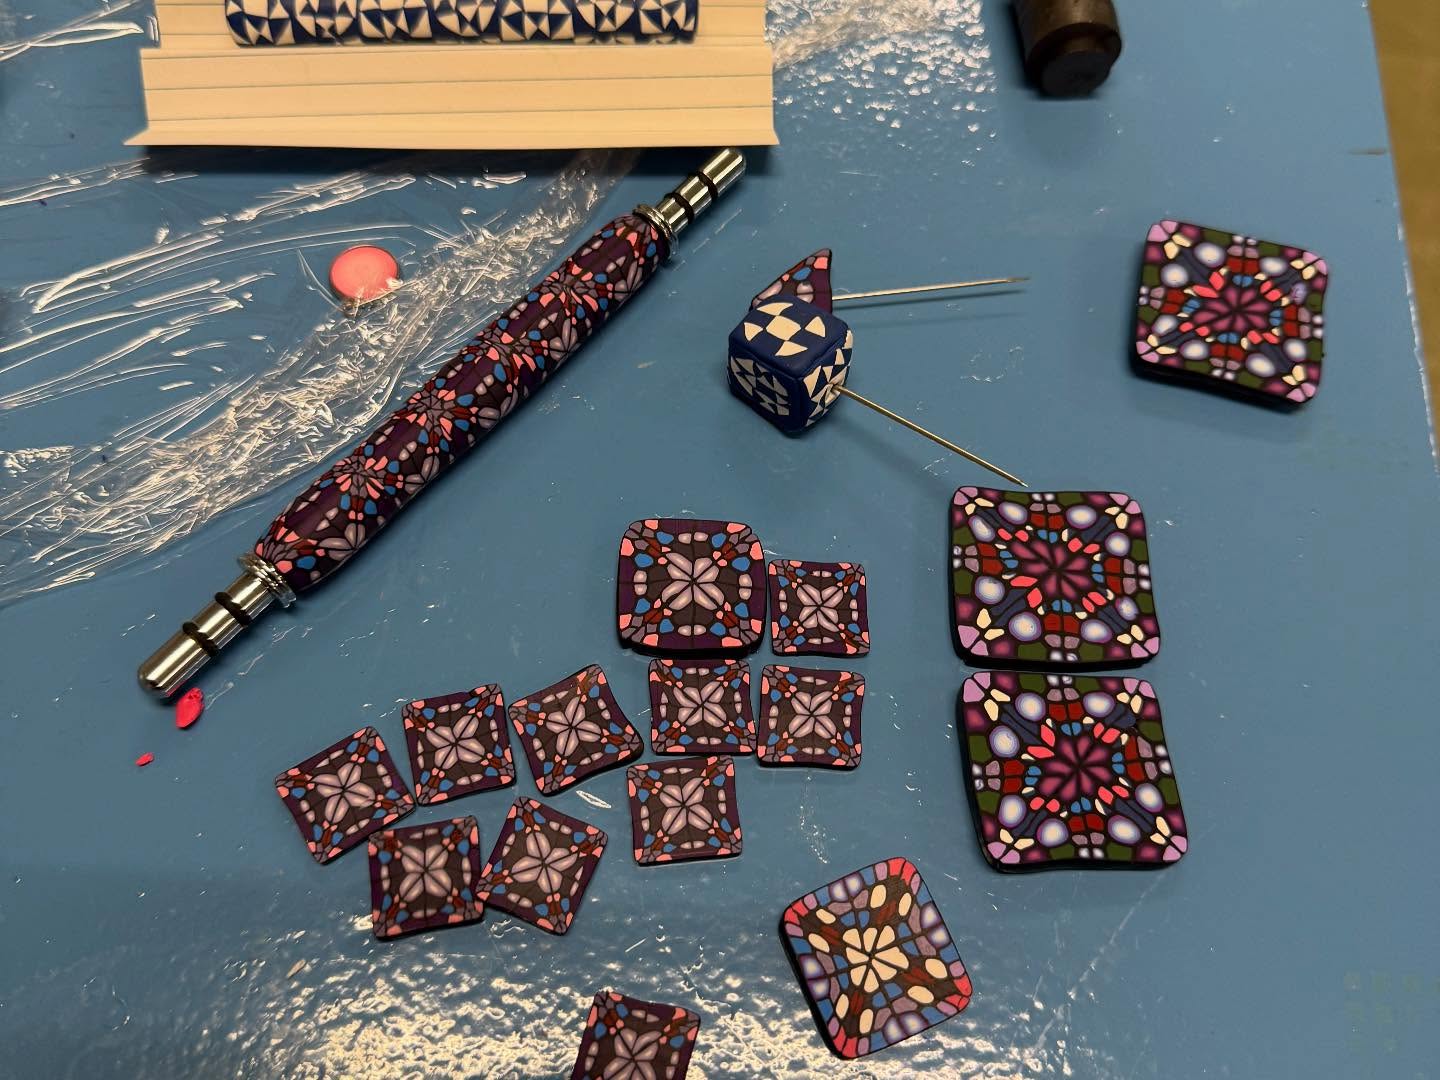
Over the next few days I demonstrated various construction techniques, canes and mokume gane. Feedback from the students, and others who saw our work, was very positive.
I also did a short presentation to the (about 100) event attendees, explaining the variety of colour and pattern effects that can be achieved, showing pictures of my work and that of my favourite polymer clay artists, including Kathleen Dustin and Jeffrey Lloyd Dever. The feedback from the audience, most who take a keen interest in textile and other art forms, was that this was a real eye-opener, showing that polymer clay is a highly versatile art material.