Whether you’re wondering where to start, teaching beginners, or just wanting to fire your creativity, it’s worth considering what few tools and materials you really need.
Polymer clay is an amazing material – there are so many techniques and endless tools available – it can all be overwhelming.
There are good reasons to limit your tools and materials.
- Reduced cost
- Reduced waste
- You can find out if you like the material before spending more money
- If teaching – you can teach a class of beginners and keep costs low
- You can work out what additional supplies you really need, and add gradually to your collection.
However, another benefit is that constraints can encourage creativity and even help us get over the “where do I start” block.
I don’t make pieces to sell, and have used polymer clay as my ‘meditation’ – as a break from my day job in community work before I retired. So, this approach is probably not economical, but it might help you approach polymer clay in a way that encourages mindfulness, and helps develop your creativity. [Of course this is the aim – in real creative life I’m often stuck, impatient and cross when my pieces don’t turn out!]
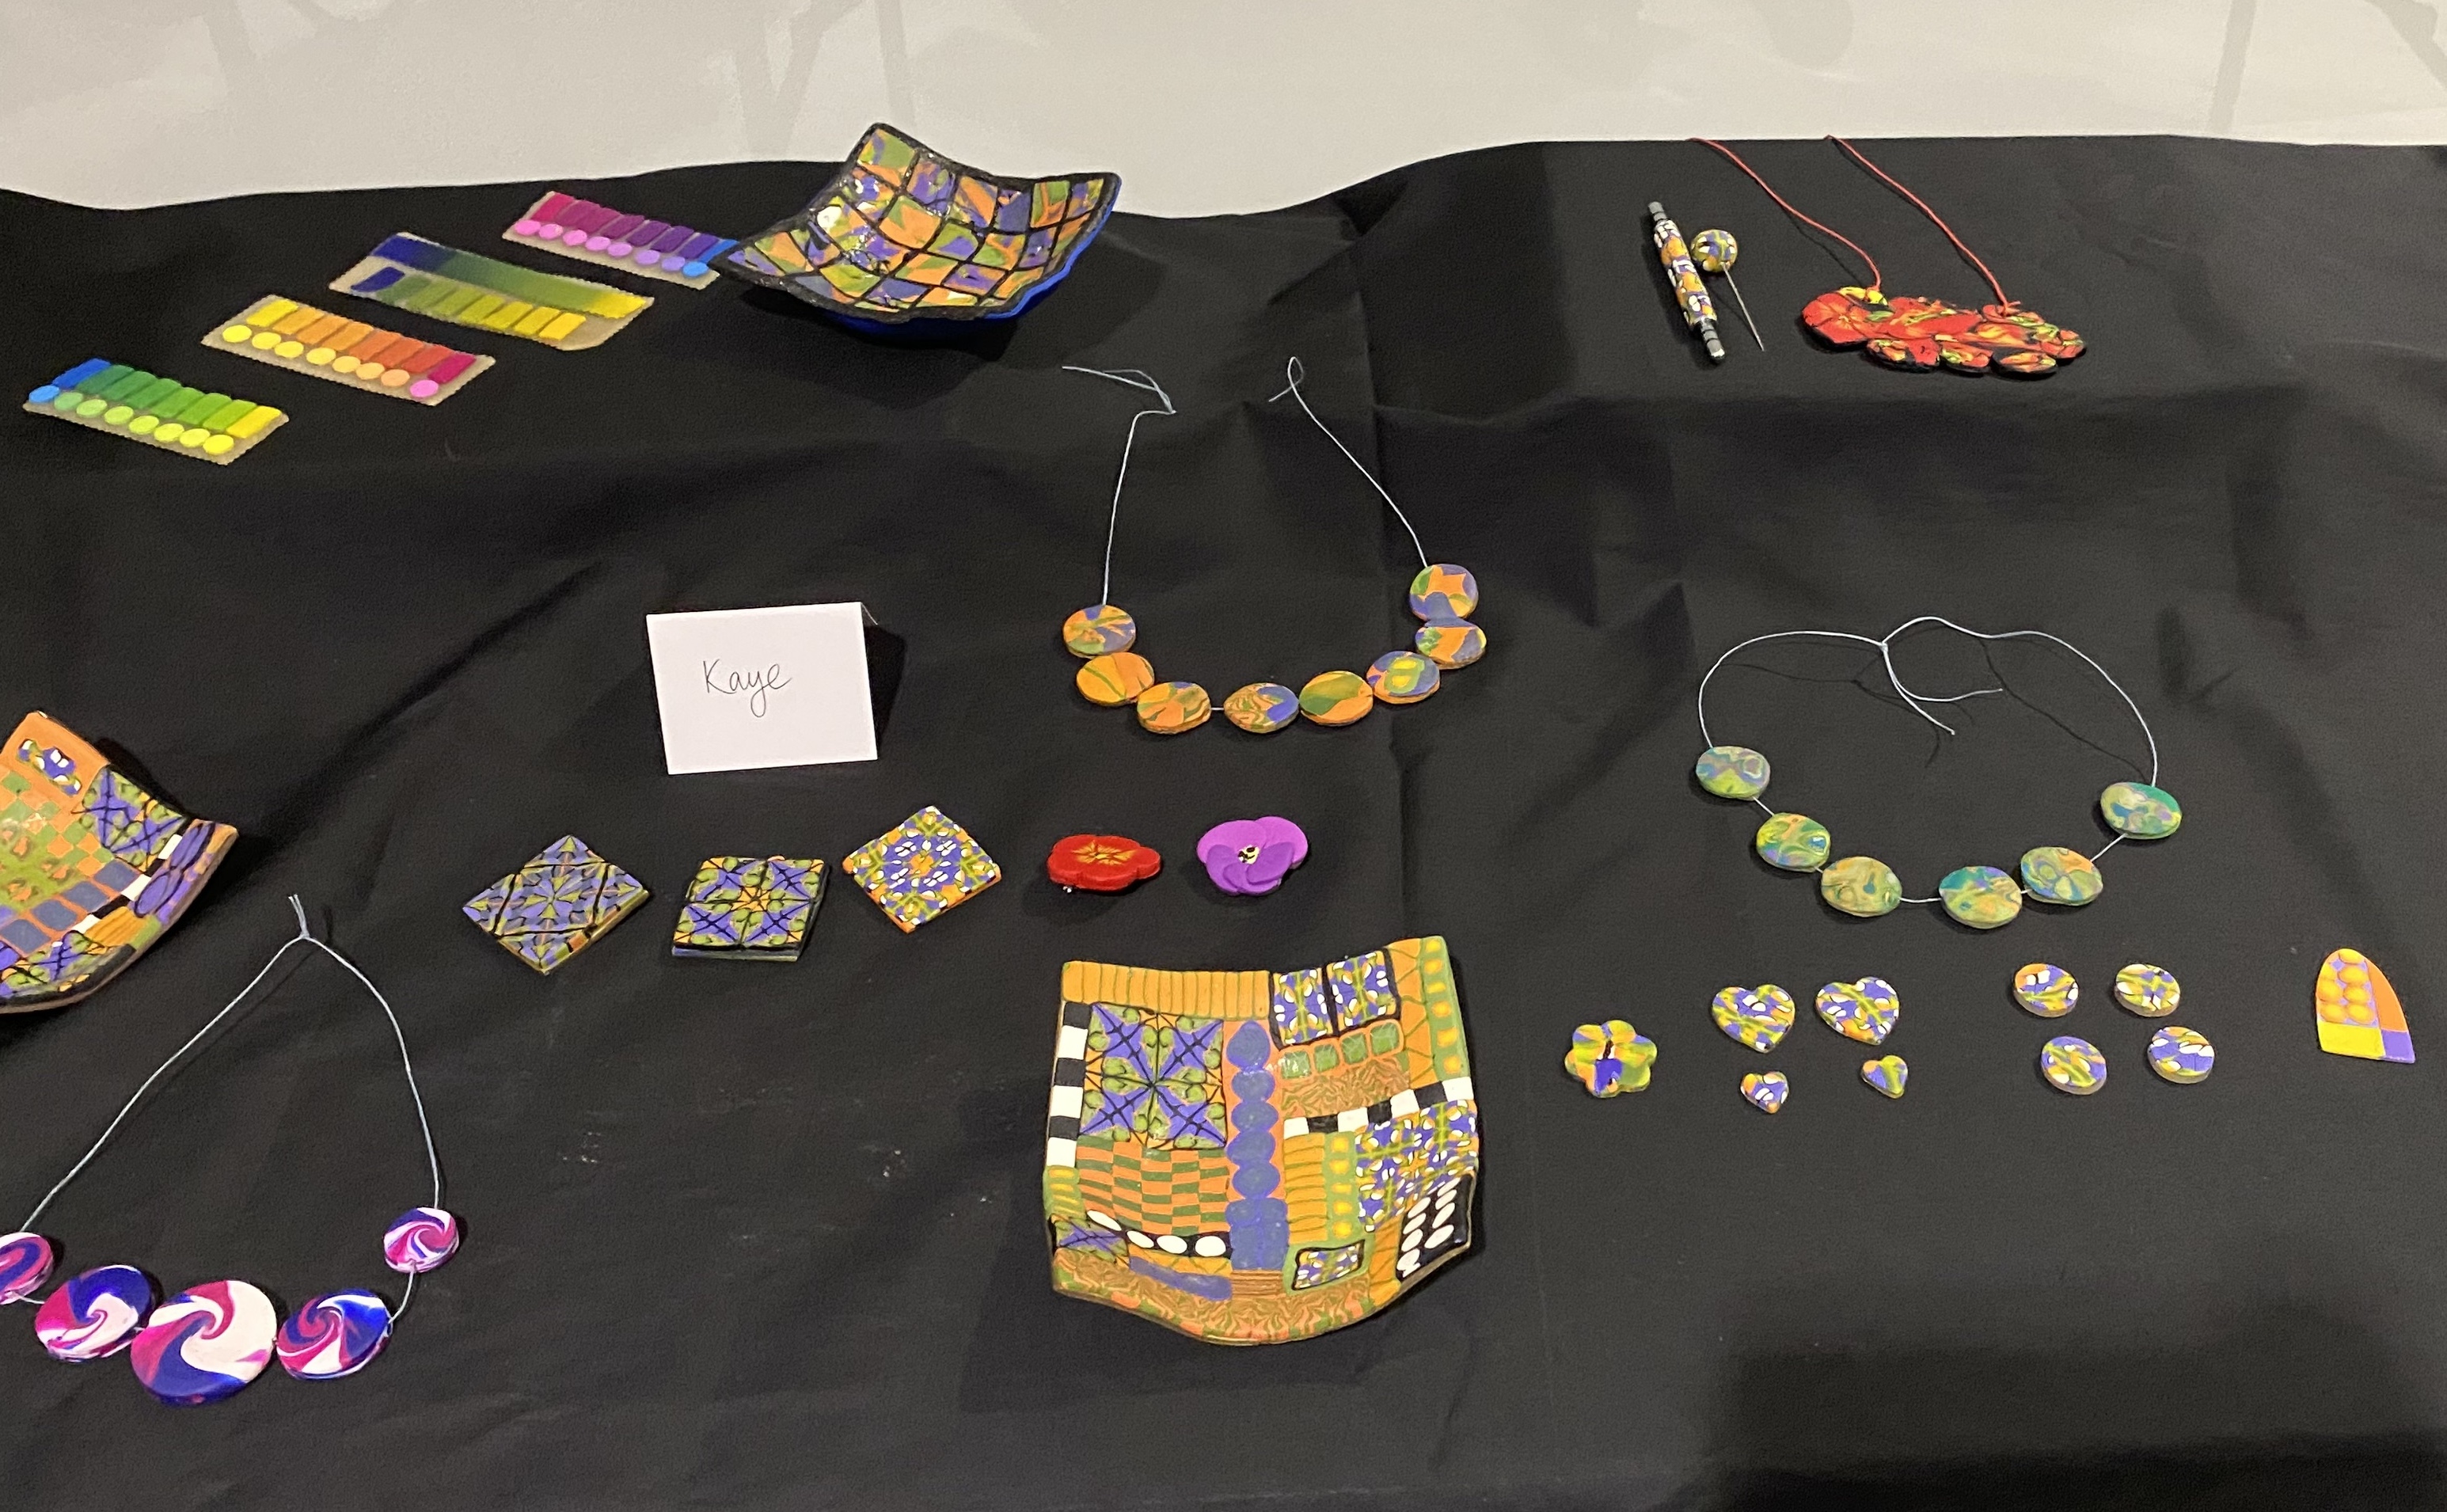
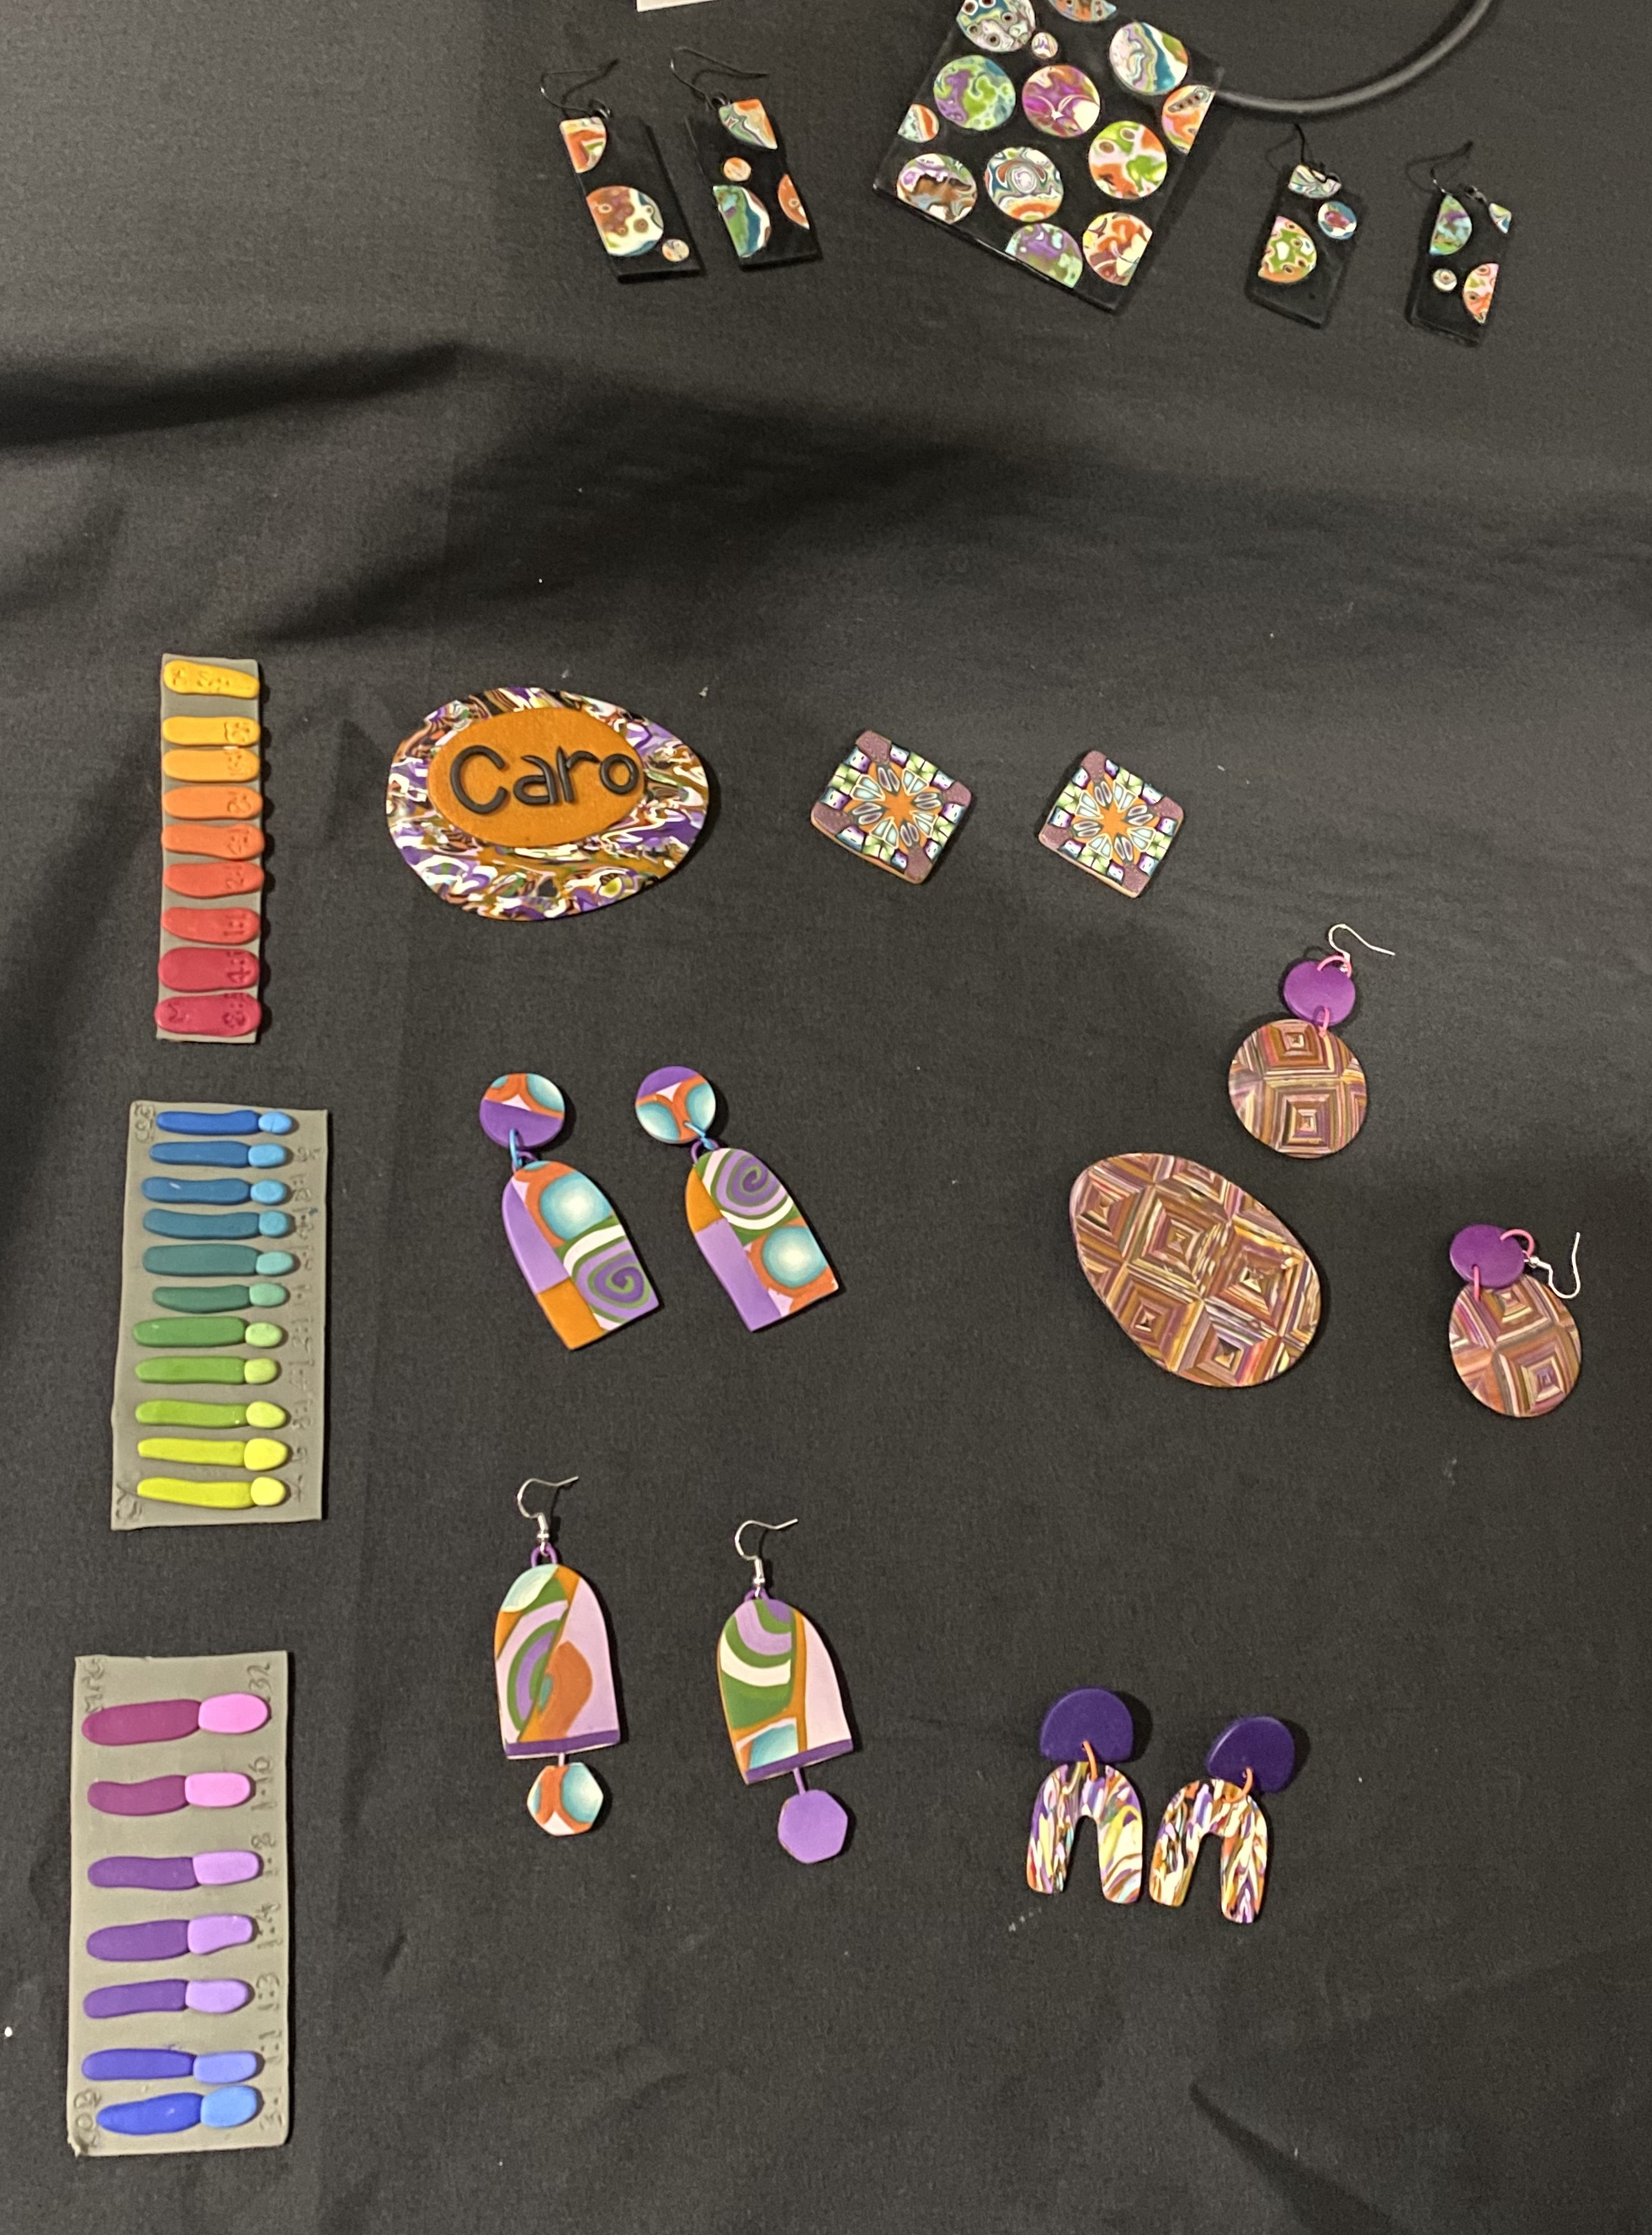
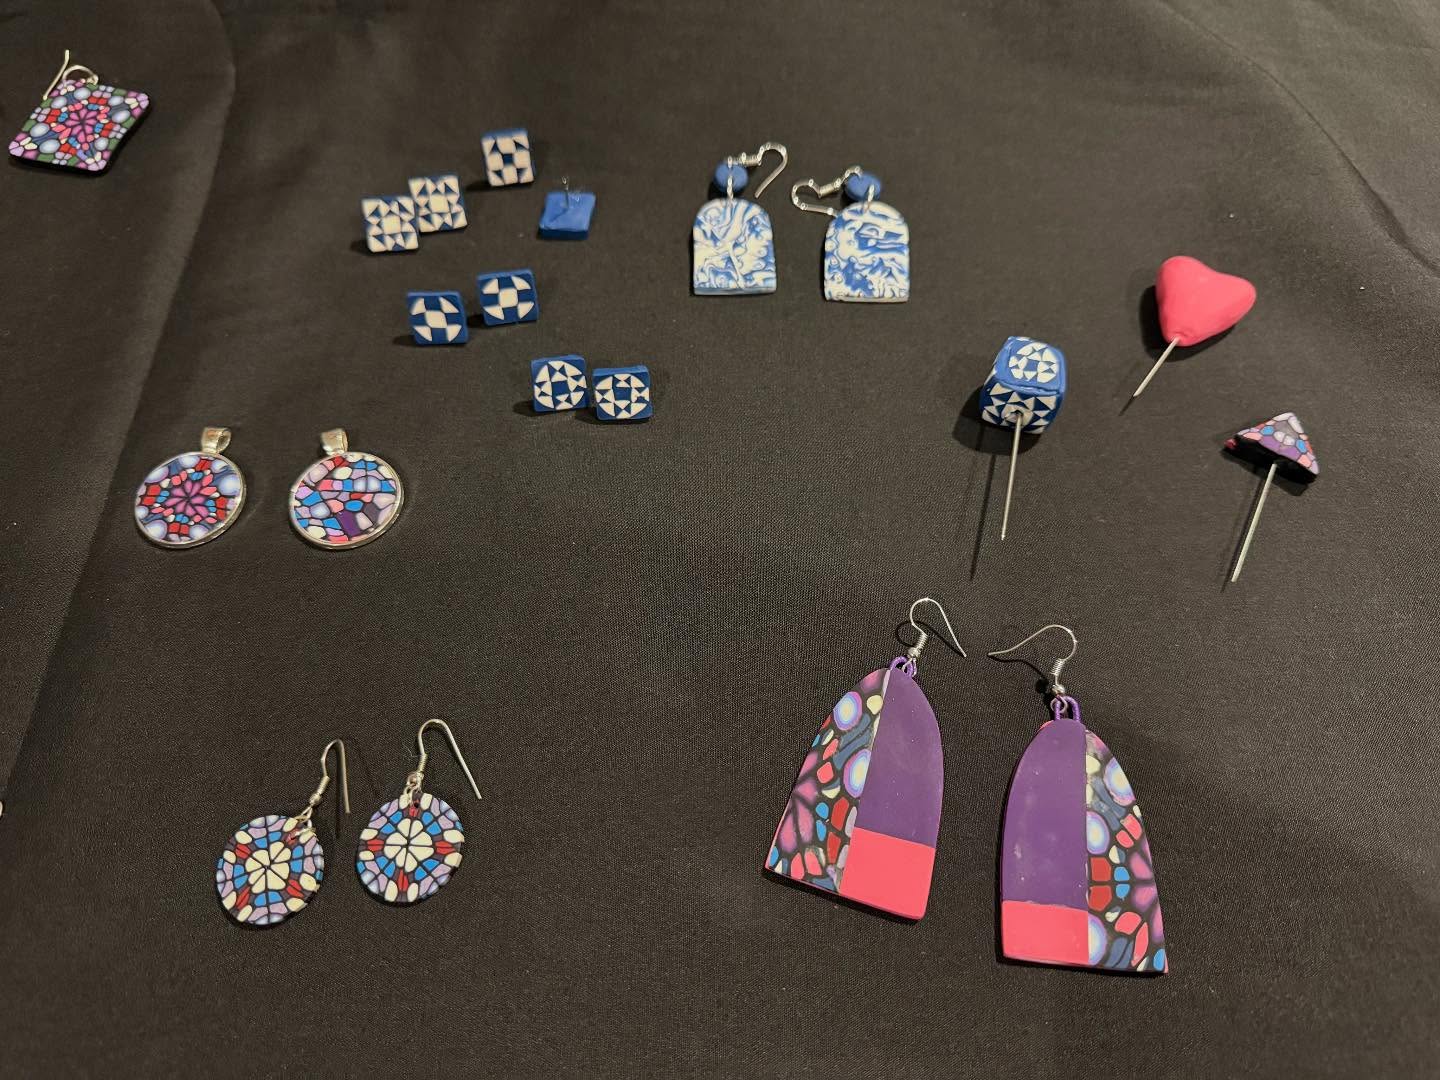
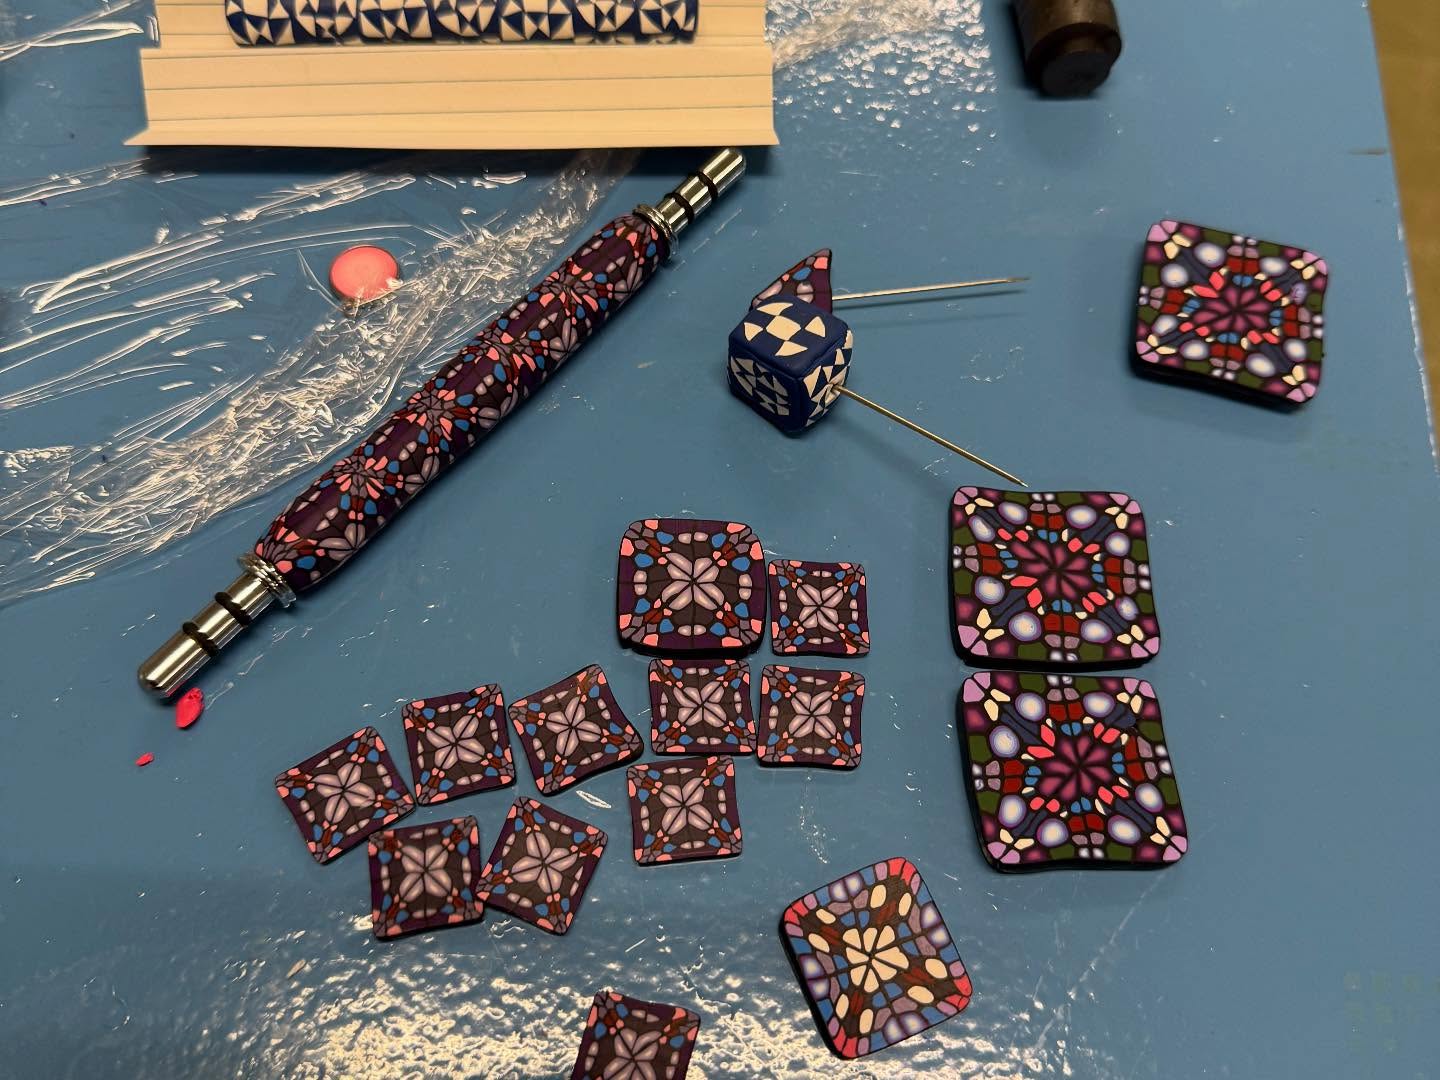
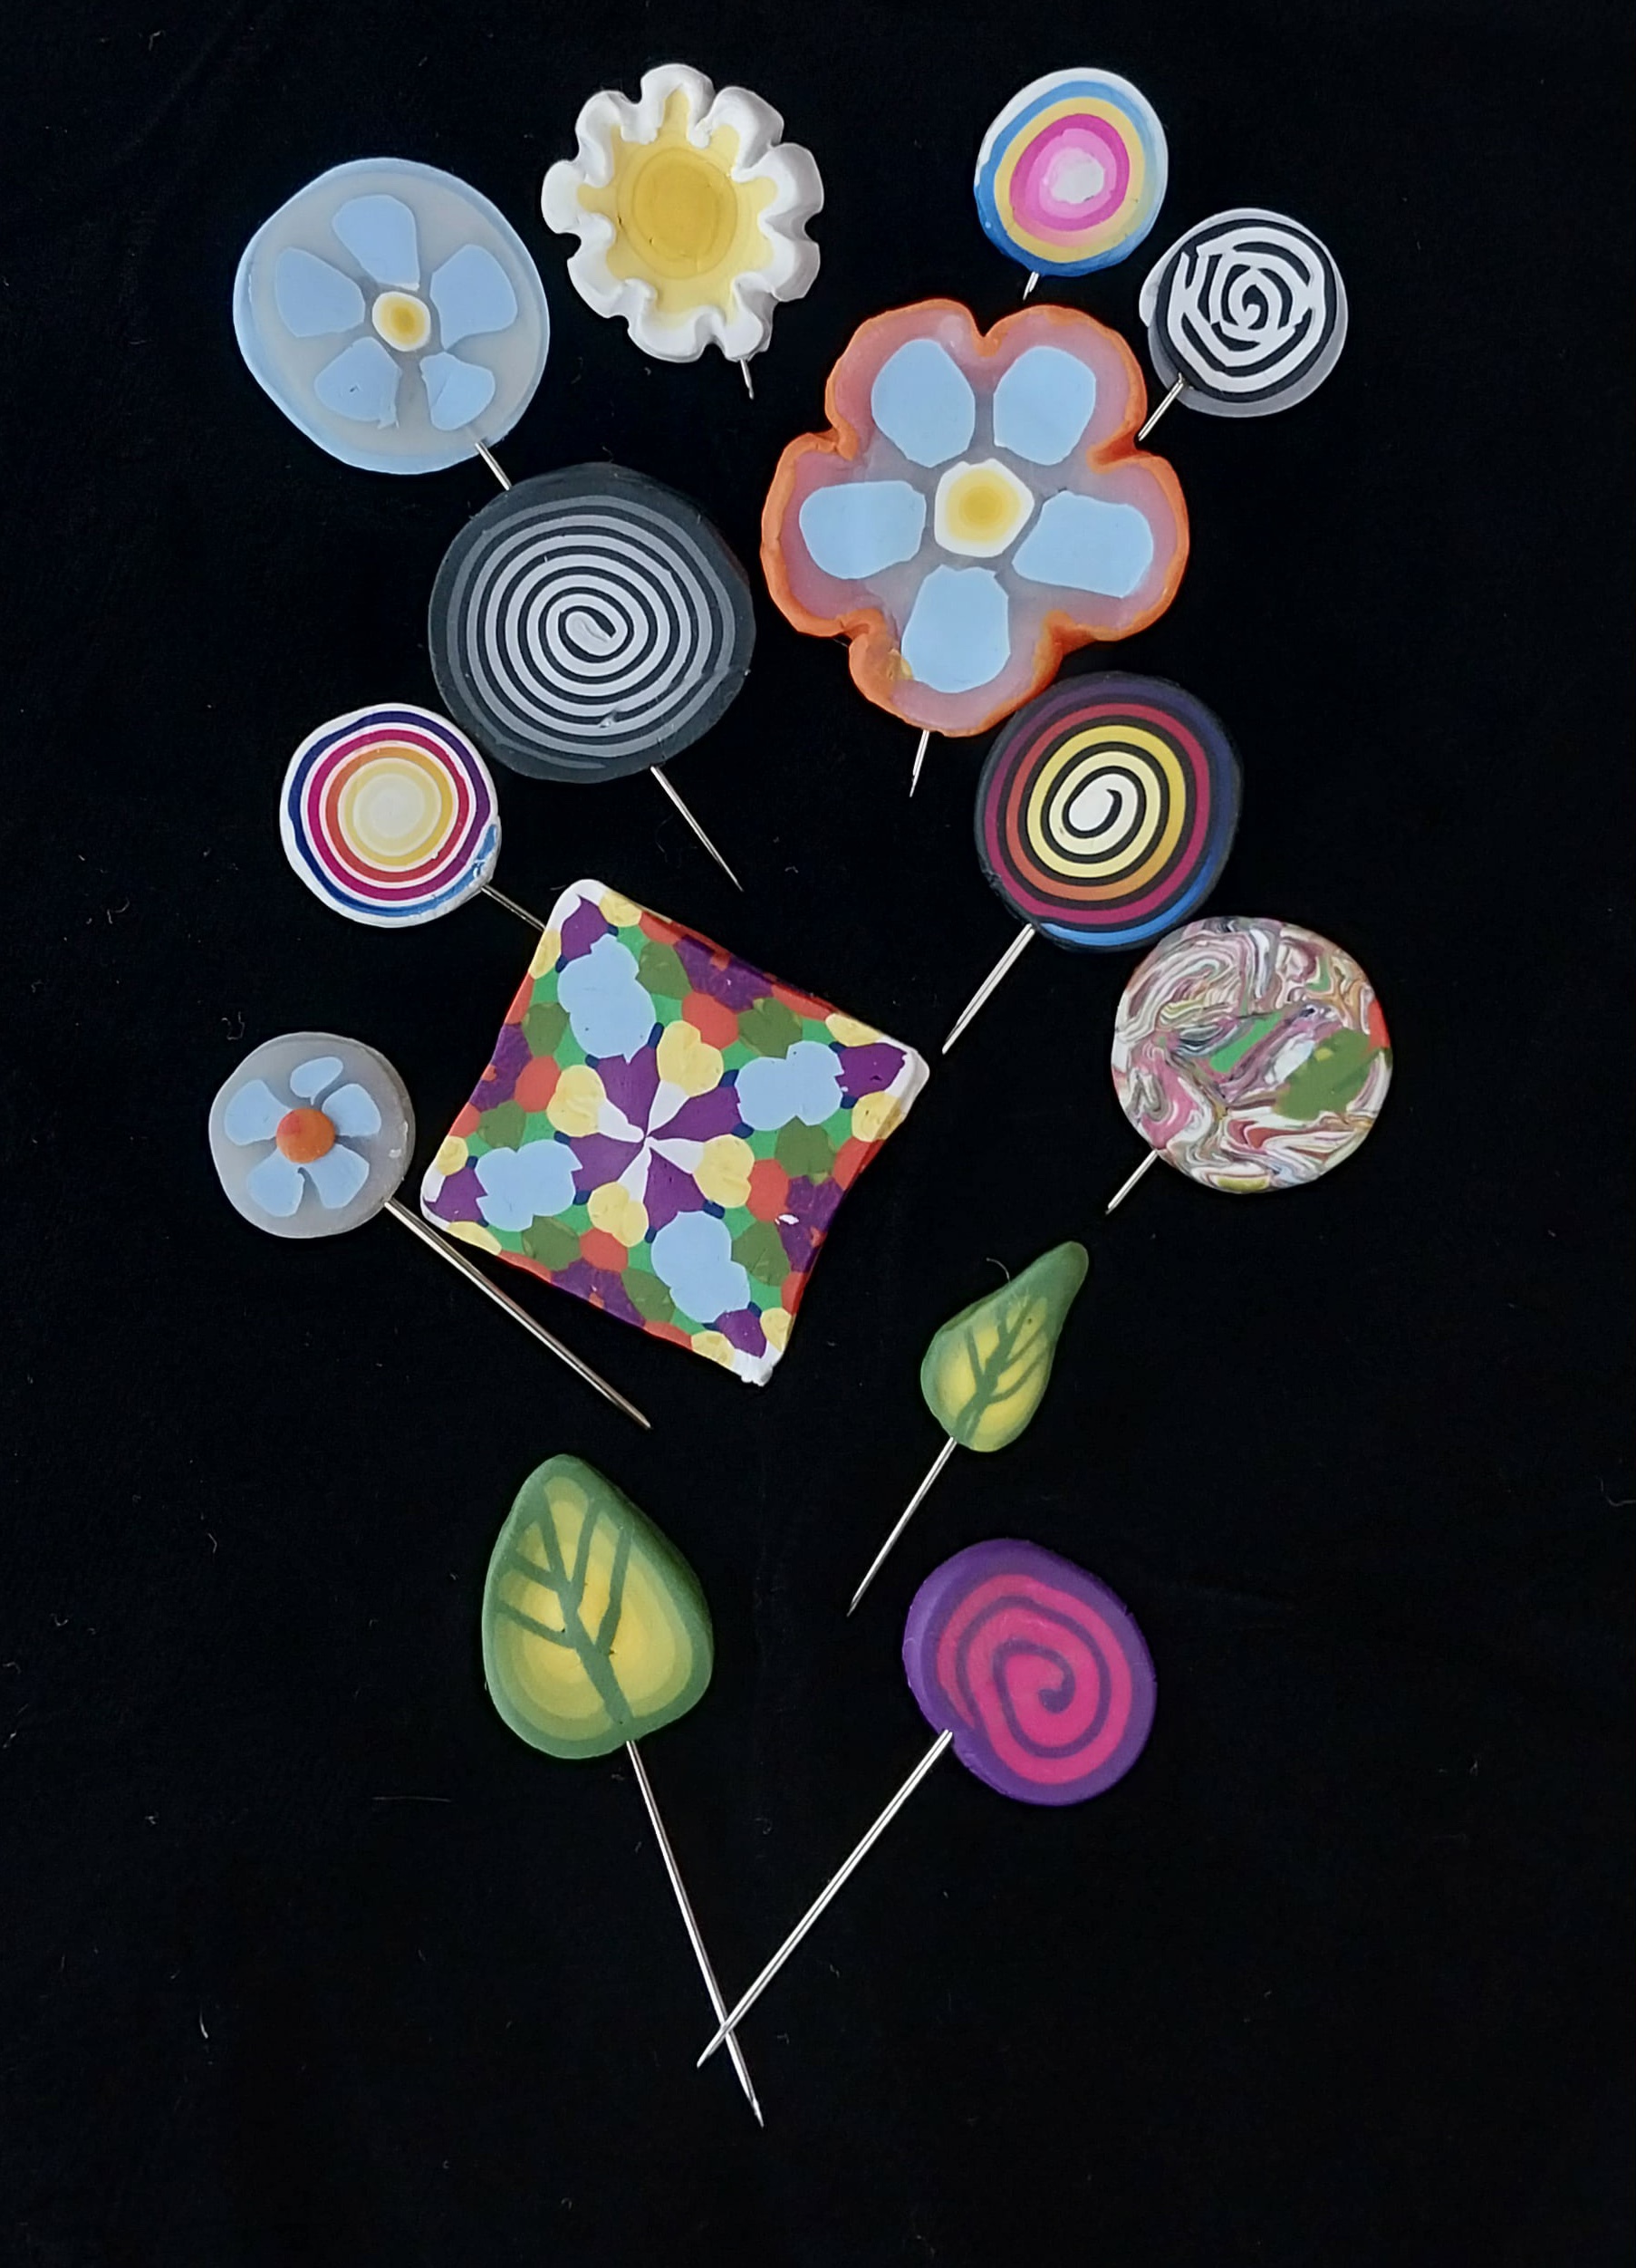
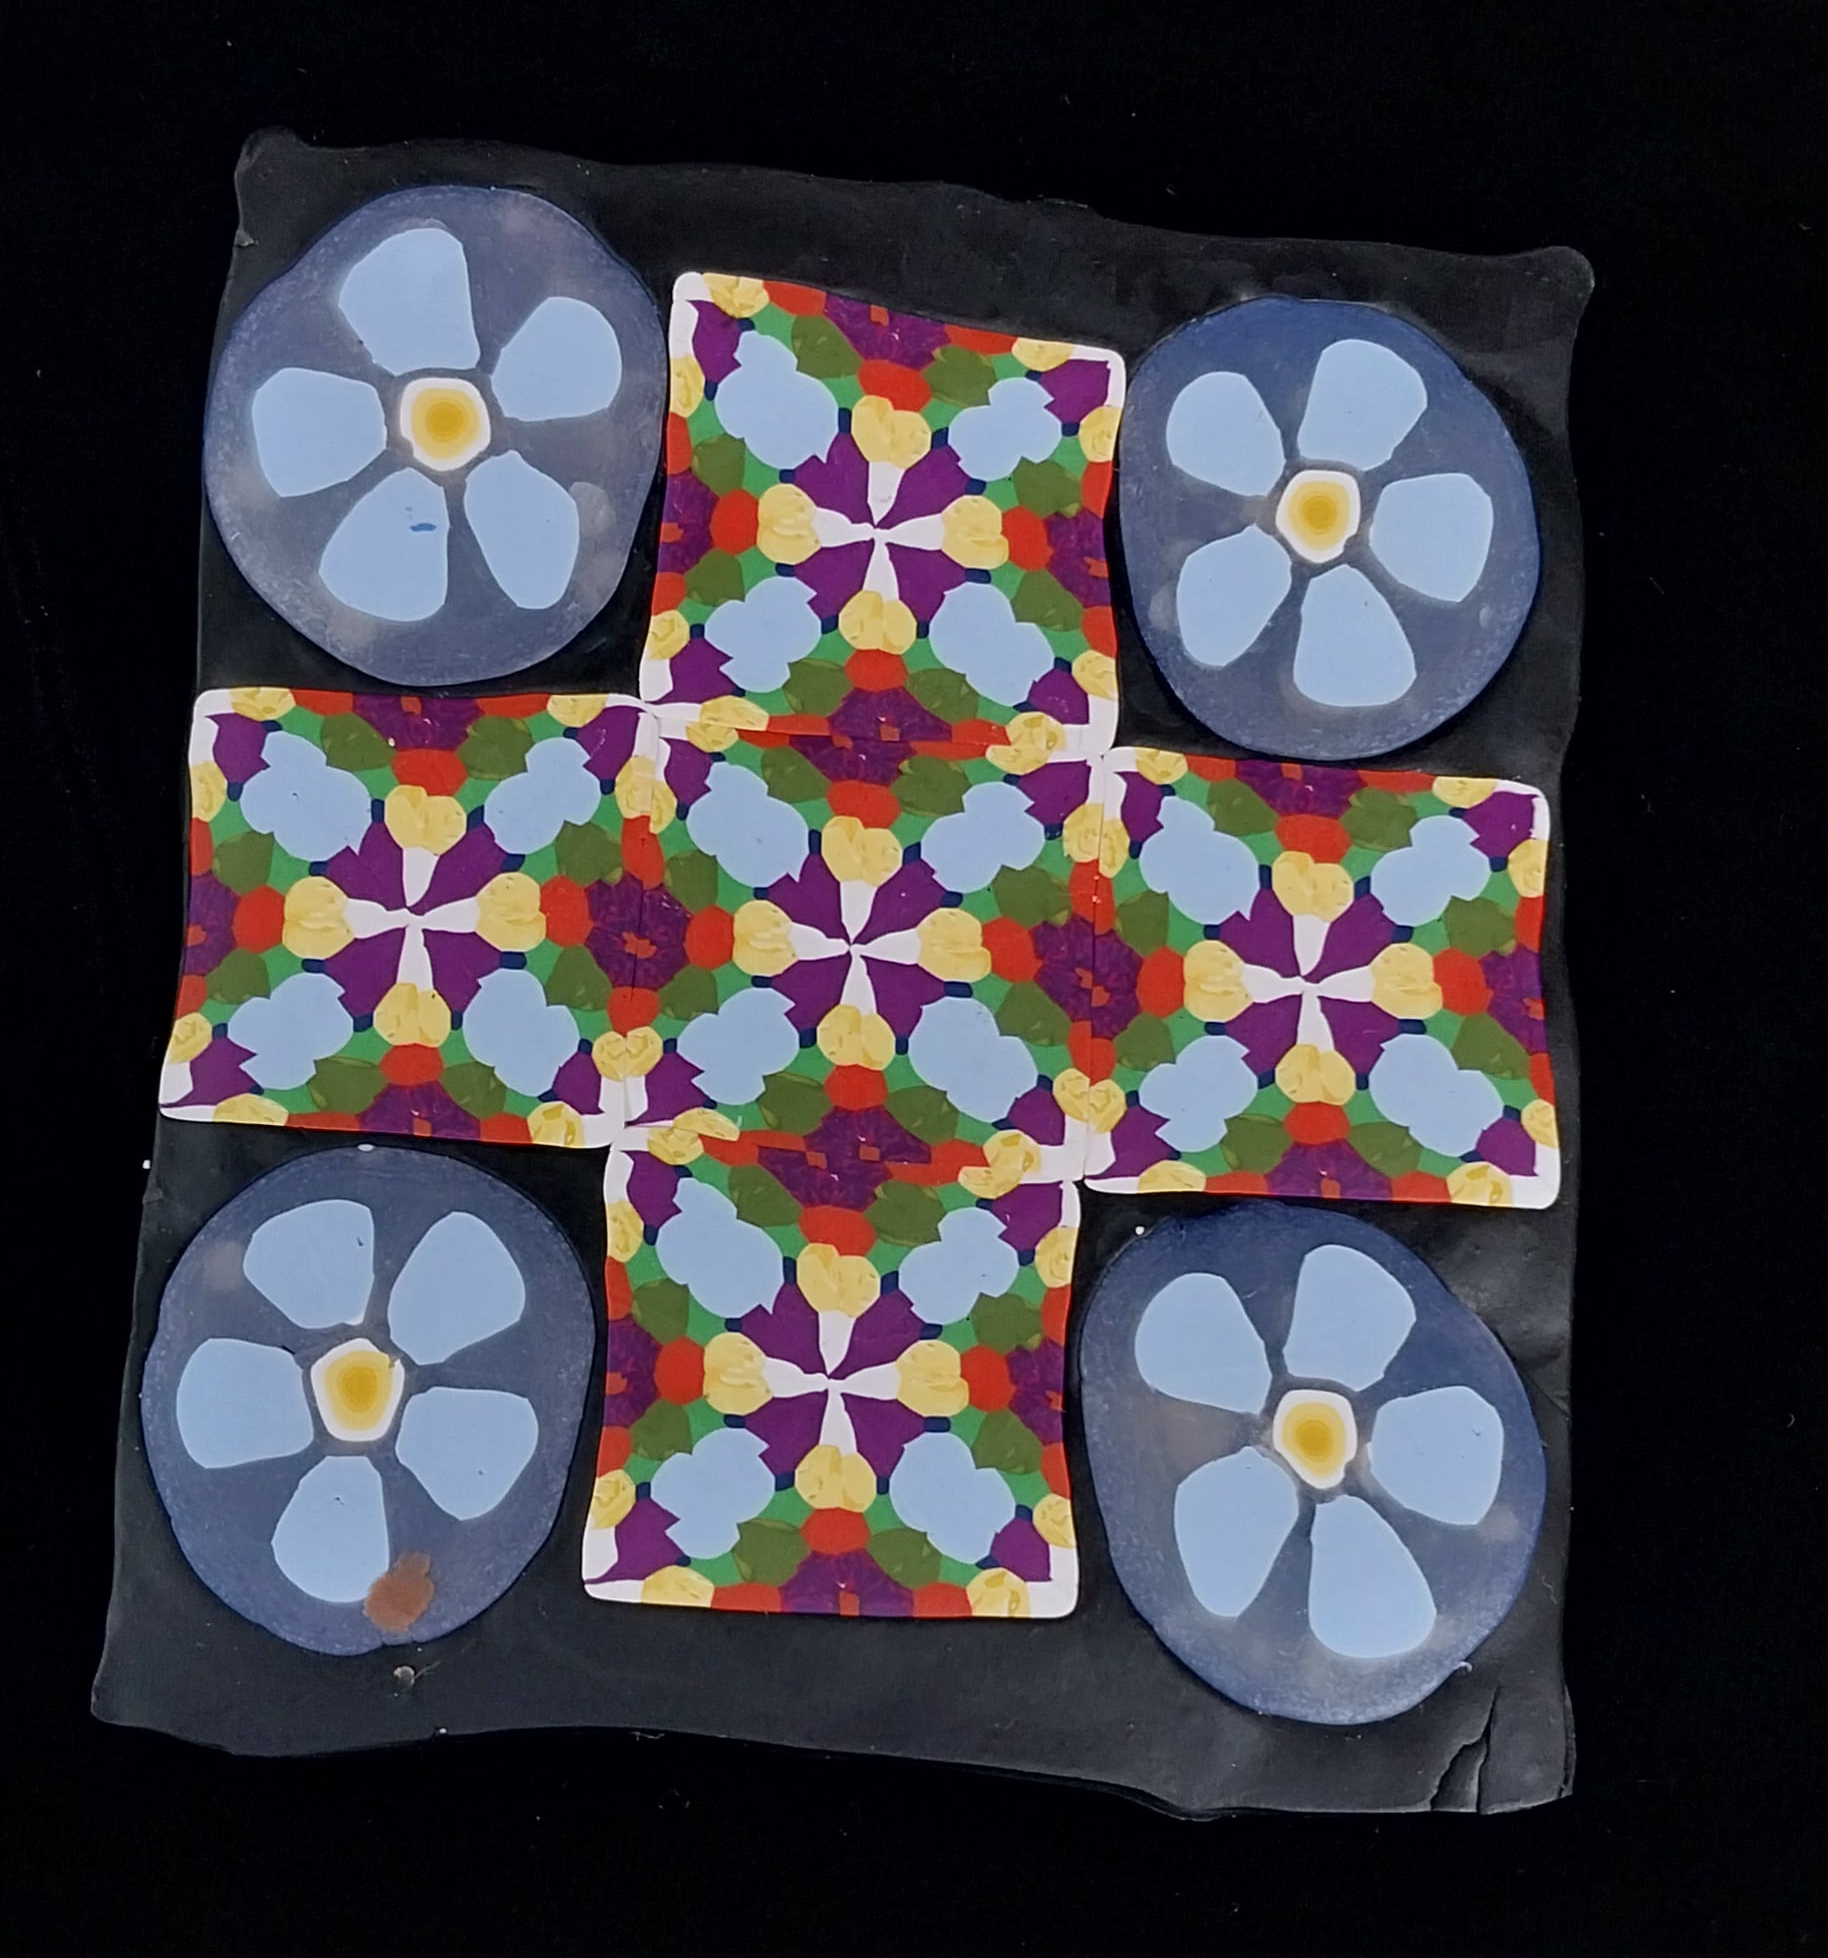
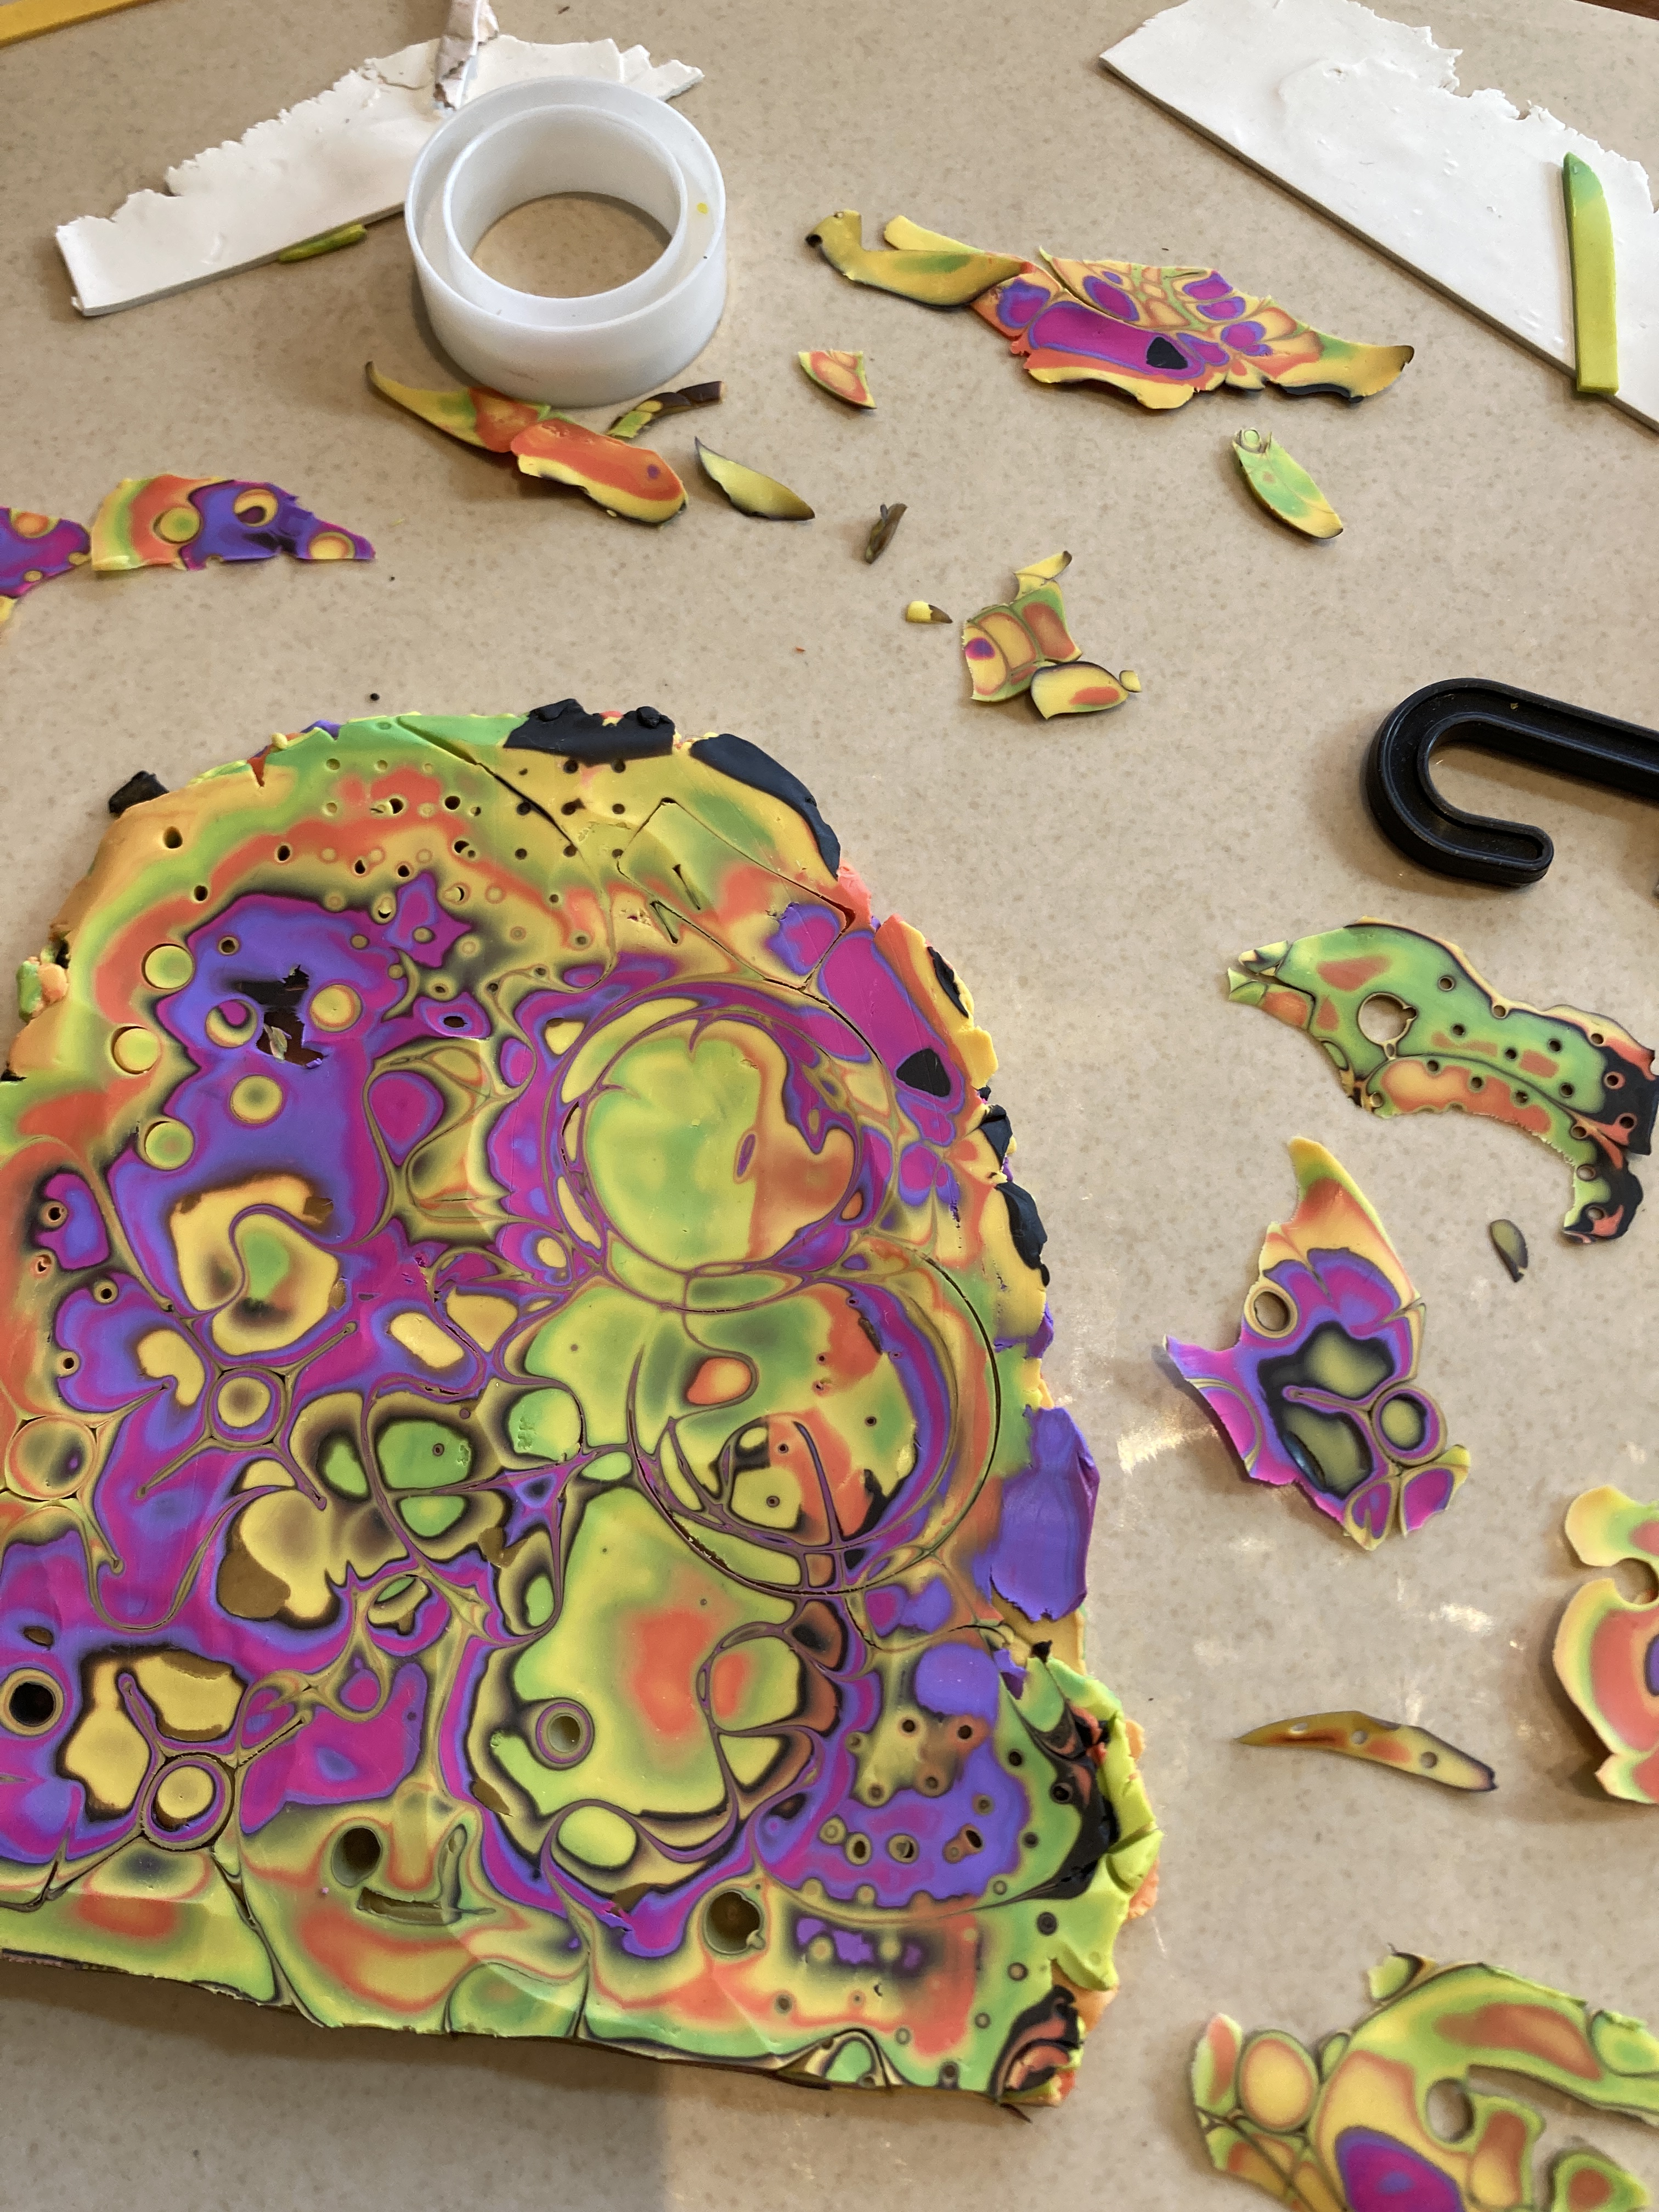
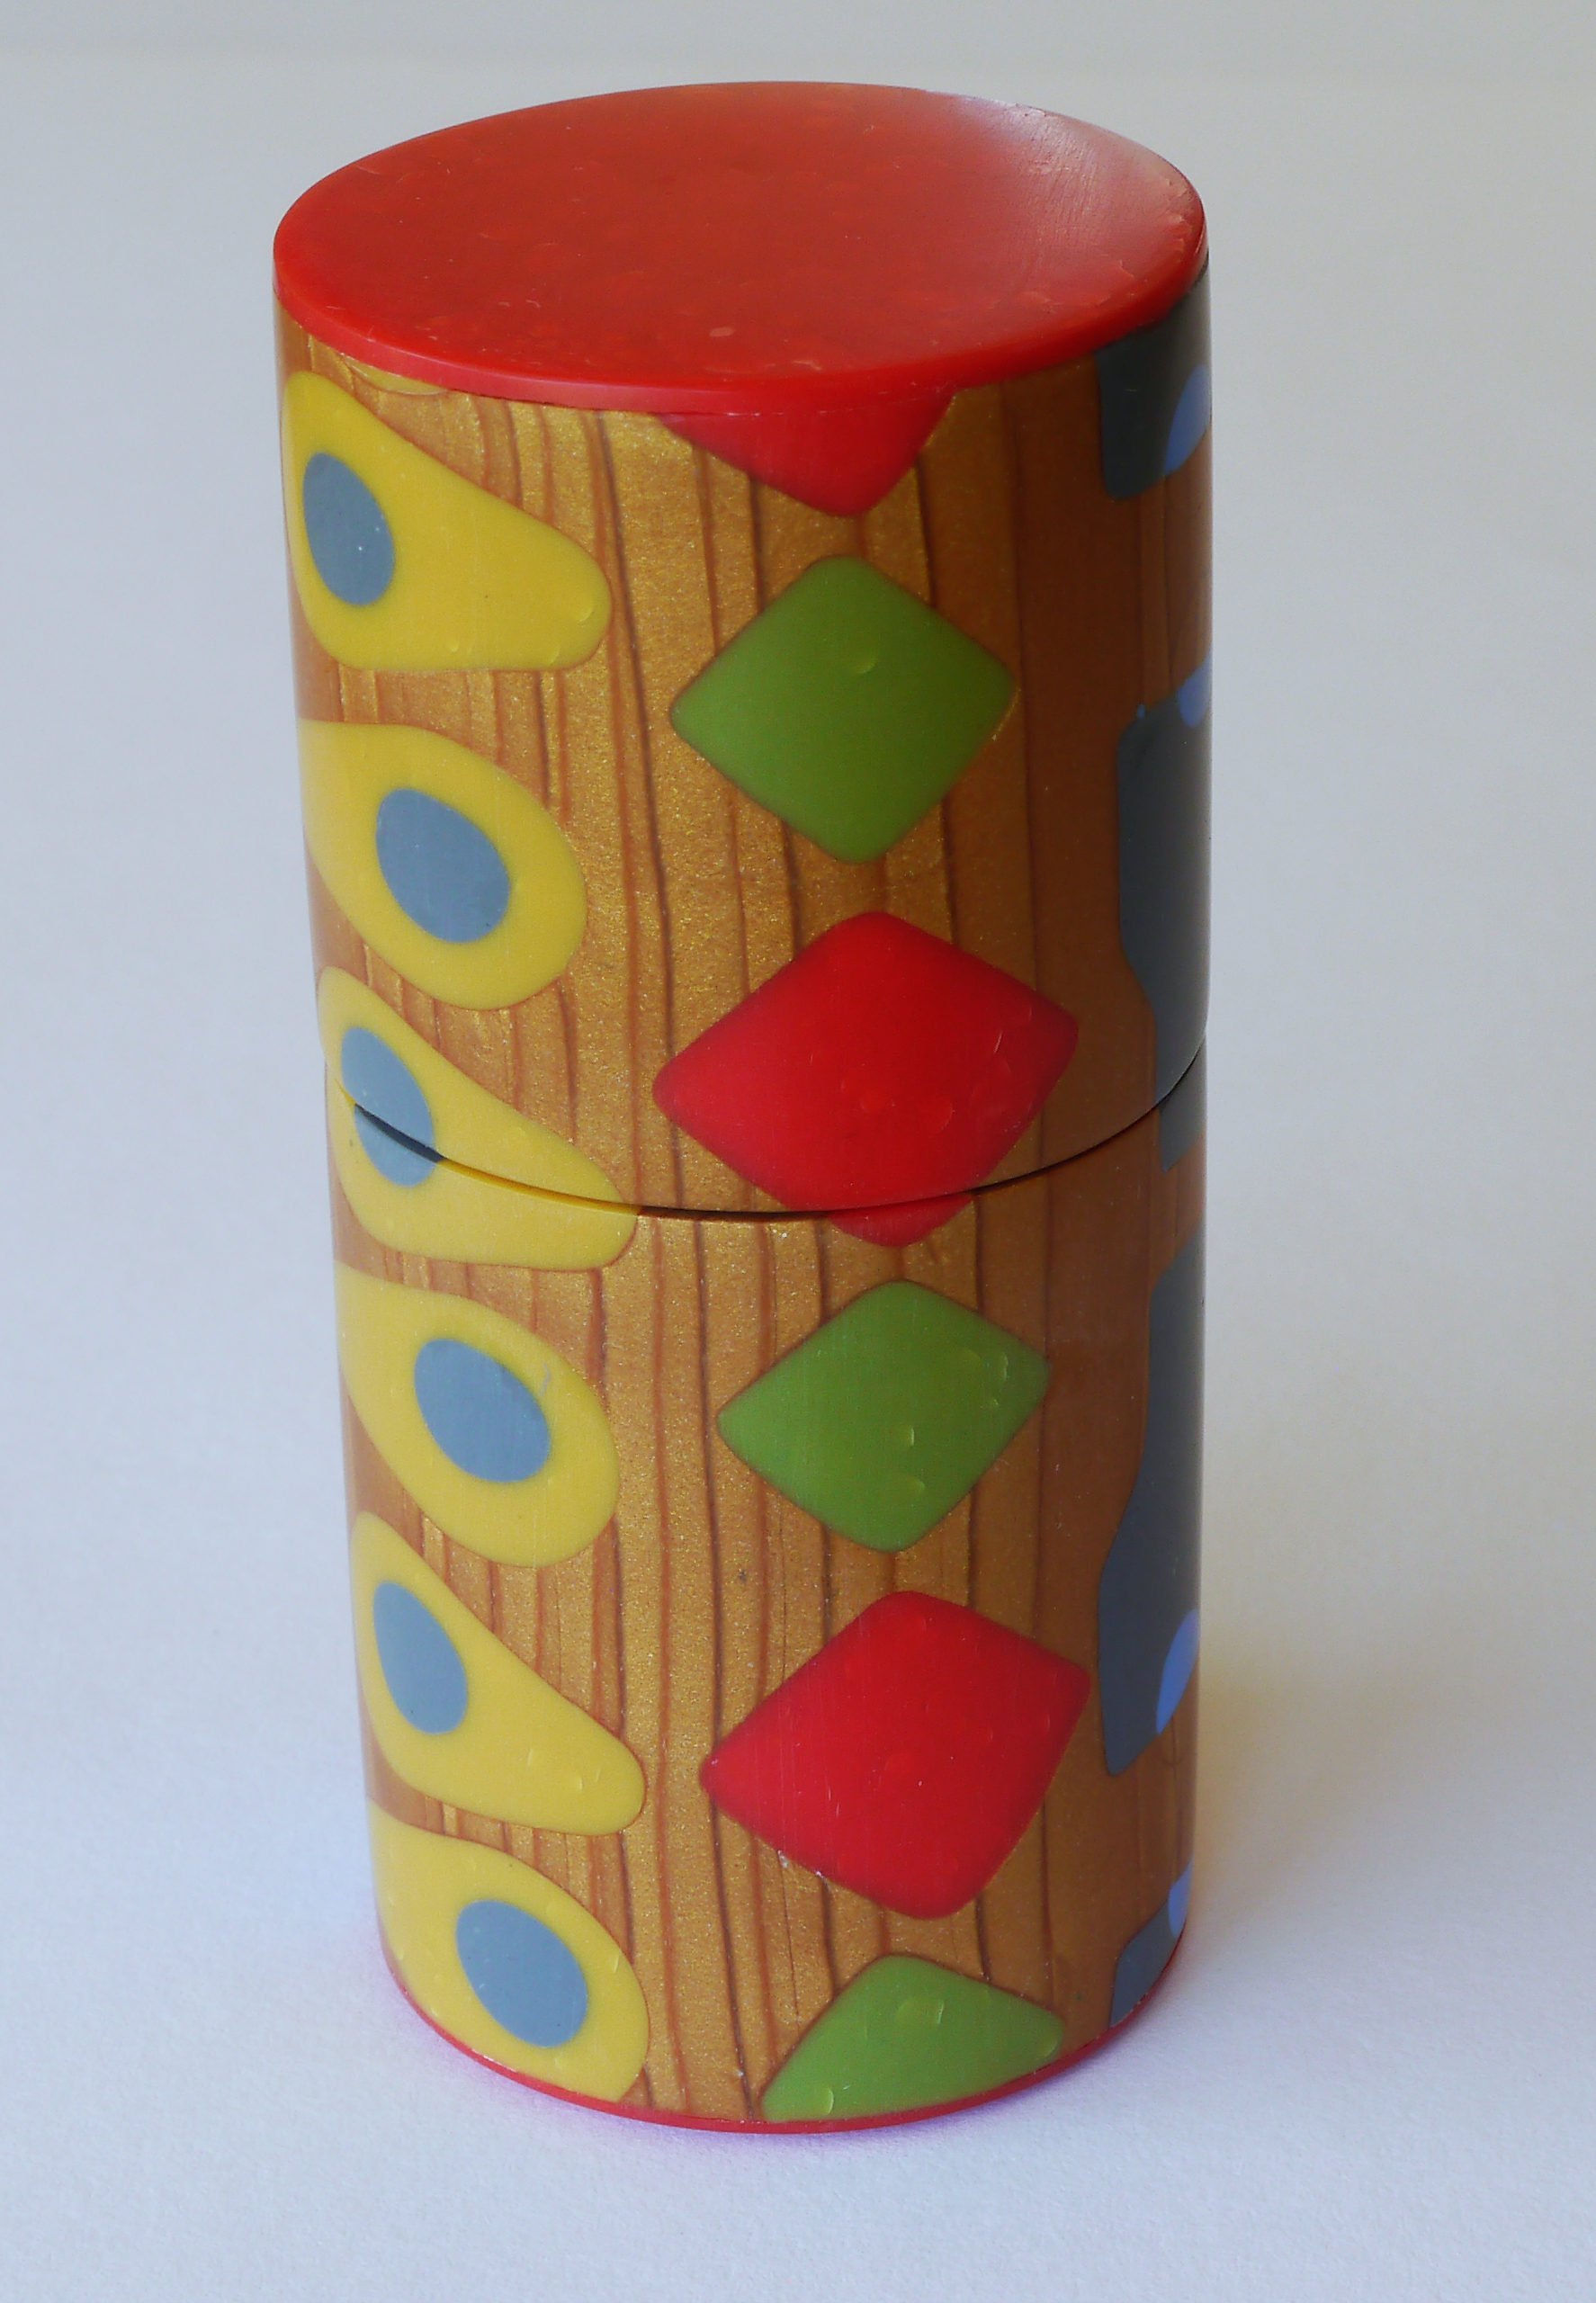
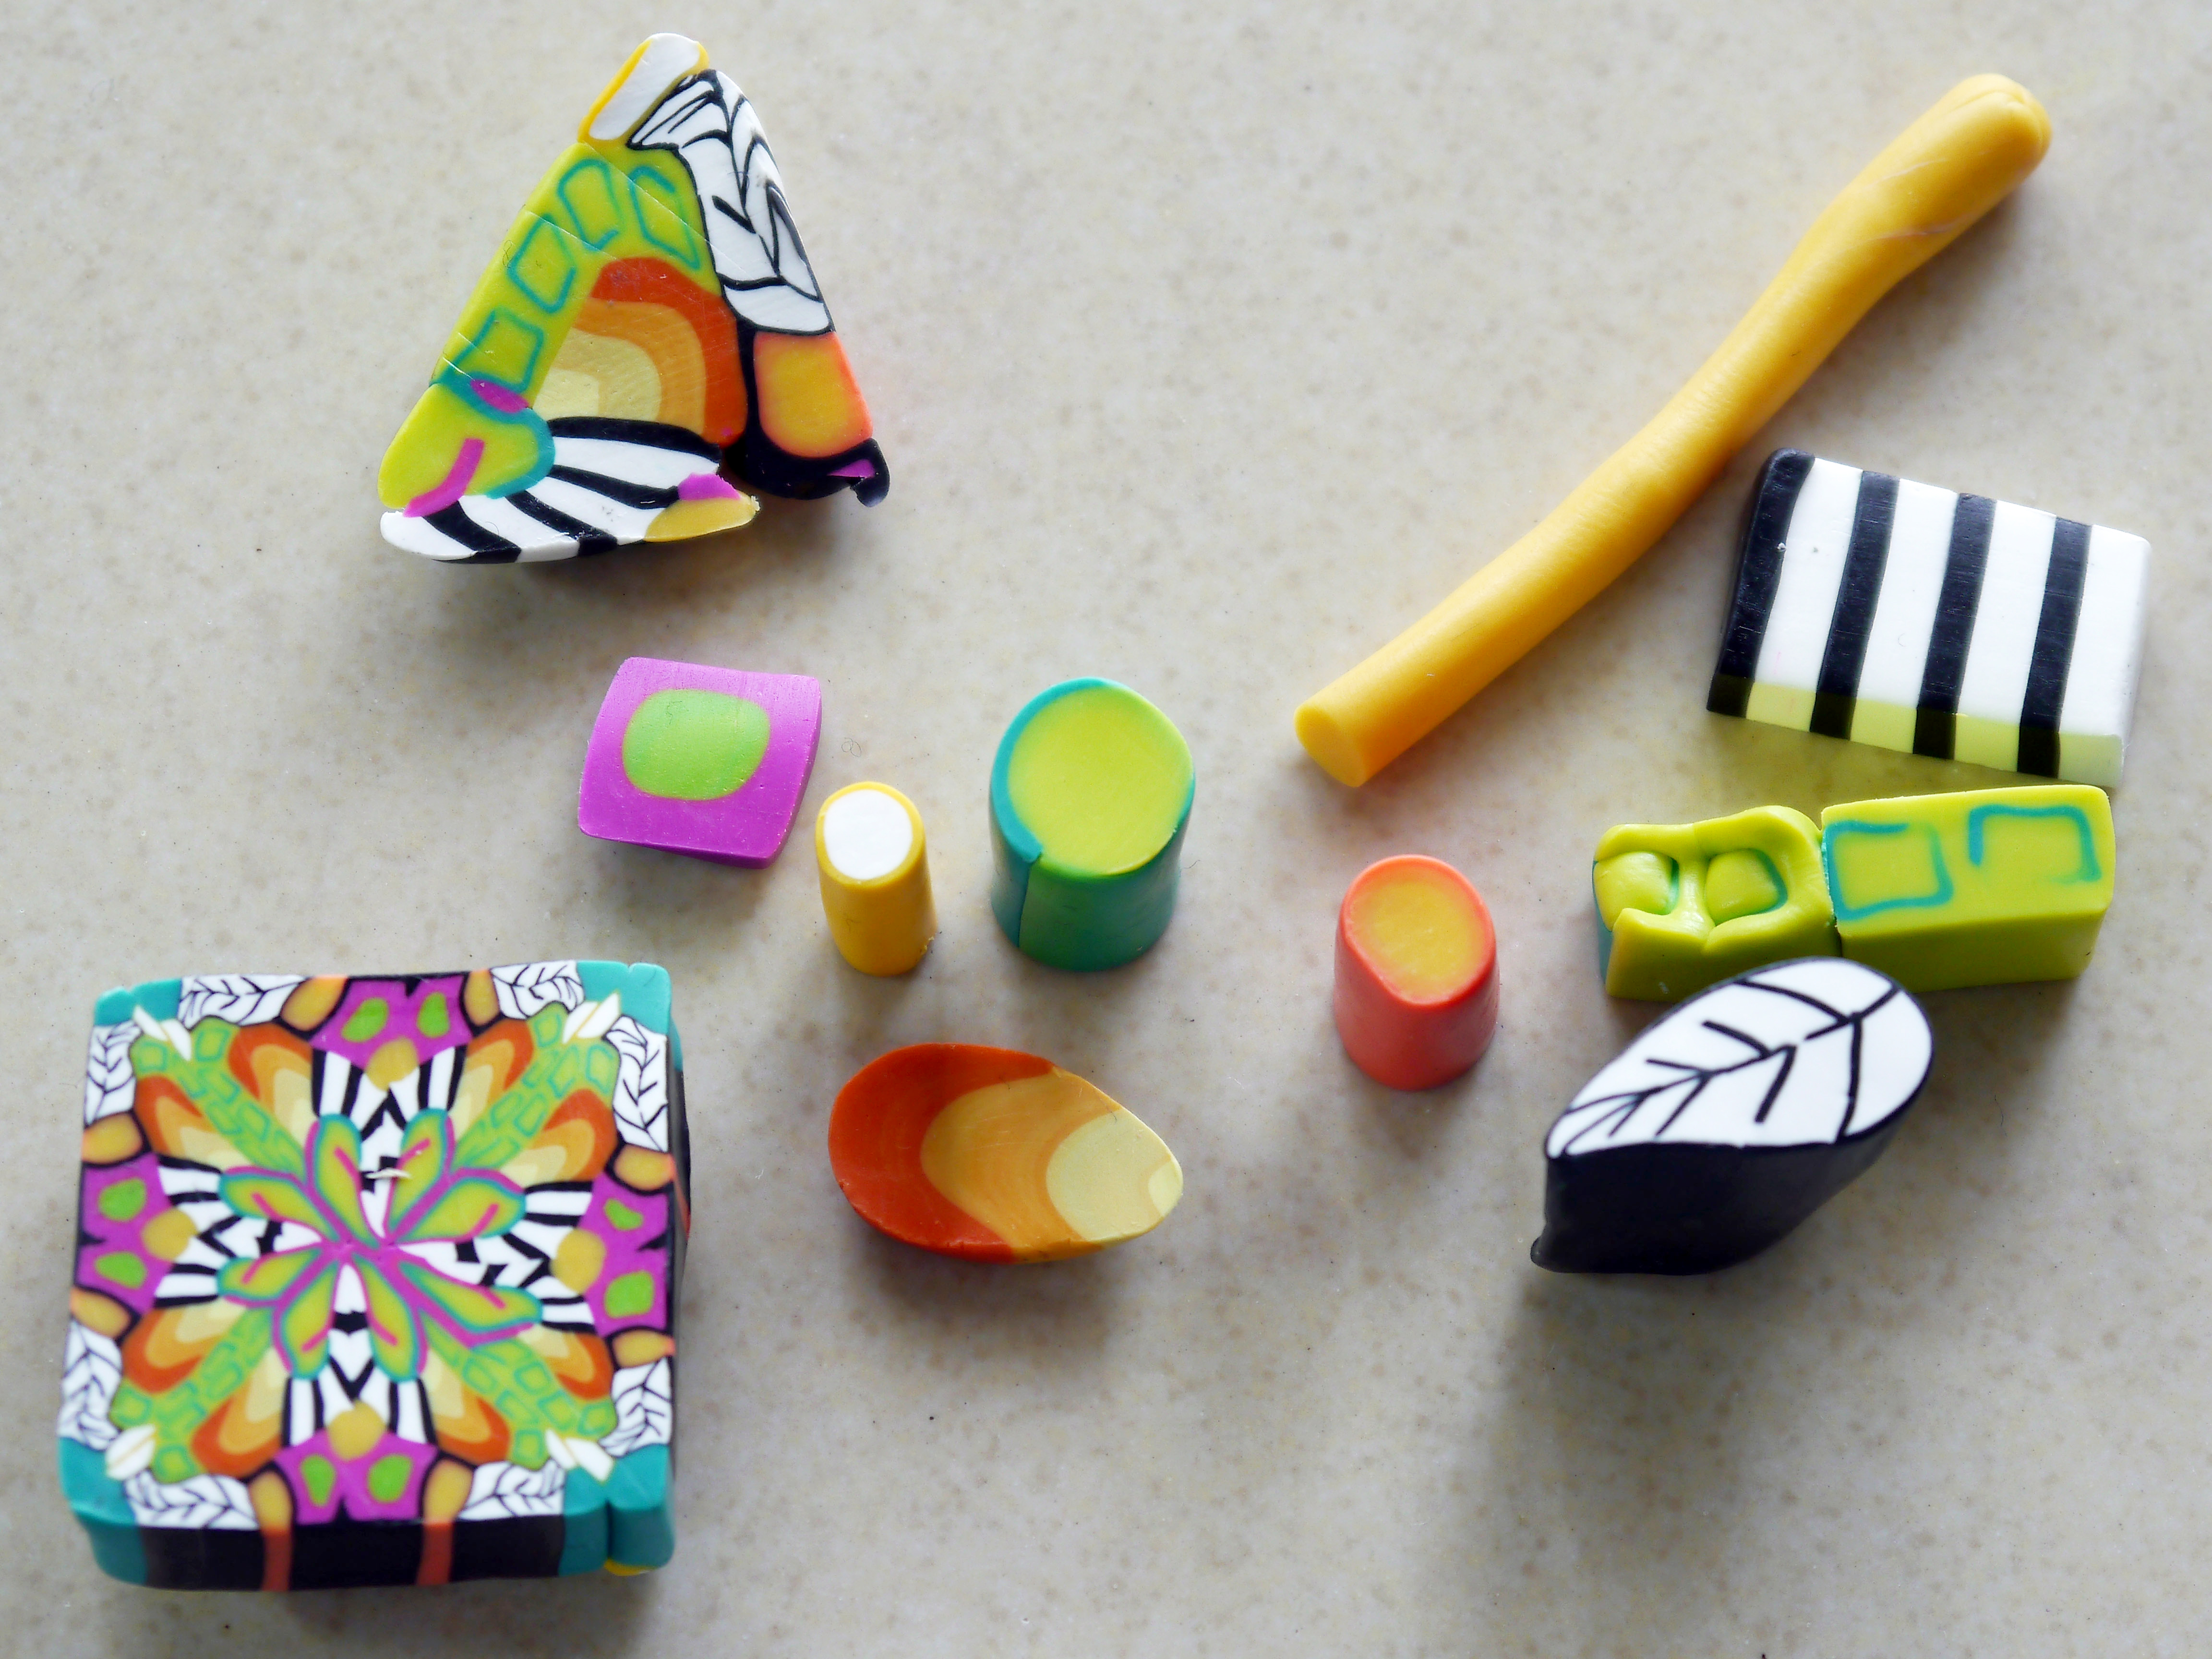
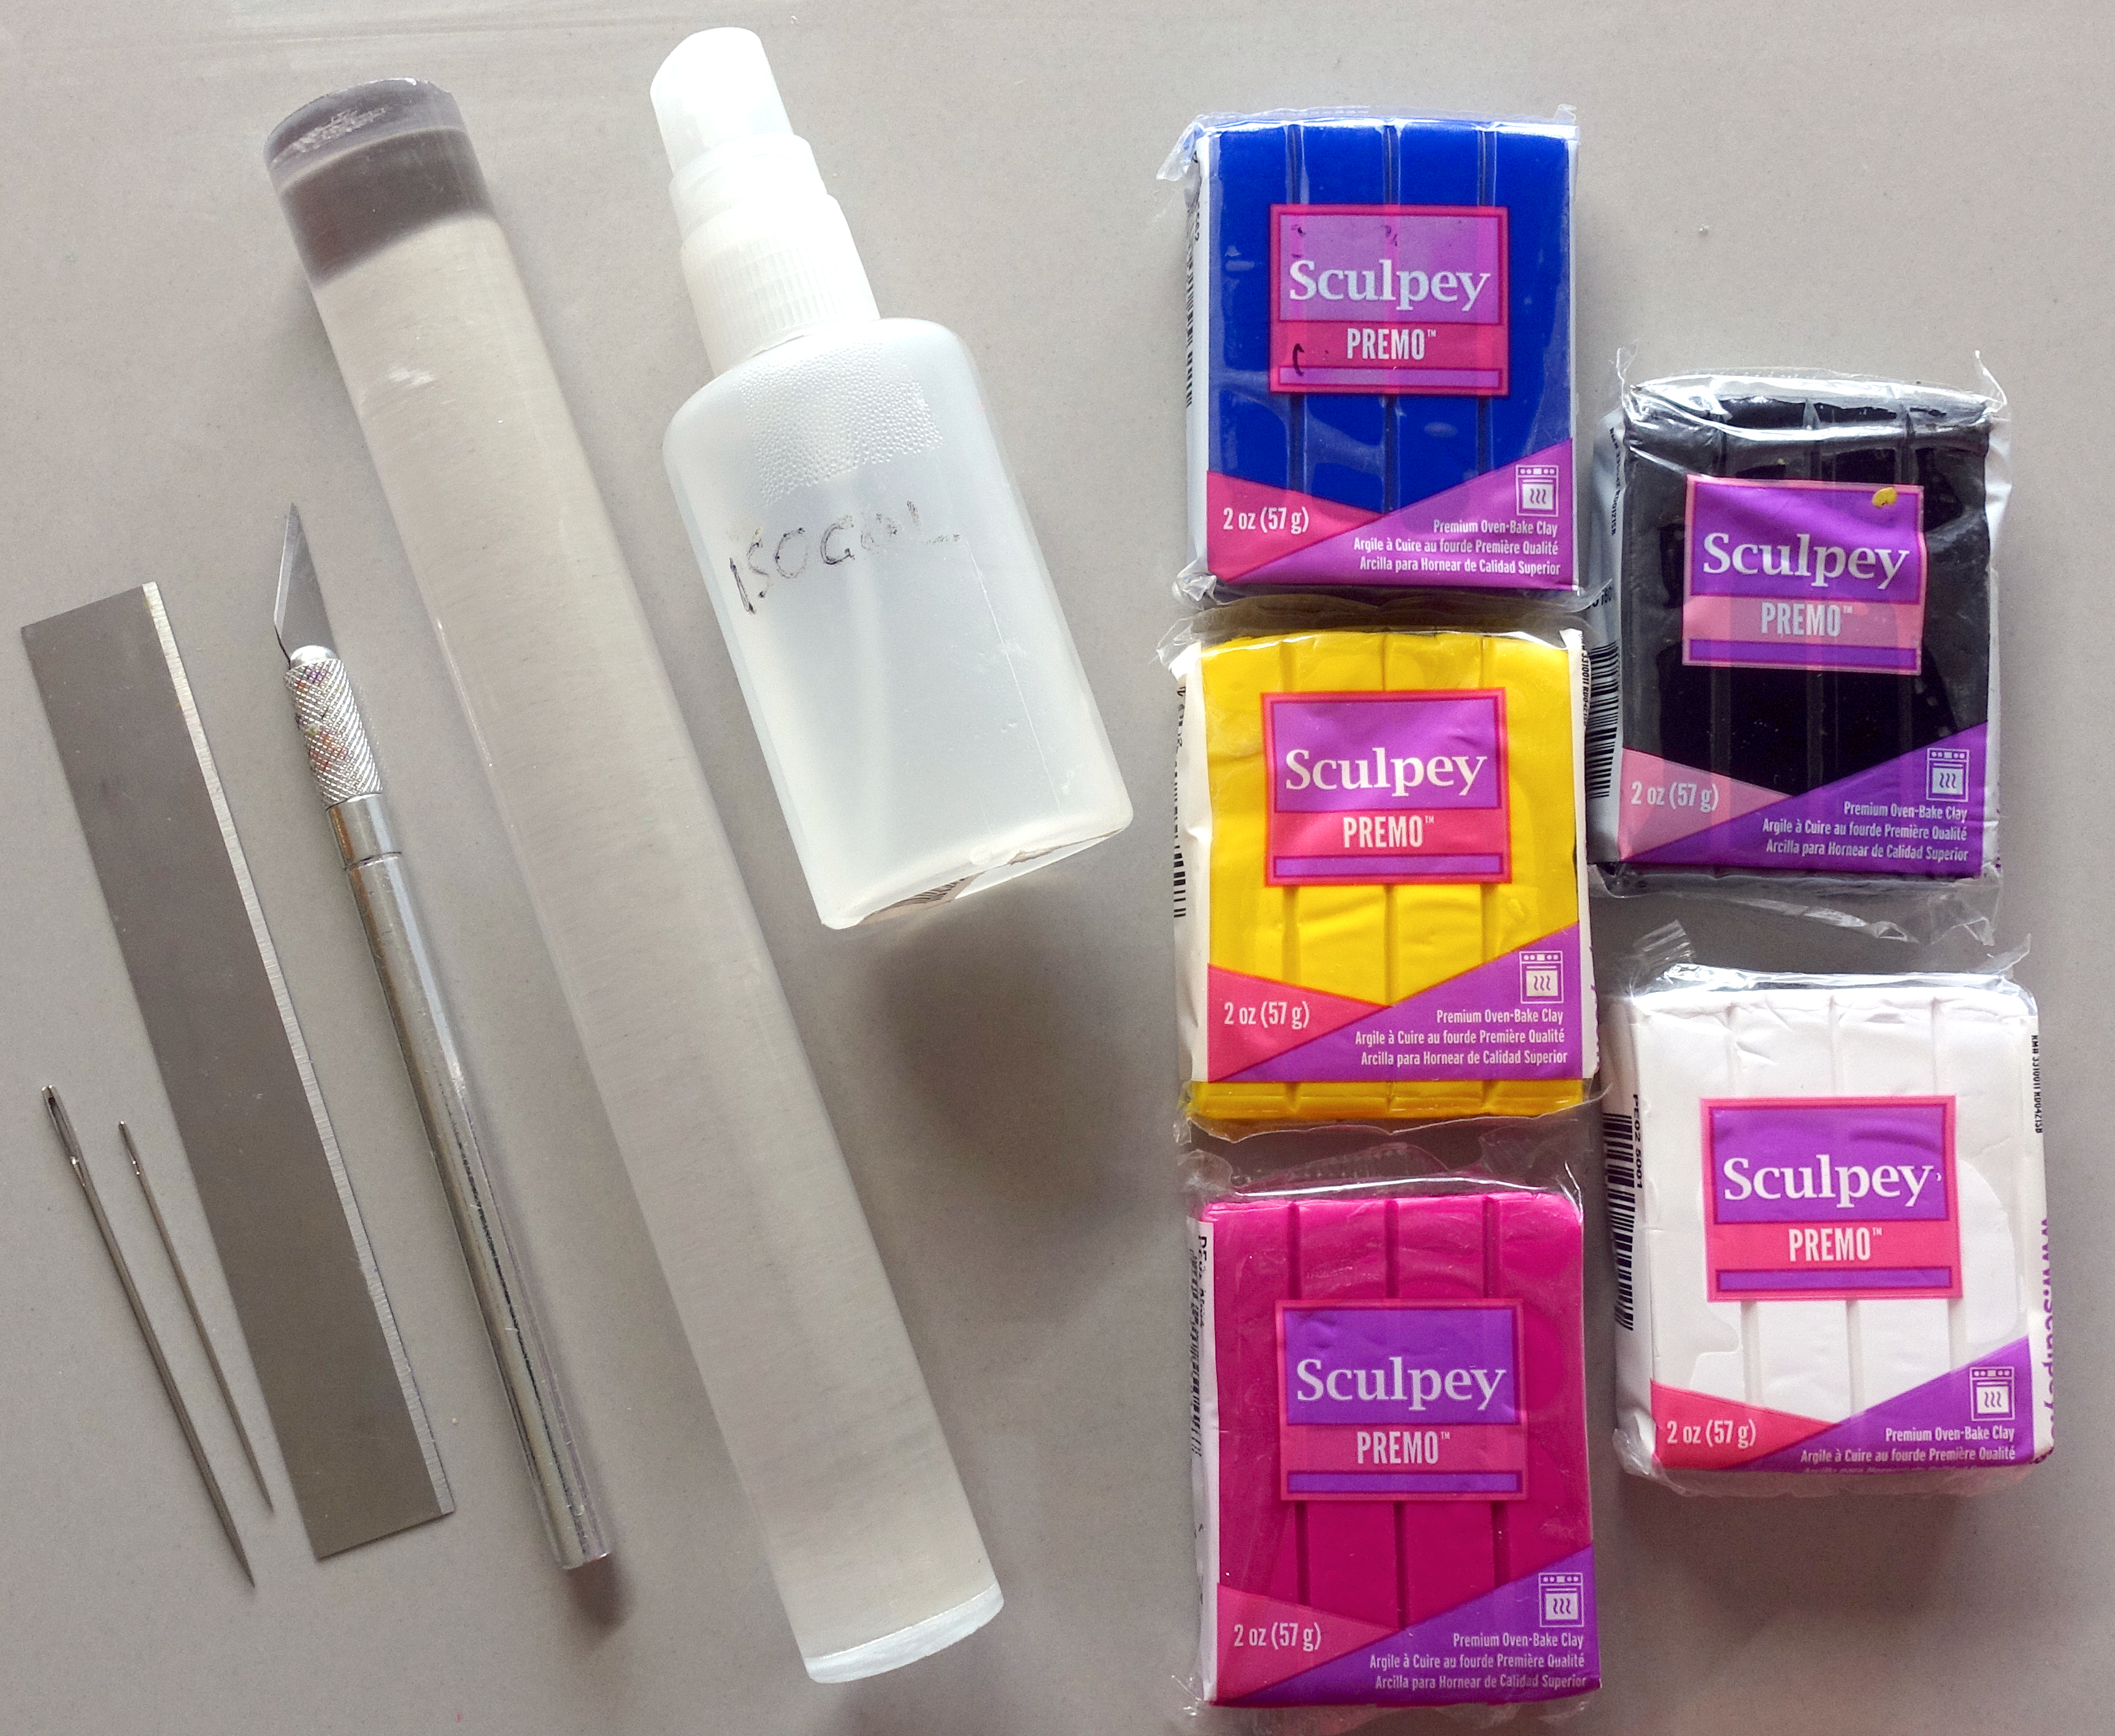
All the pieces above are made using only:
- A roller
- A blade
- A craft knife;
- Polymer clay in 5 colours – yellow, blue, magenta, black and white;
- rubbing alcohol for cleaning surface and tools; and
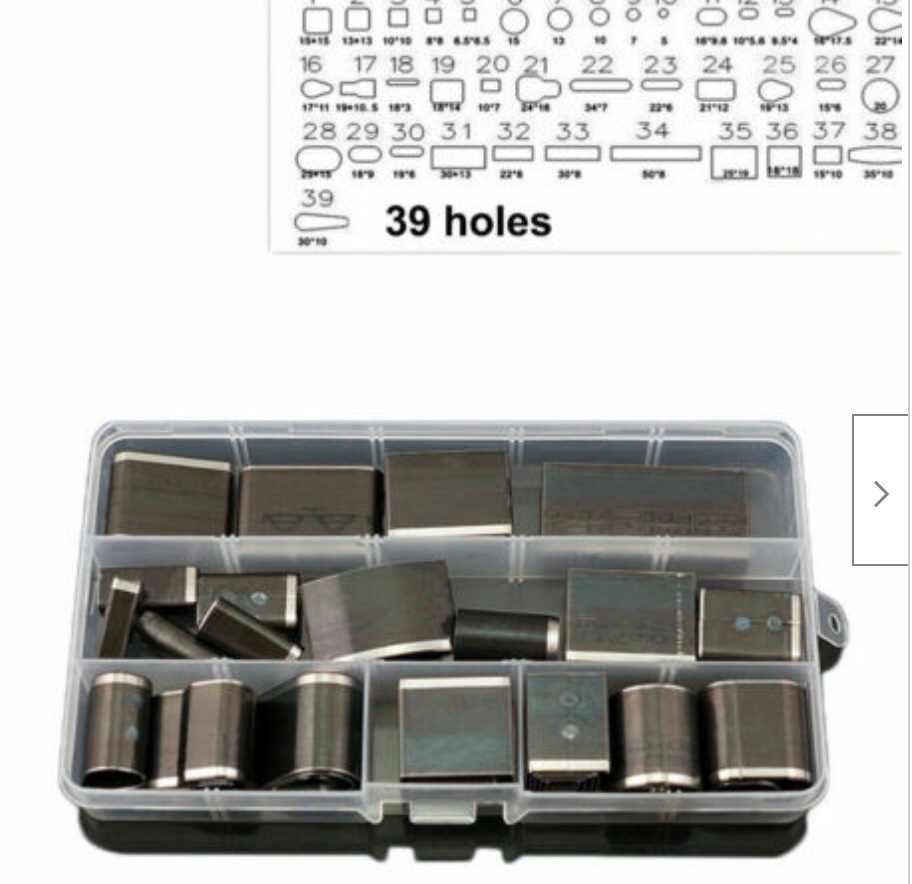
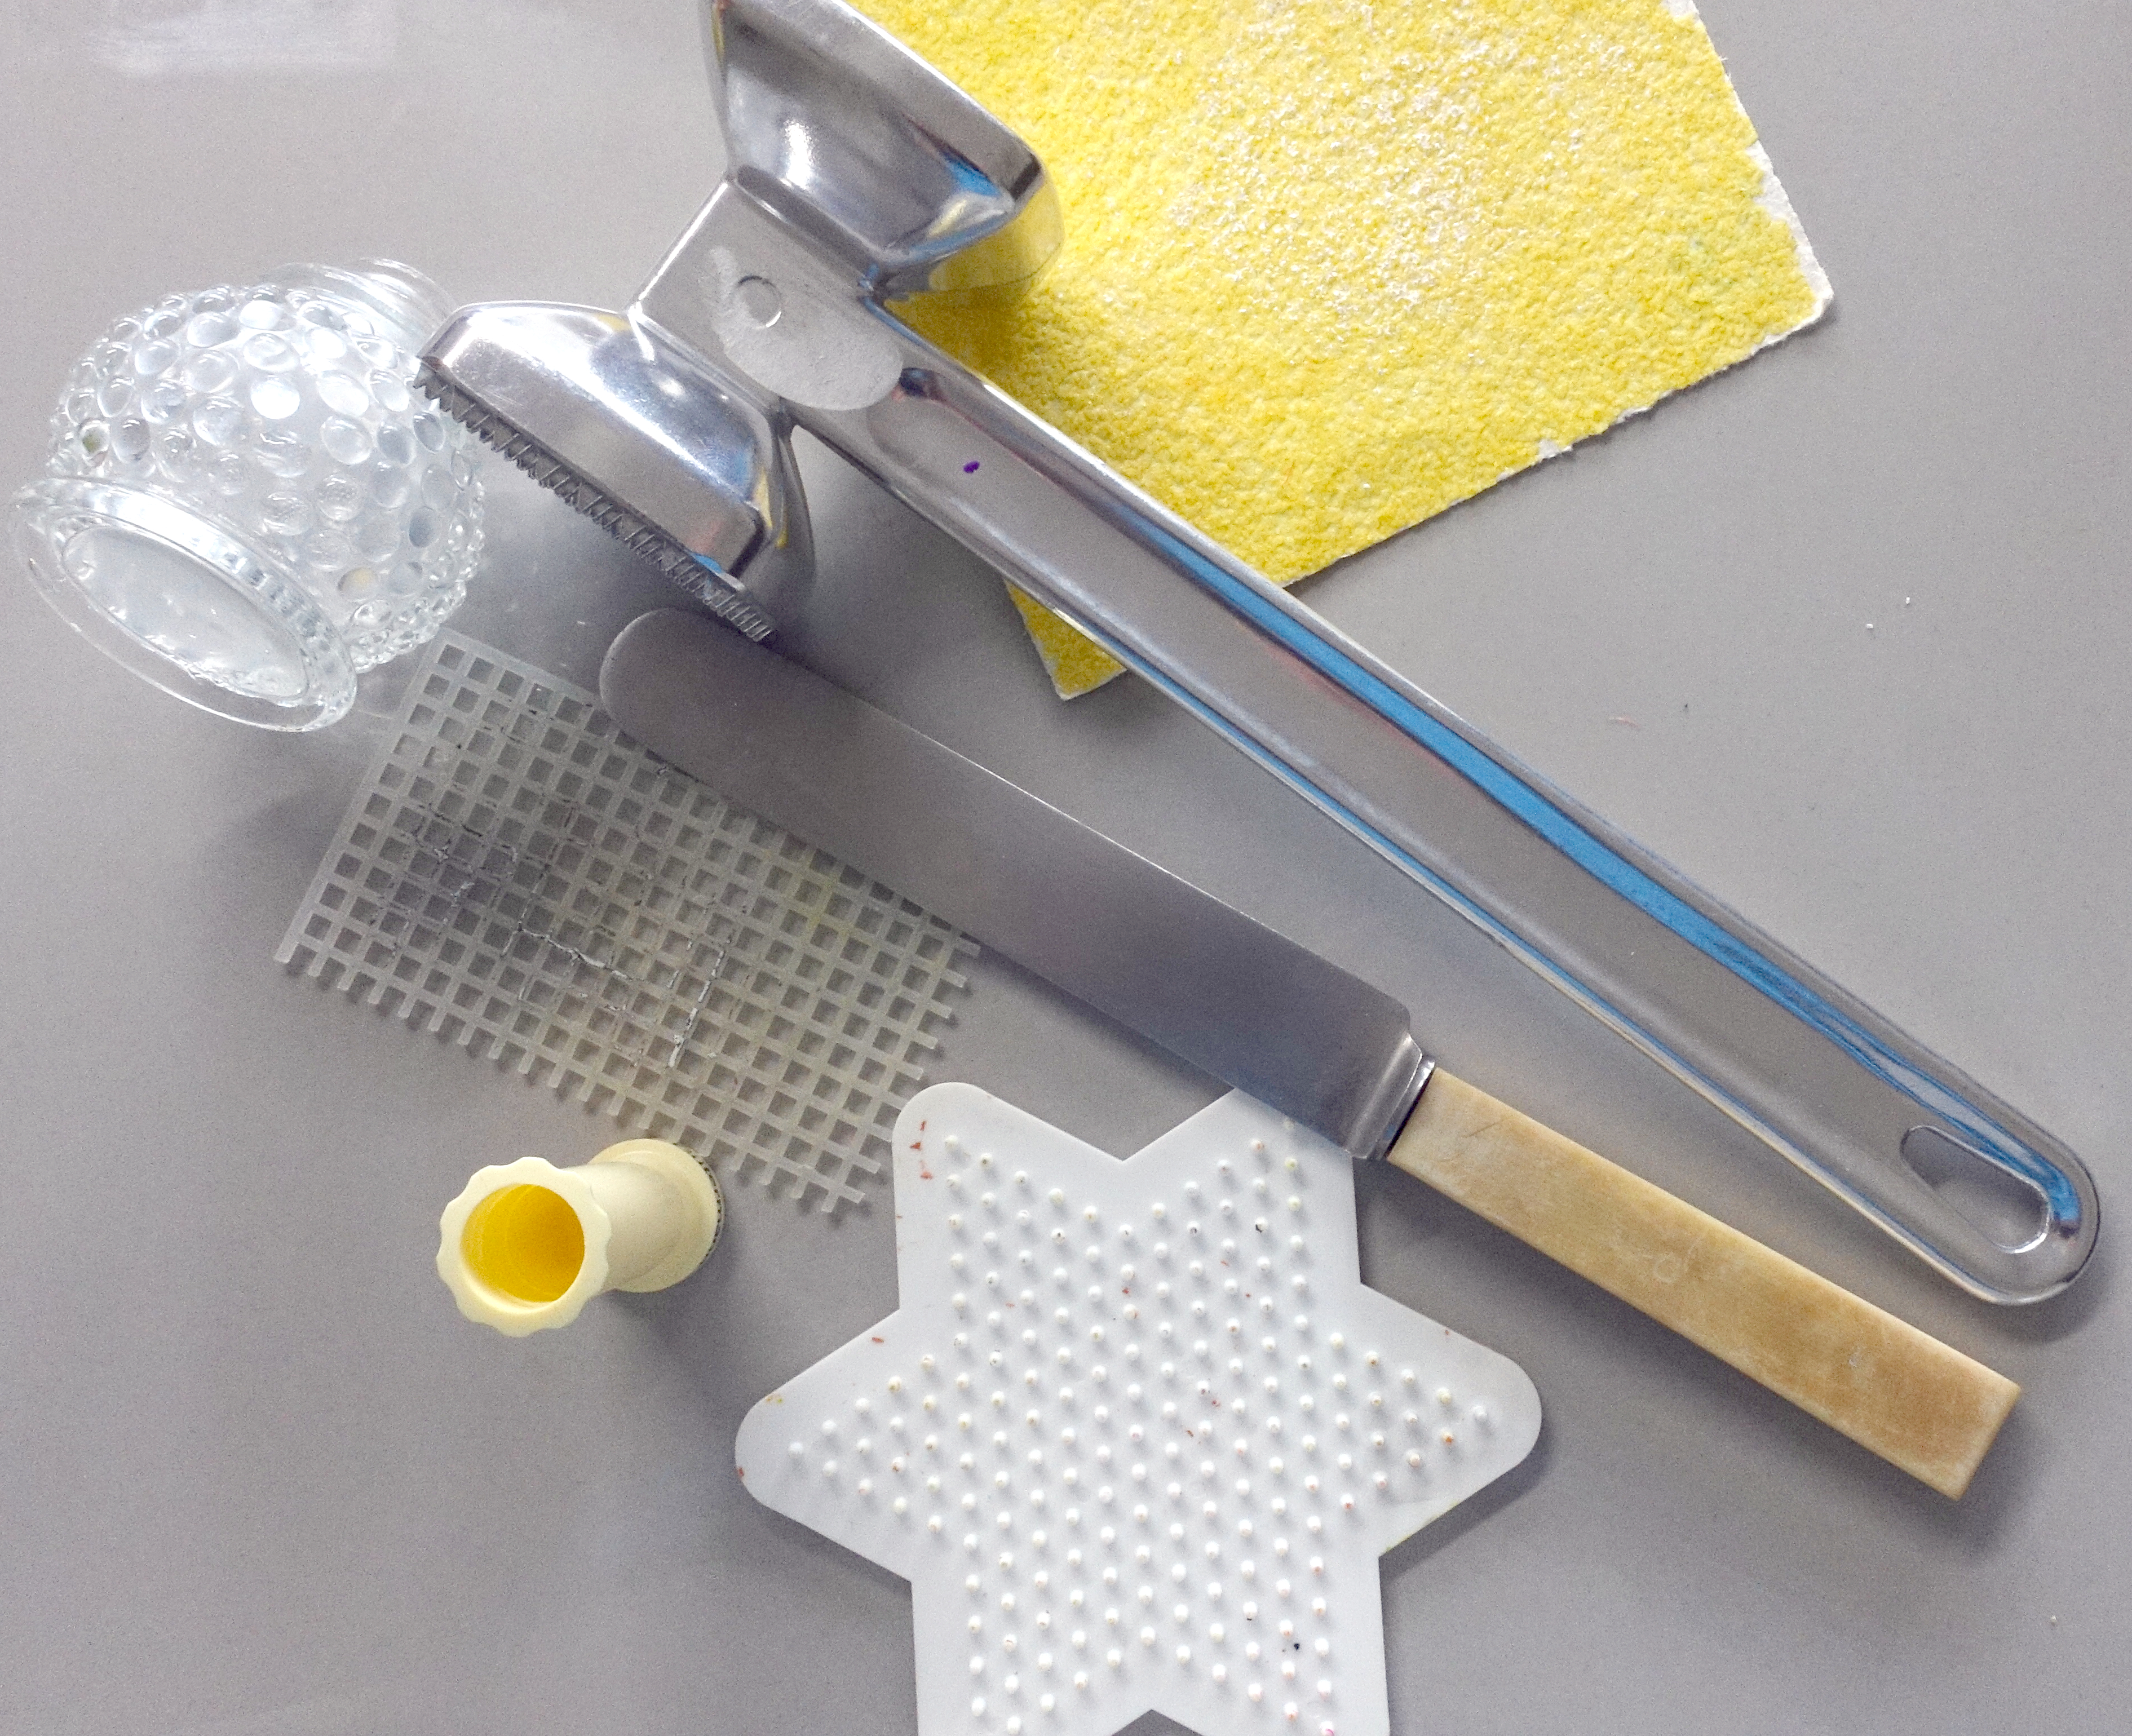
- Some items I had around the home.
One additional item which I couldn’t do without is my pasta machine. It certainly speeds things up and saves my hands, but you don’t need one to get started unless you have issues with your hands. Most of the techniques I use could be done without a pasta machine, and some well known artists including Layl McDill and the late Tory Hughes taught classes without using pasta machines.
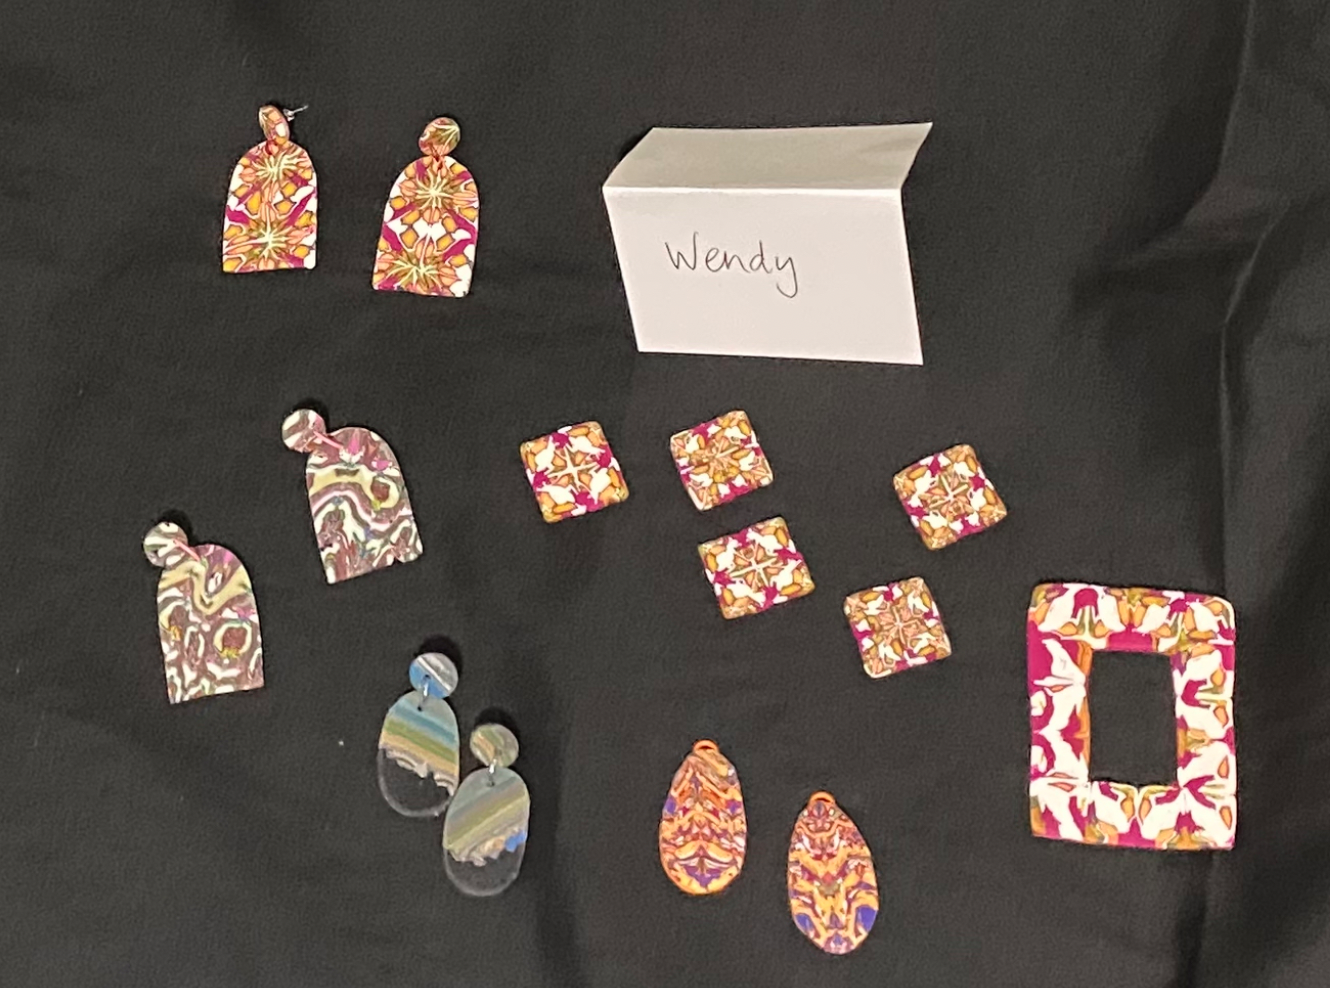
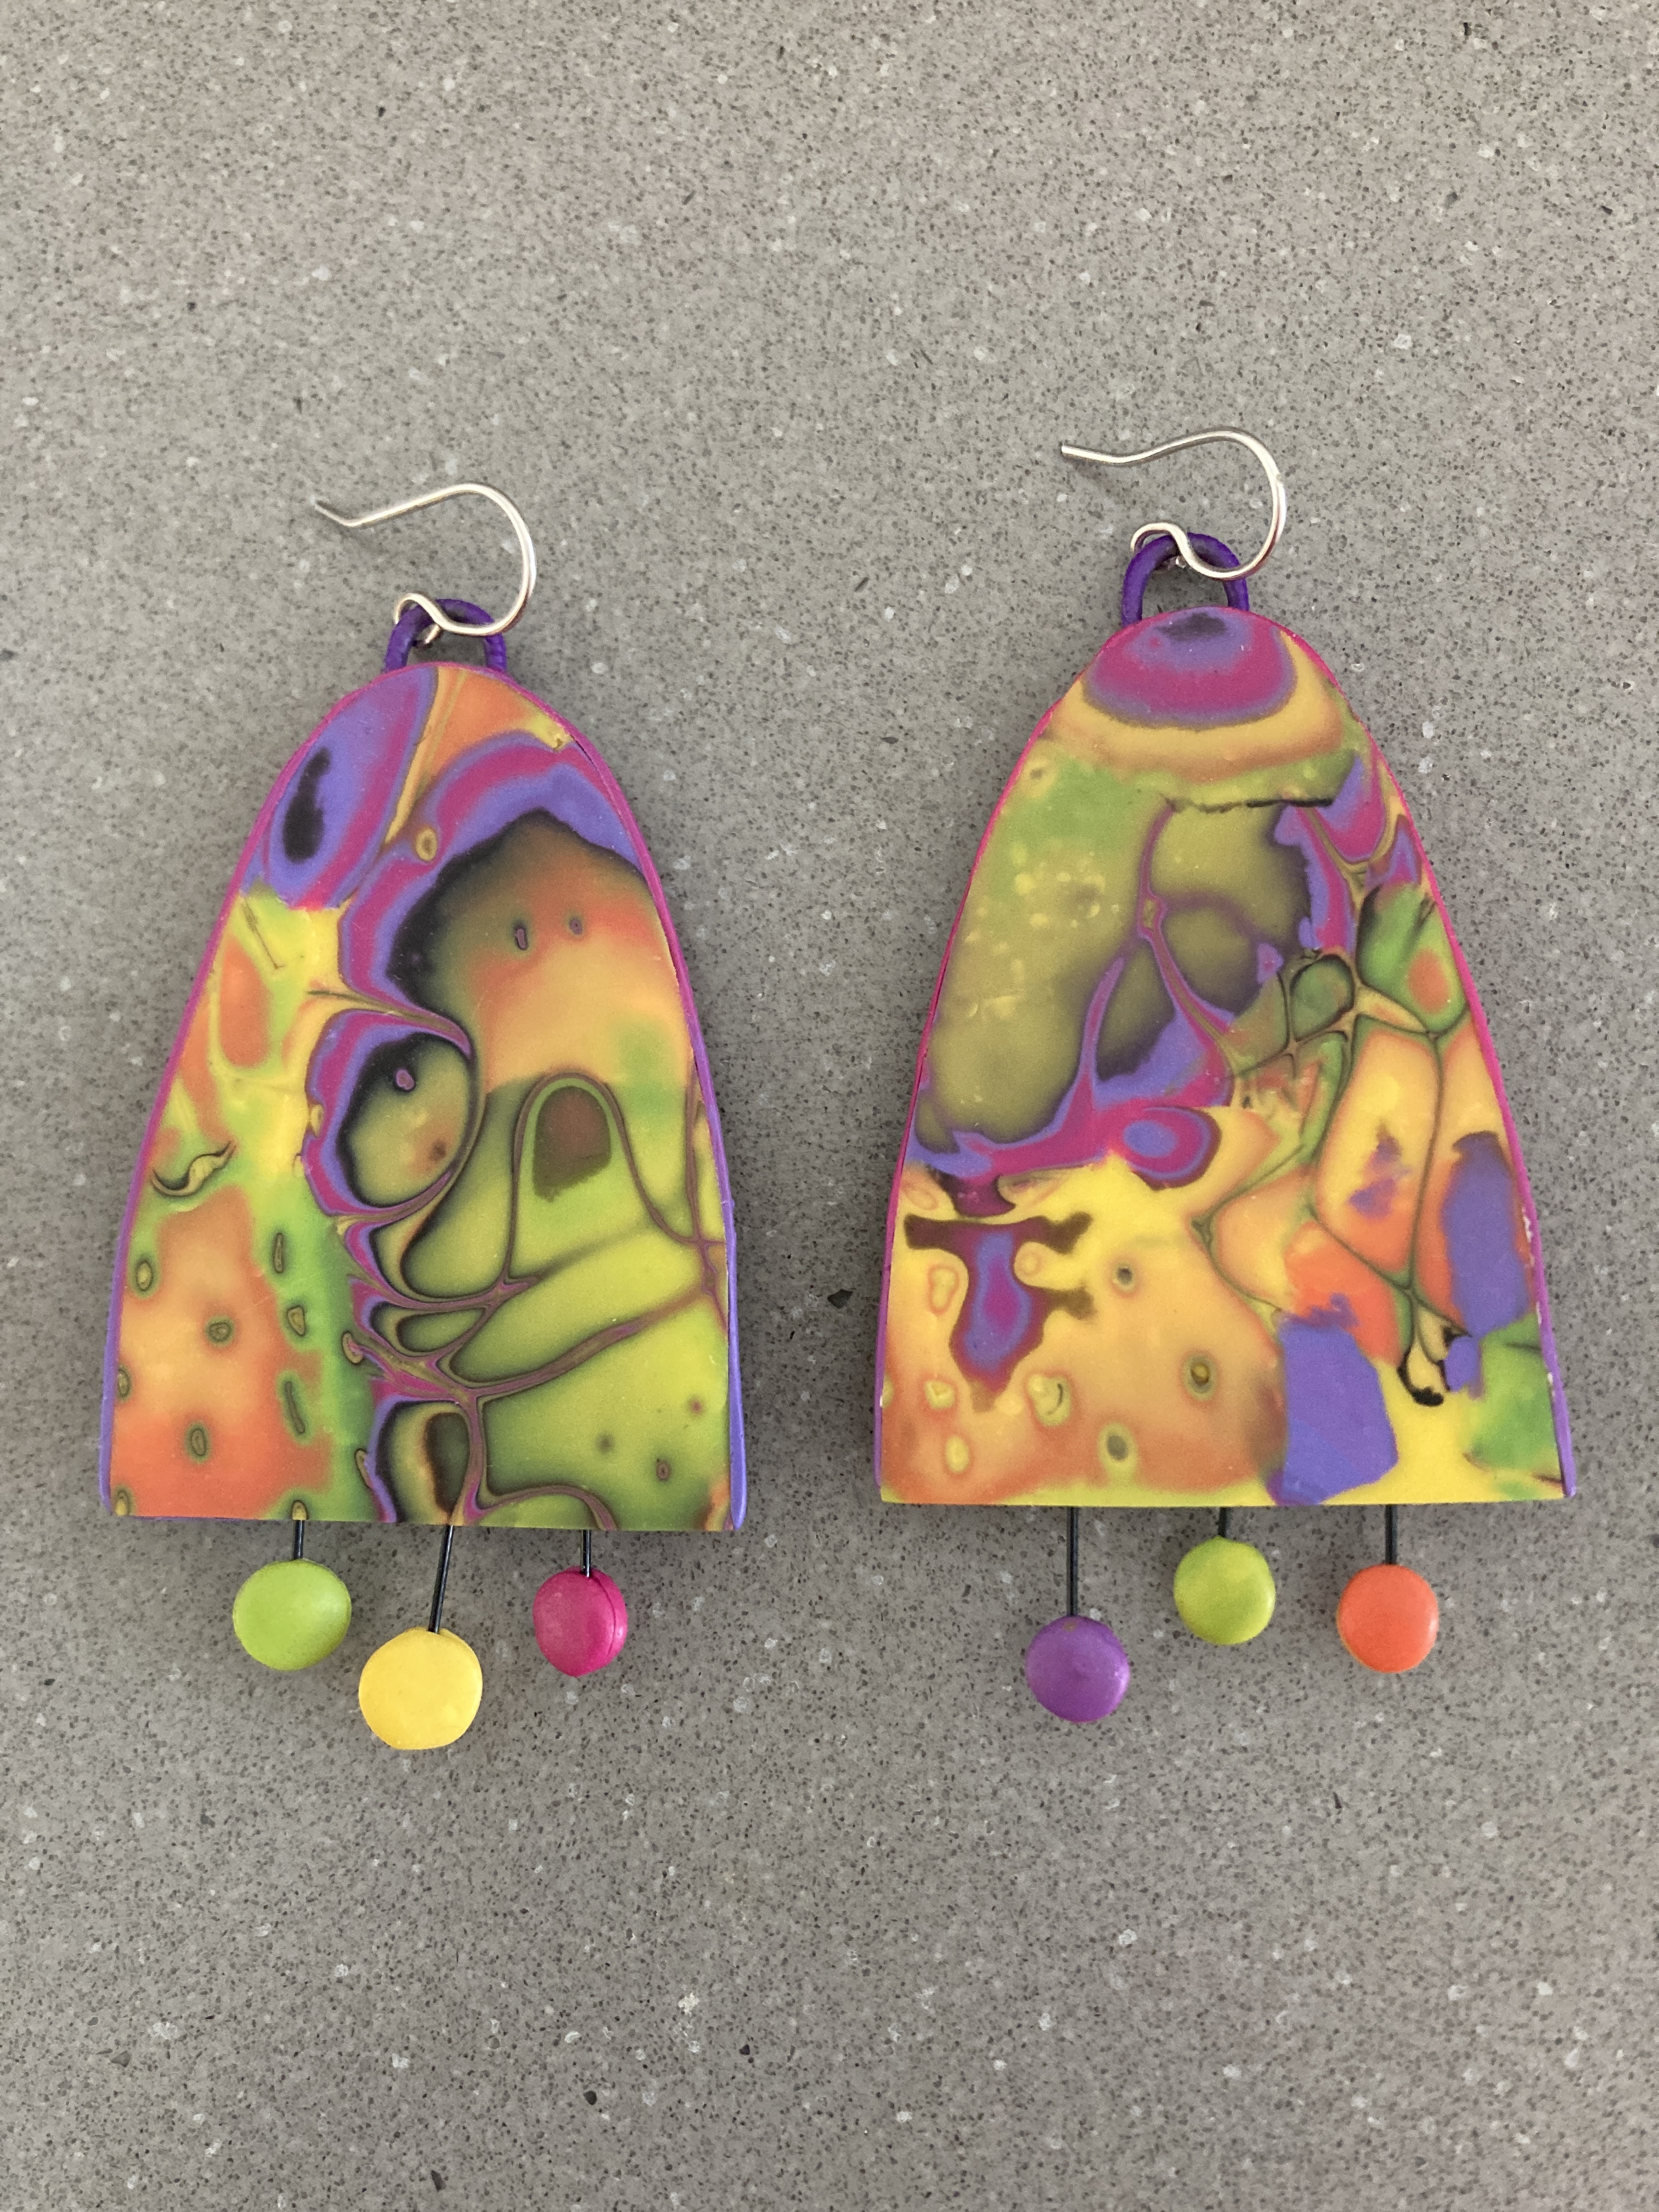
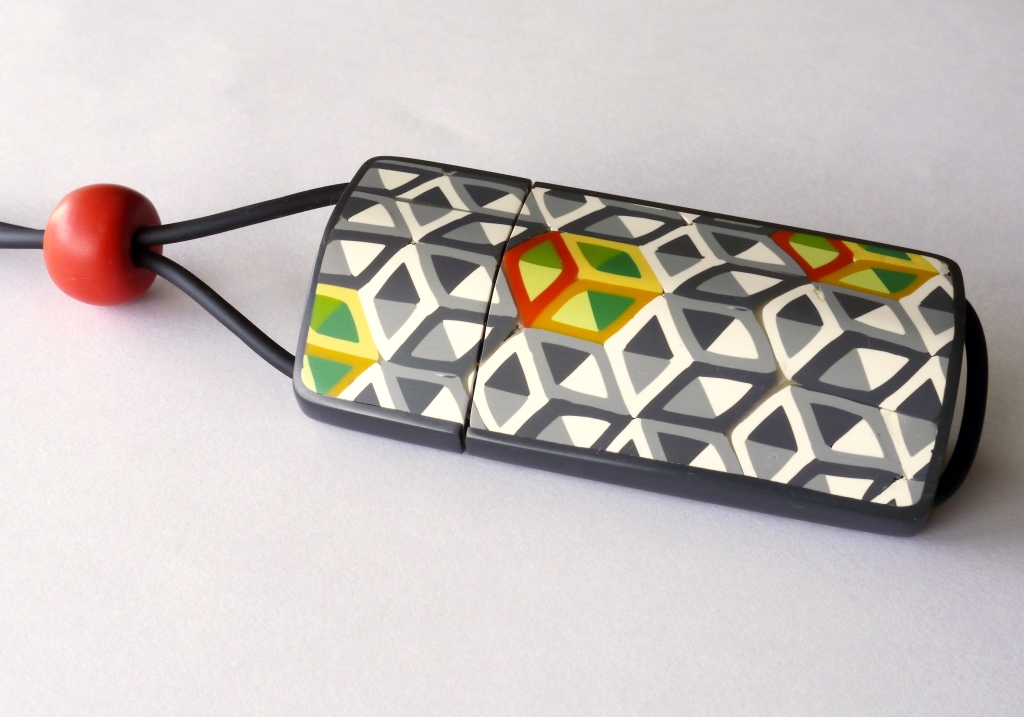
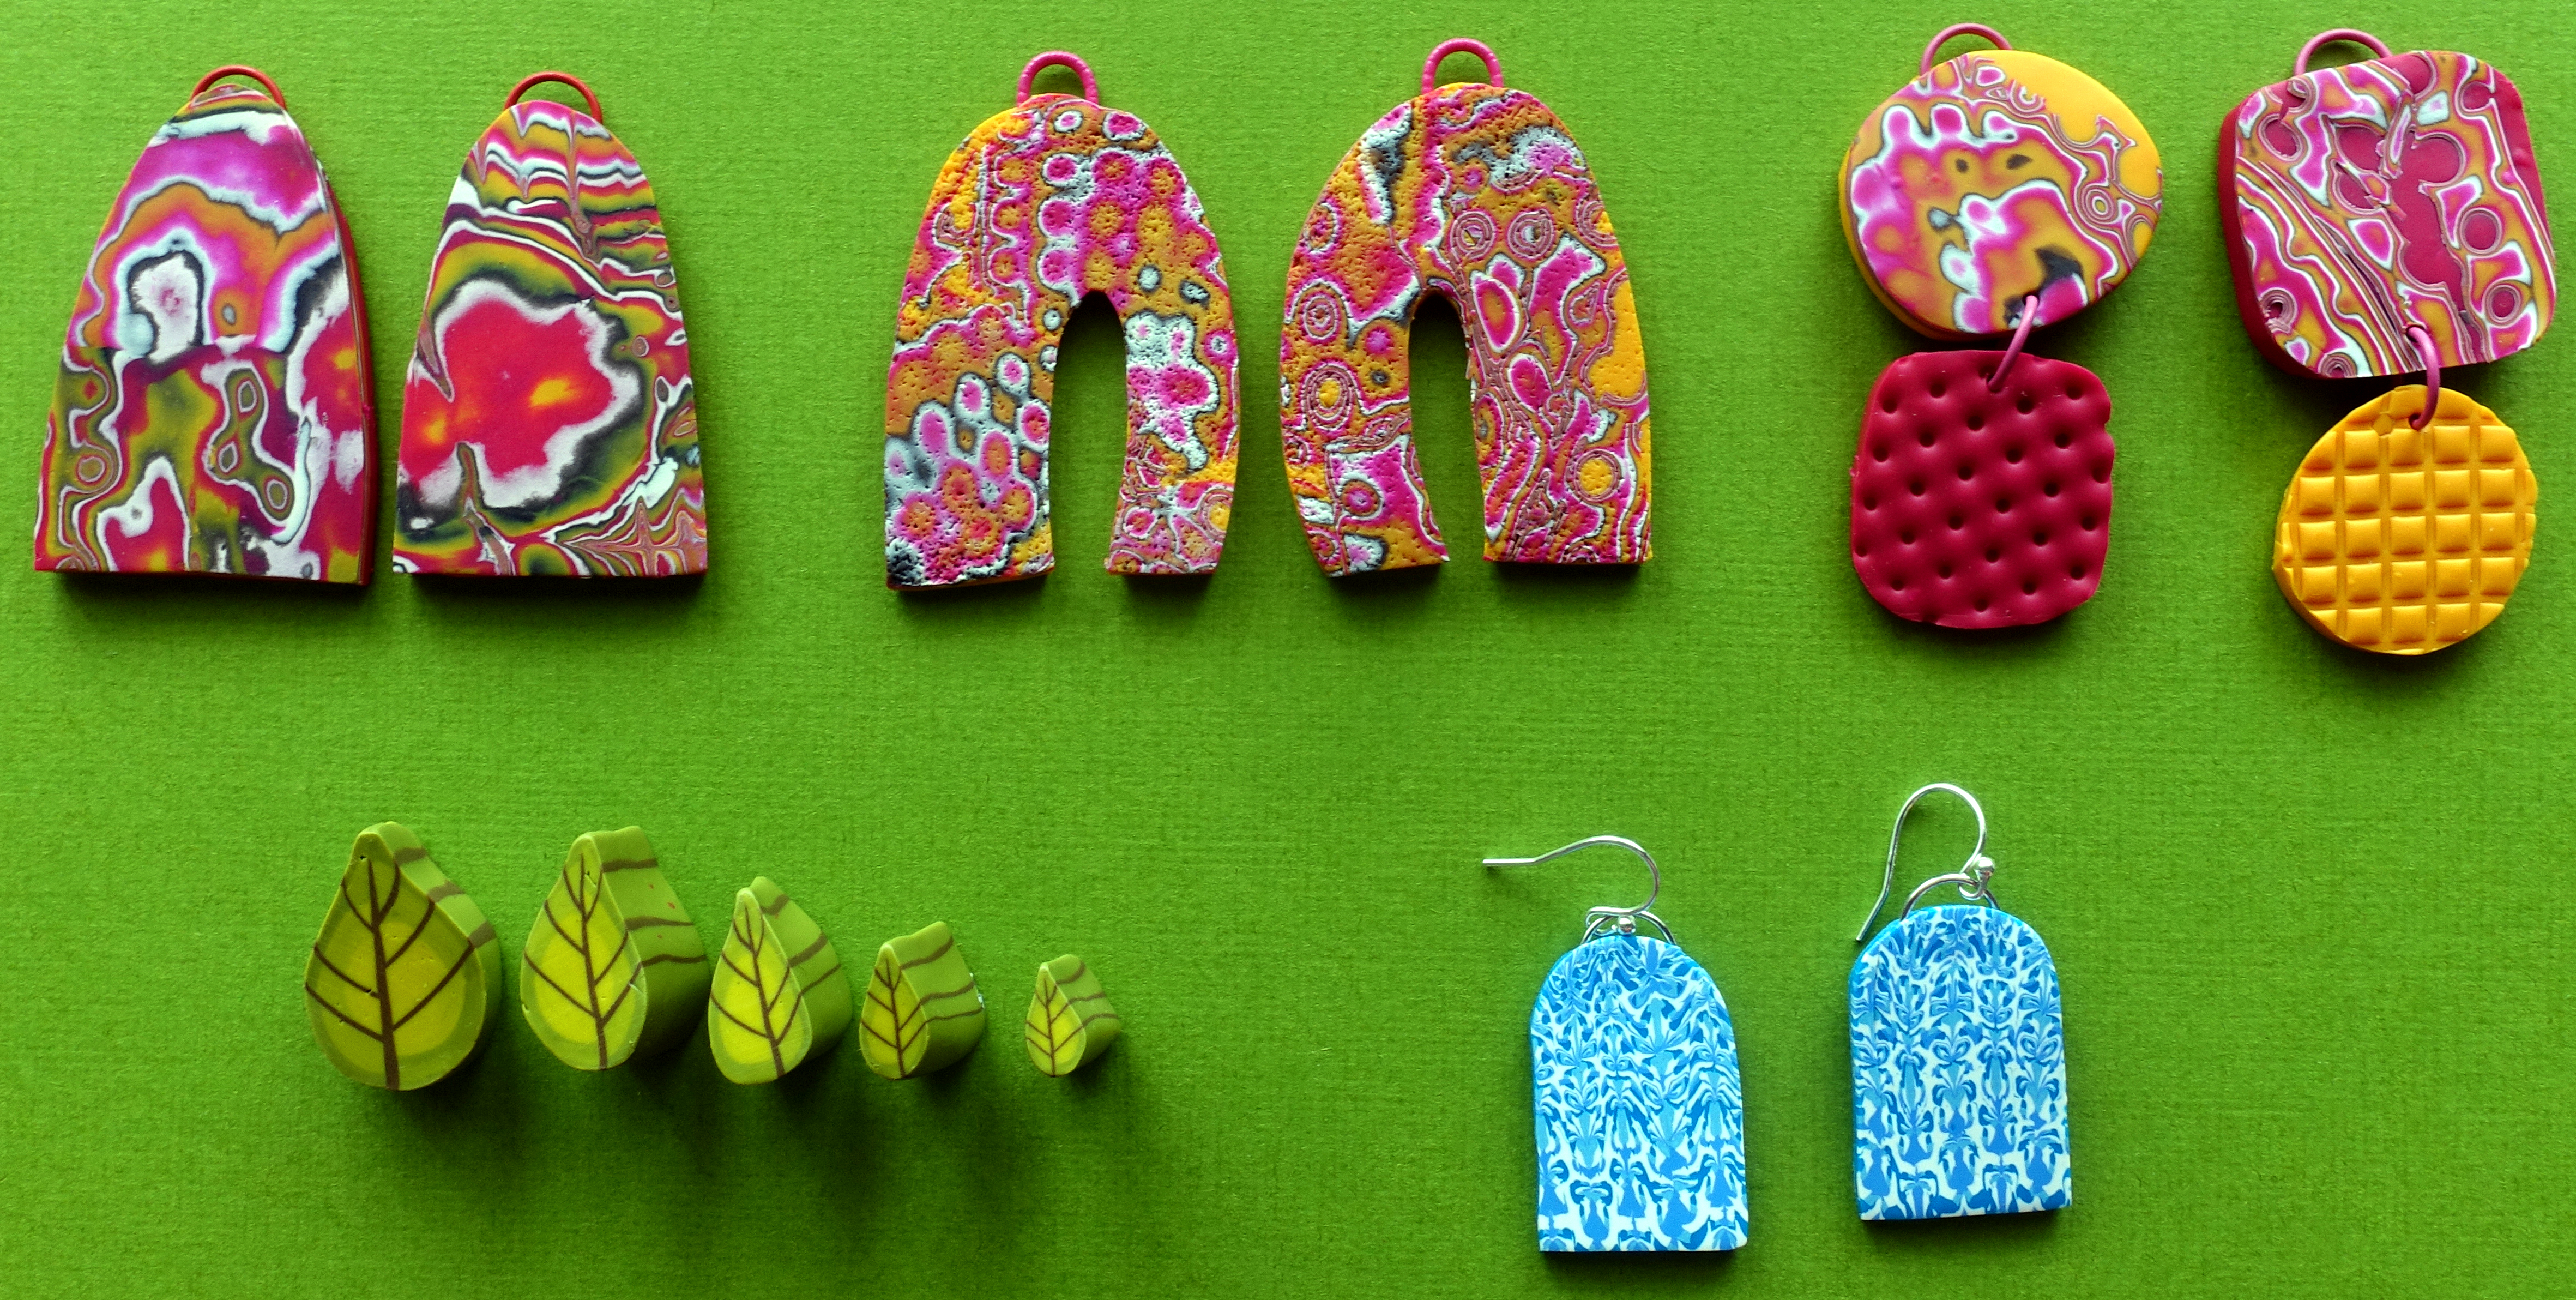
I love working with the colours of the clay itself, rather than adding paint or inks. Mixing colours from just a few original colours can result in a more cohesive colour scheme. The technique used can also change the colours – for example in the mokume-gane earrings above I have only used a light orange, magenta, black and white, but the blending of those colours due to thin layers introduces a green colour.
The earrings here have been made with the tools and clay colours above, but using the pasta machine
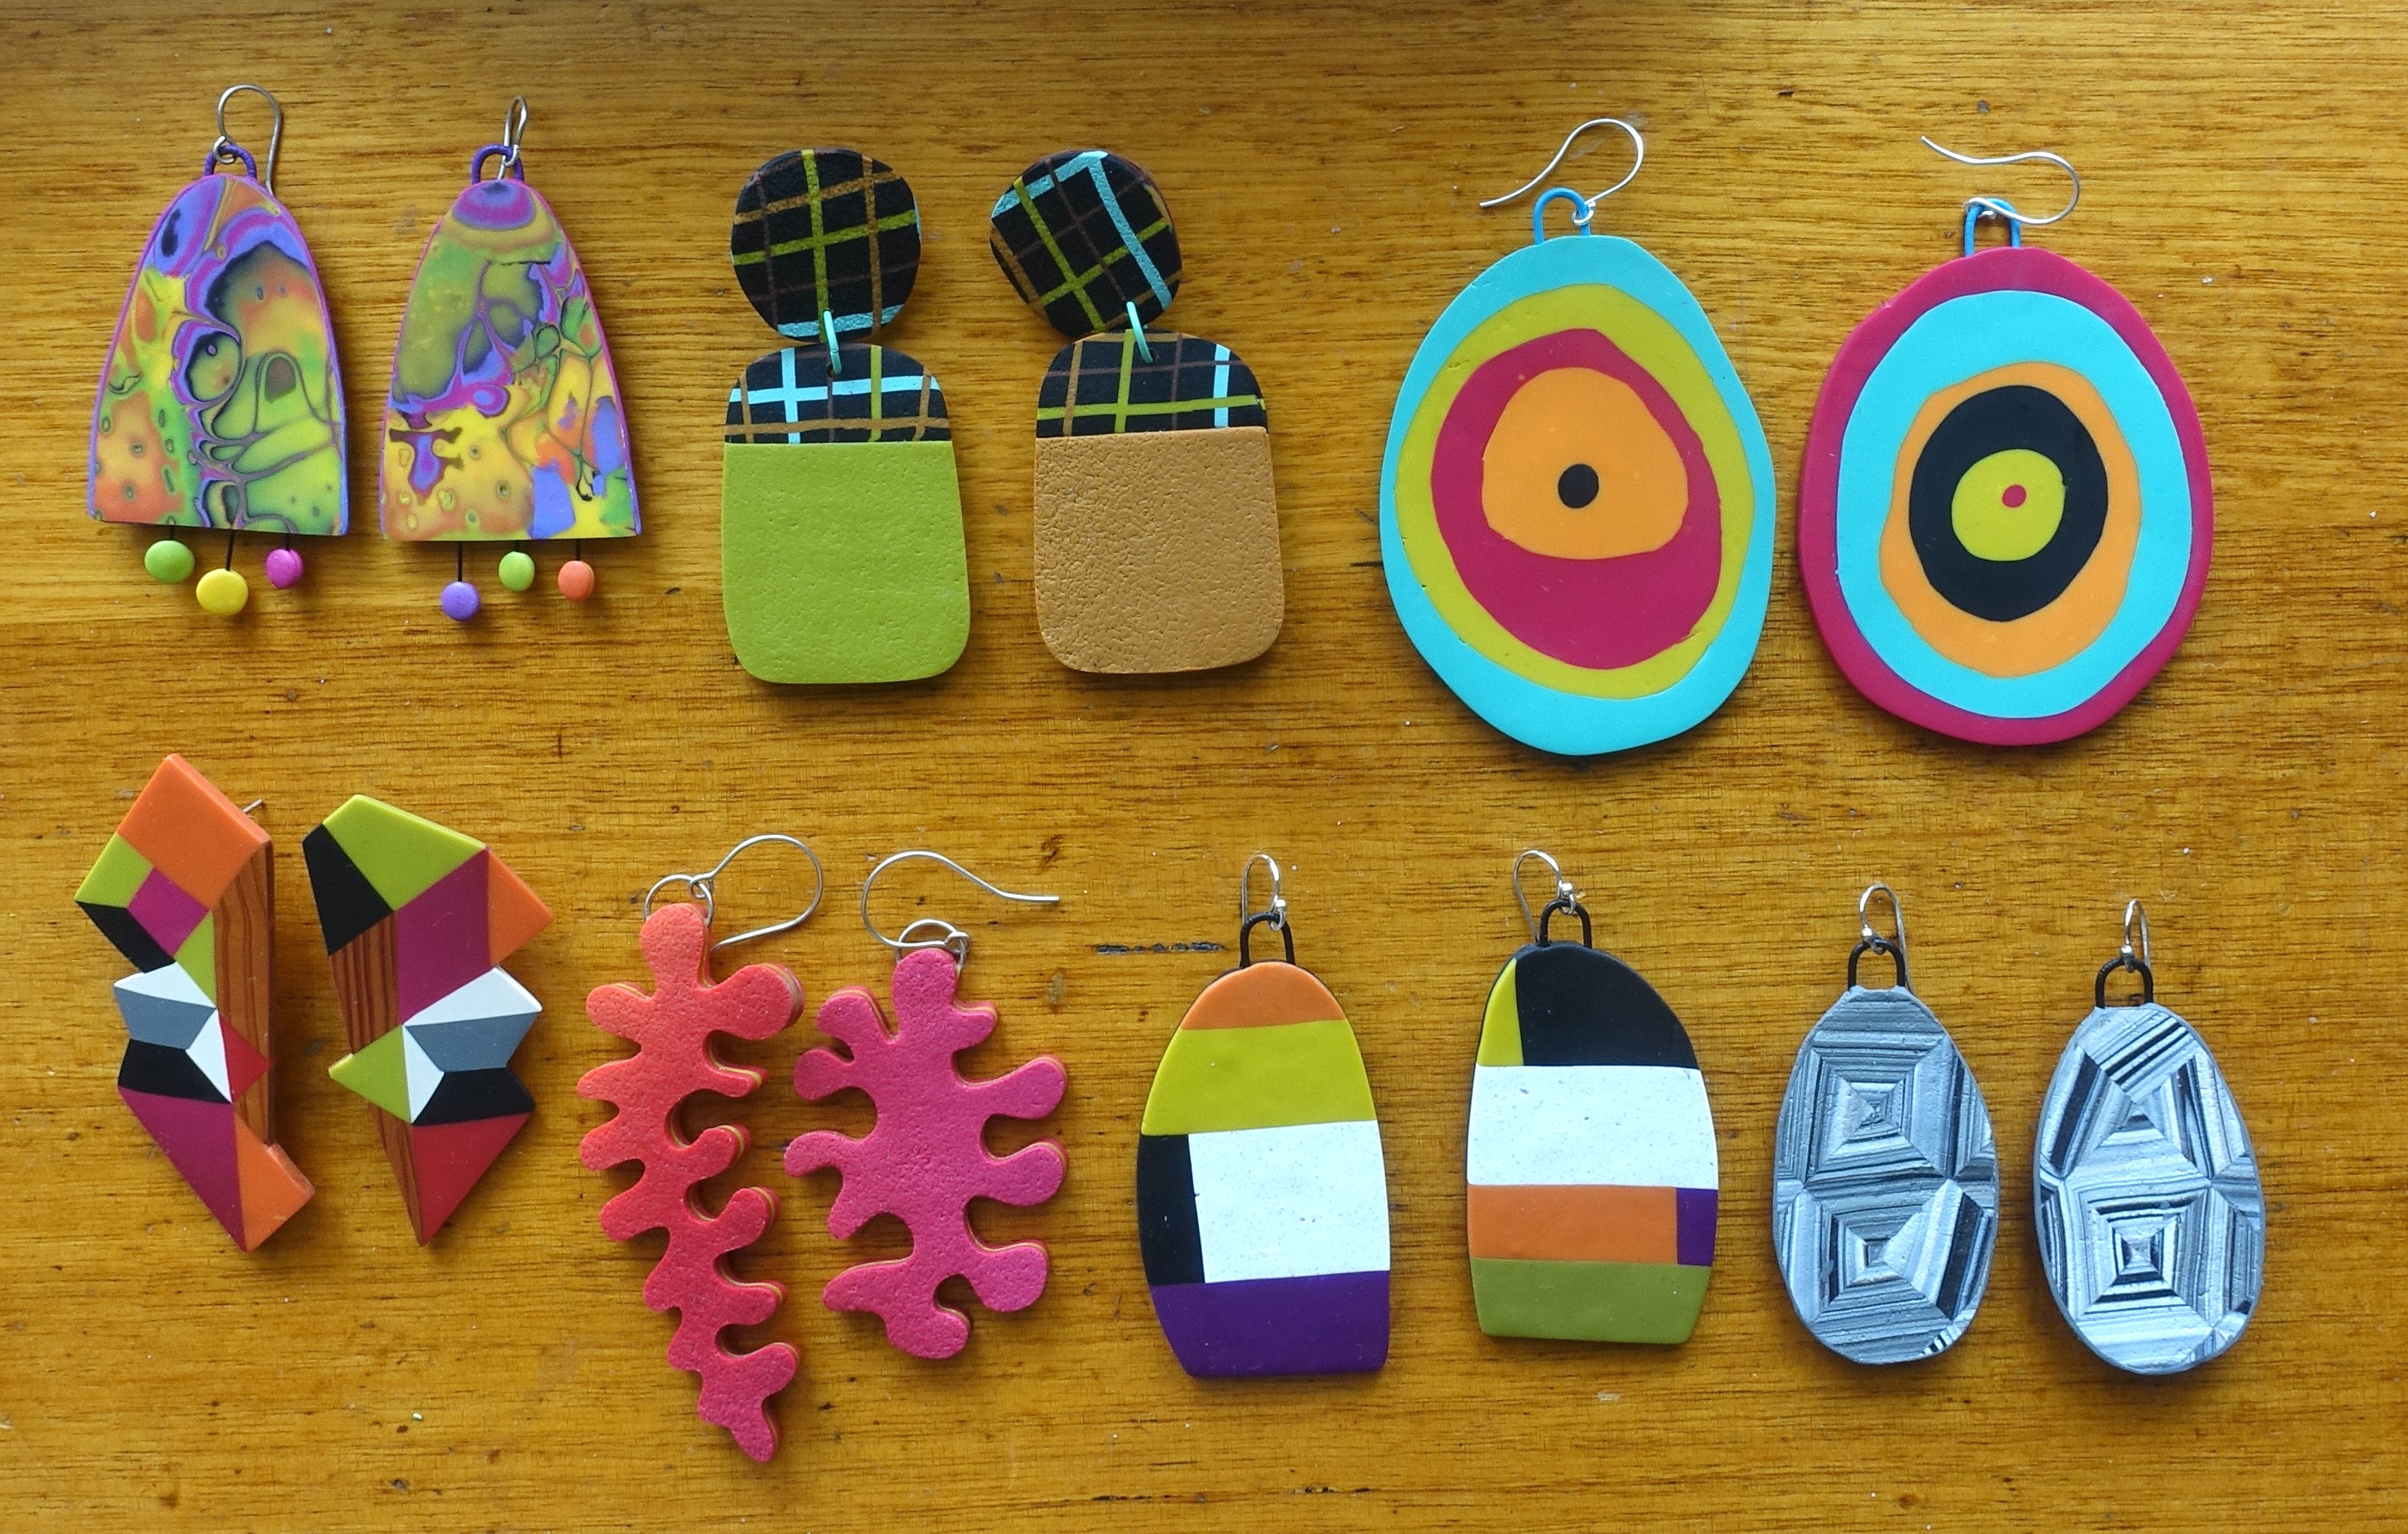
I plan to share some of the basic techniques here in the future.