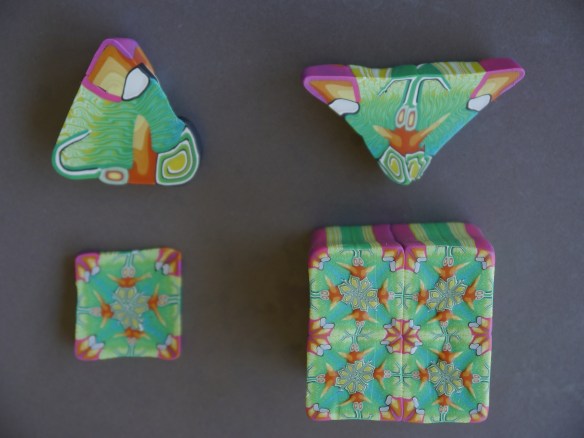
I’m always amazed by the intricate patterns that emerge from repeating a random design, which initially doesn’t look that interesting. These are called ‘kaleidoscope canes’ for obvious reasons.
The original group of canes is pushed together, and shaped into a long triangle, cut in half and packed together, worked until it is longer then cut in half again and so on. In this case I had a bluey-green cane with some interest (left over from a Sarah Shriver workshop) but I’ve had lovely results with just plain colors.
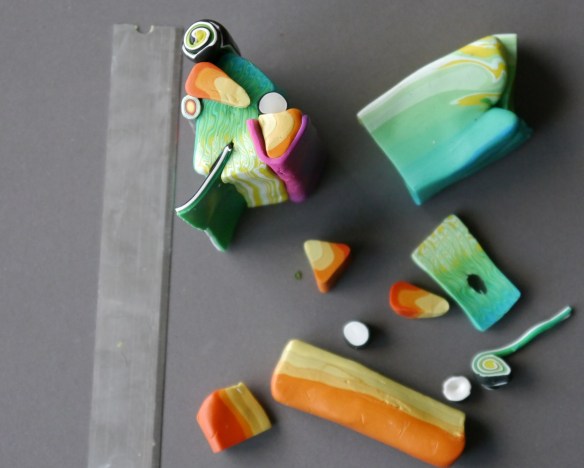
Starting with canes left over from other projects, they are stacked together (top left). The black, white and green flap was then folded down and the entire stack was pushed into a triangular shape.
At top left is a slice taken from the original cane once it has been pushed into a triangle shape. The edges are straightened further, the cane is cut in half and doubled up to create another long triangle (top right). This is reduced and stretched further, cut into four and packed together again. Finally this last step is repeated.
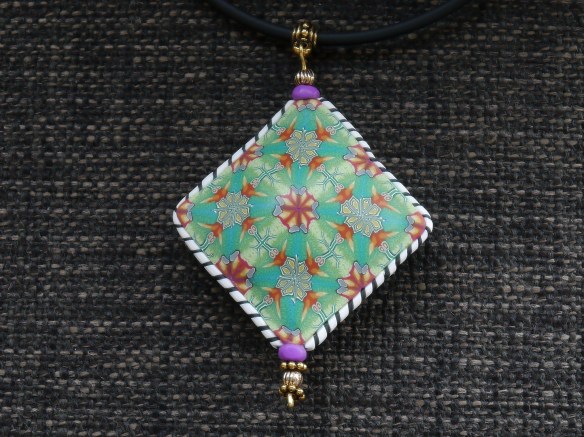
Pendant made from the cane
Here is a good basic tutorial for this type of cane, just using plain colors.
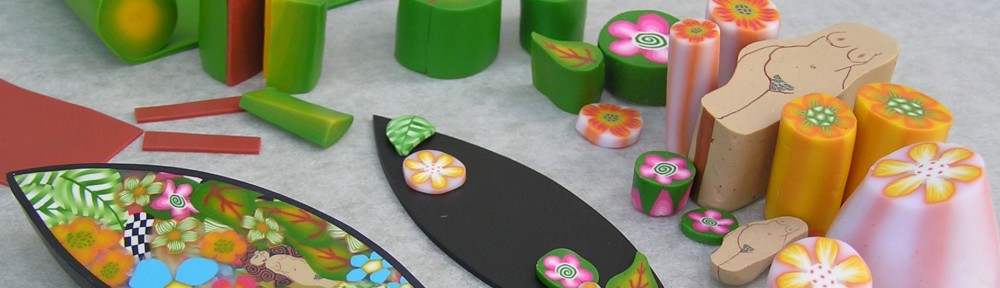
For lovely work using kaleidoscope canes, see work by Carol Simmons and Sarah Shriver.